Creating your First Workspace
documentation/core/workspaces/creating-workspace
Creating your First Workspace
Learn how to create your Praxsuite account and set up your first Workspace step by step. This guide covers account registration, email verification, plan selection, and initial Workspace creation so you can start organizing and managing your operations right away.
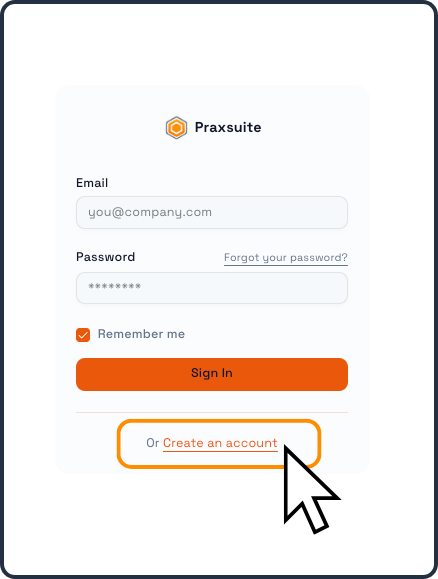
First, open a new browser tab and type www.praxsuite.com into the URL bar.
Alternatively, you can access it by clicking here.

This will open a new page in your browser and take you to the main menu. From there, click on “Create an Account.”
Account Creation
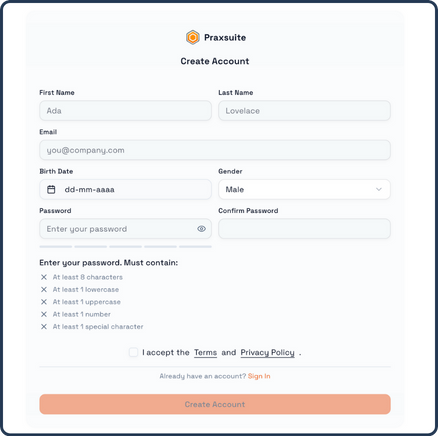
You will be asked to complete the following fields:
First Name
Last Name
Email Address
Date of Birth
Gender
Password
Mind you have access to the email adress you use to register, as it will be used to activate your account
Your Password must meet the following requirements:
At least 8 characters
At least 1 lowercase letter
At least 1 uppercase letter
At least 1 number
At least 1 special character
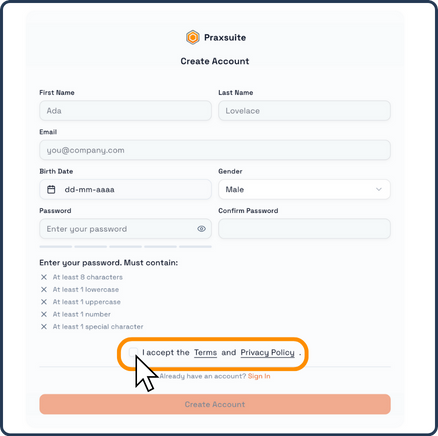
After completing all fields, you must check the Terms and Conditions box.
Once accepted, you can proceed to create your account.
Email Confirmation
After creating your account, you will receive a confirmation email.
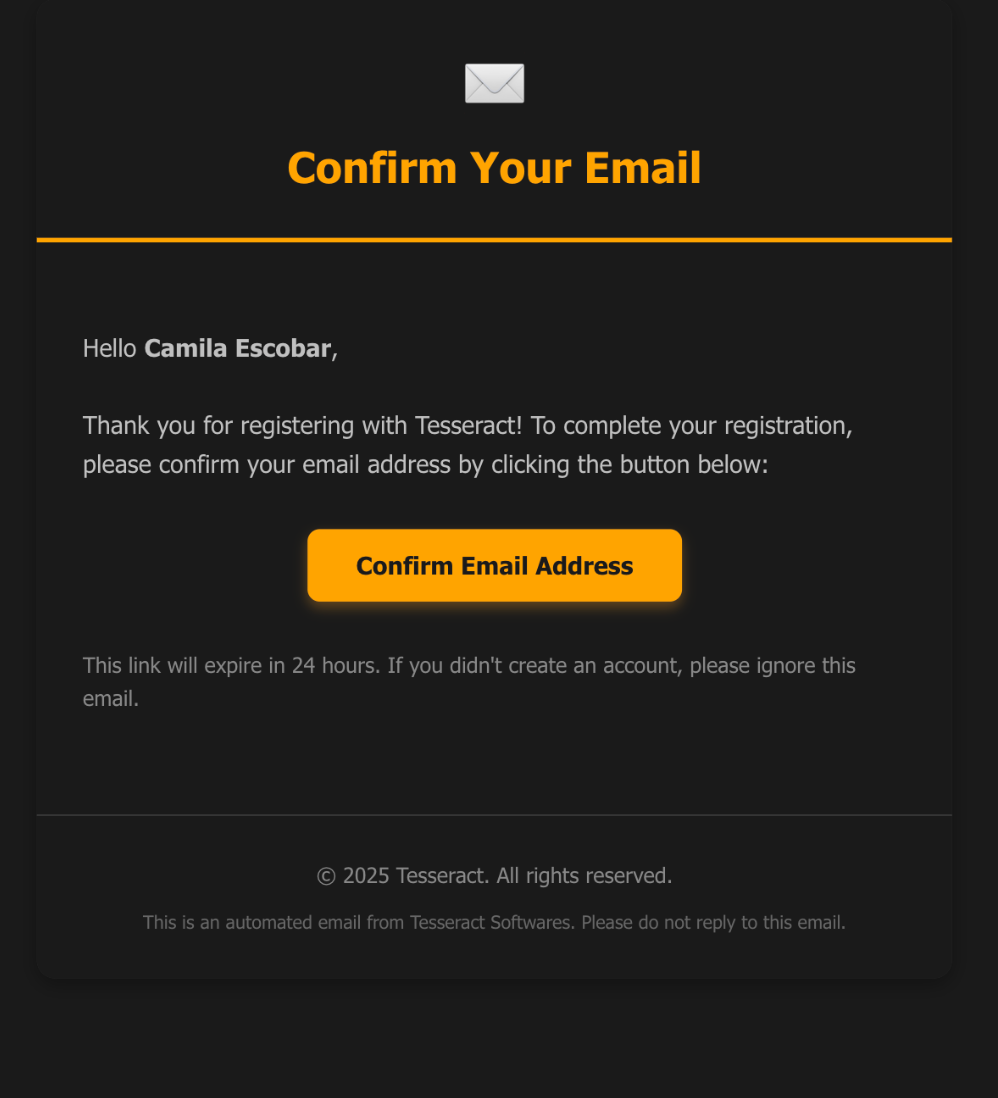
Click the button labeled “Confirm Email Address.”
Once you click the confirmation link, you will receive a second Welcome Email.
In this email, click the button labeled “Log In.”
Workspace Creation Wizard
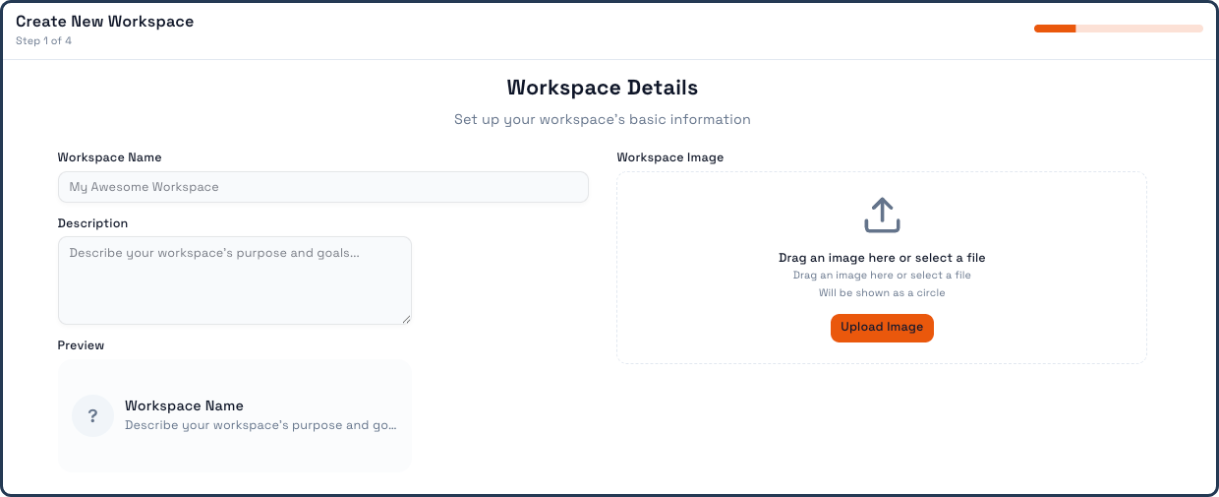
After logging in, you will be taken to the Workspace Creation Wizard.
Here, you will:
Enter a name for your Workspace
Optionally add a short description
Upload an image, such as your company logo
All of this information will appear in the preview section.

Plan Selection
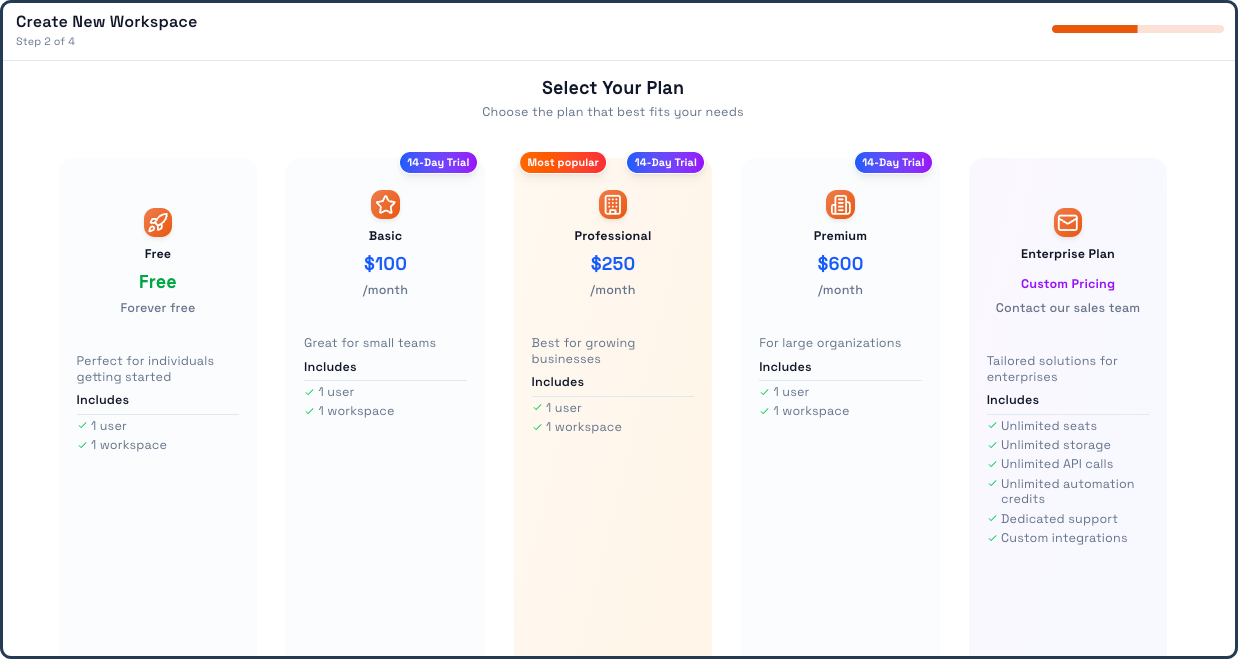
Next, you will be taken to the Plan Selection step.
Here, choose the plan that best fits your needs.
For this example, we will select the Free Plan.
For paid plans, please note that a valid credit card is required.
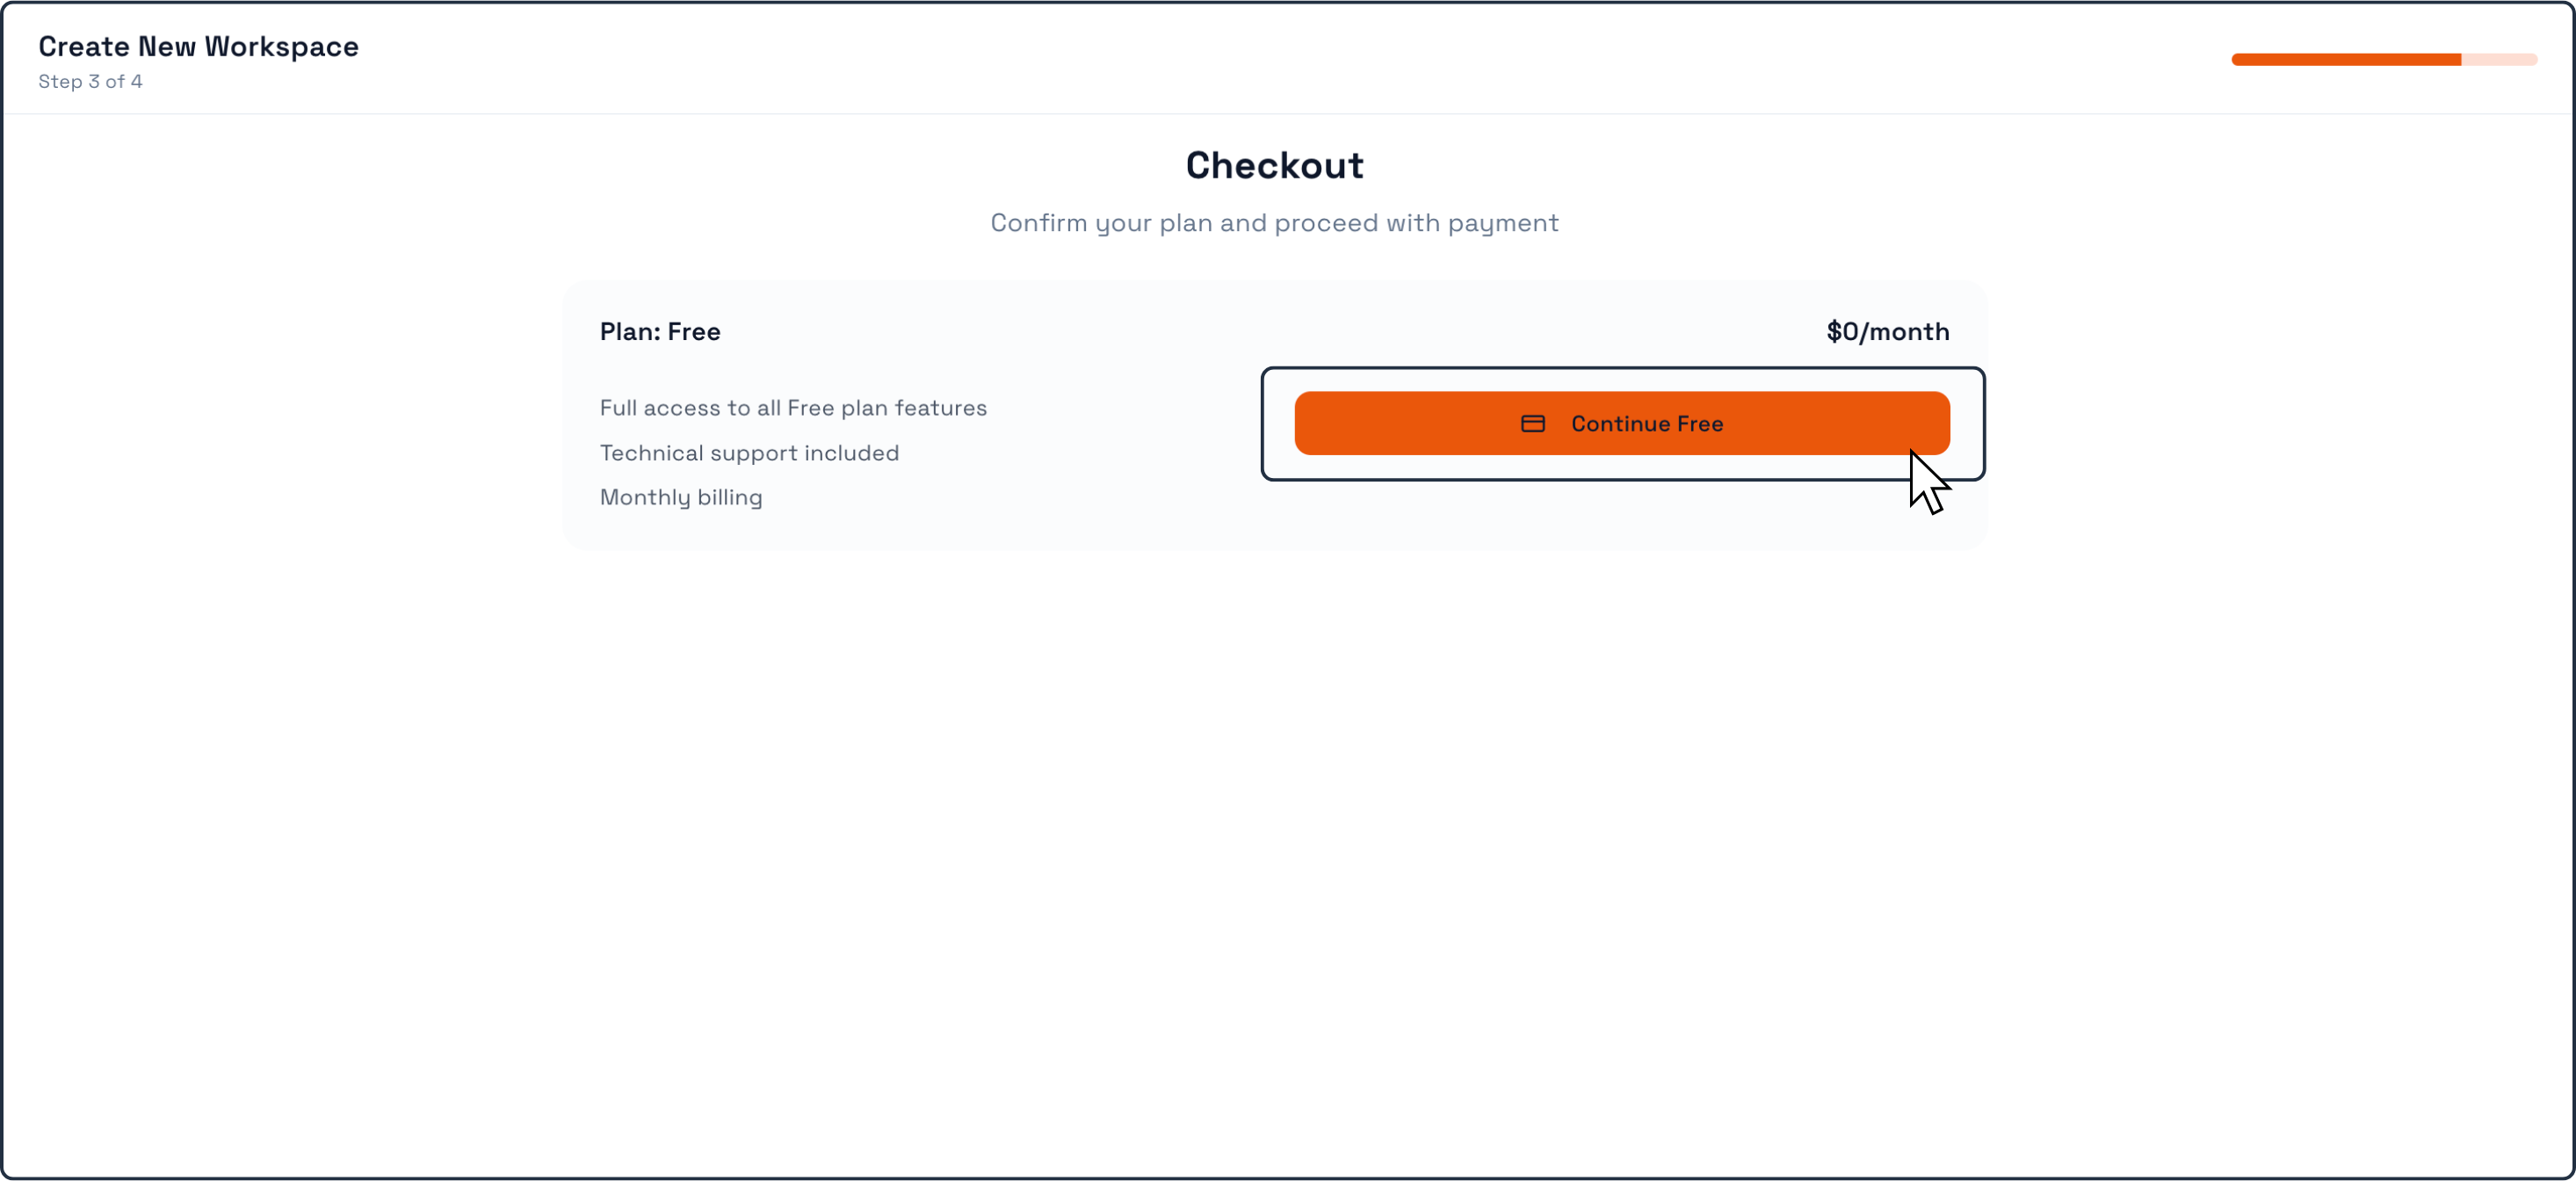
Once you have selected your preferred plan, you will be taken to the Confirmation step.
Click Continue if all the information is correct.
Final Step
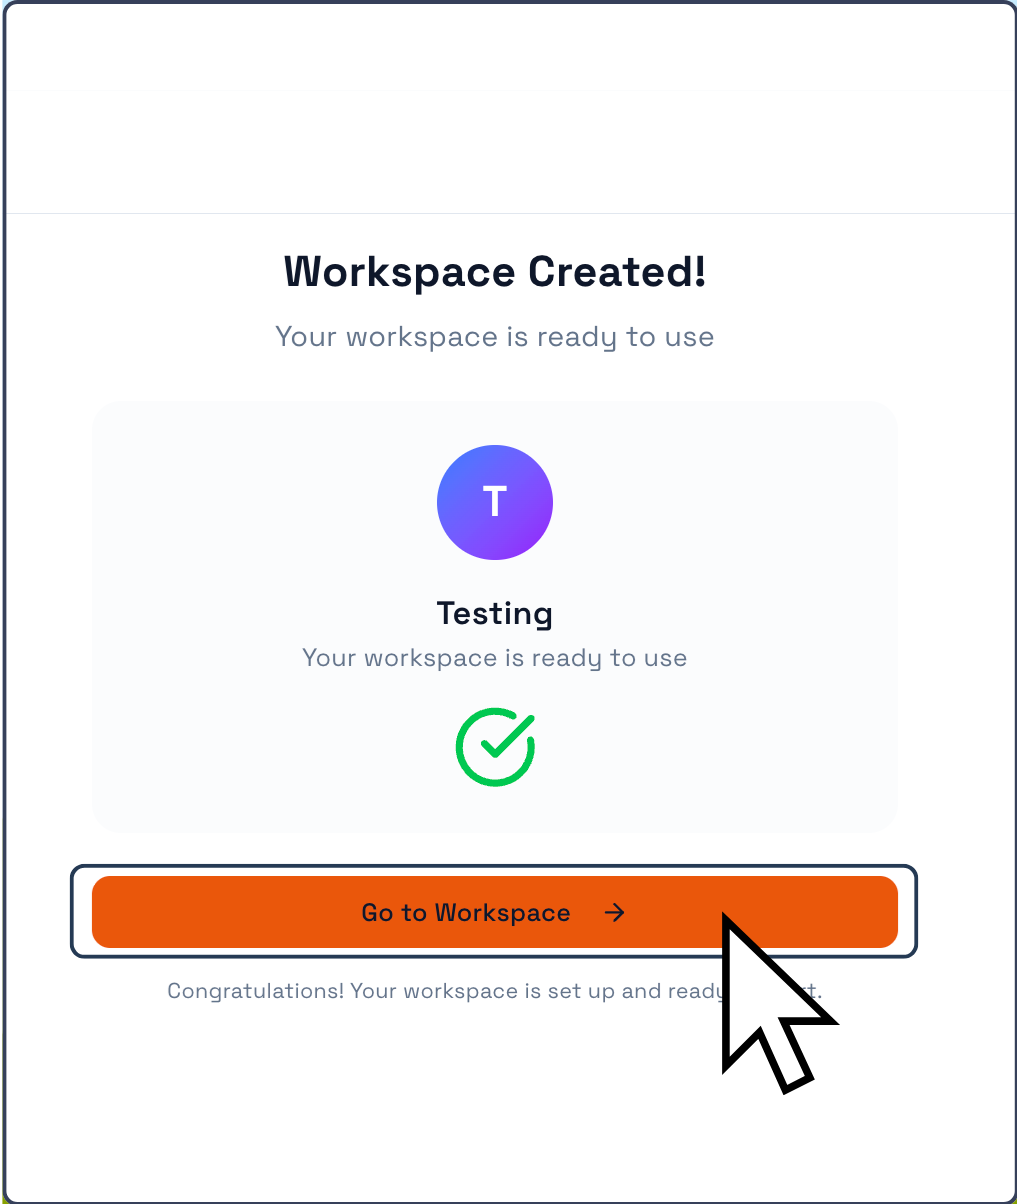
You will then reach the final step, where the system confirms that your Workspace has been successfully created.
Click “Go to Workspace.”
You can now begin configuring your Workspace according to your needs.
Continue reading the next chapters to learn how to customize and manage your Workspace in detail.