How to create a Folder
Camila Escobar · June 17, 2026
Learn how to create folders in Praxsuite to organize Tables, Forms, and Dashboards. This guide explains how to structure your Workspace and keep navigation clear as your system grows.
Folders are created directly from the Workspace navigation panel and allow you to organize Tables, Forms, and Dashboards into logical groups. This section explains how to create a folder and start using it inside your Workspace.
Accessing the Create Element Menu
Folders are created from the left navigation panel of your Workspace.
To begin:
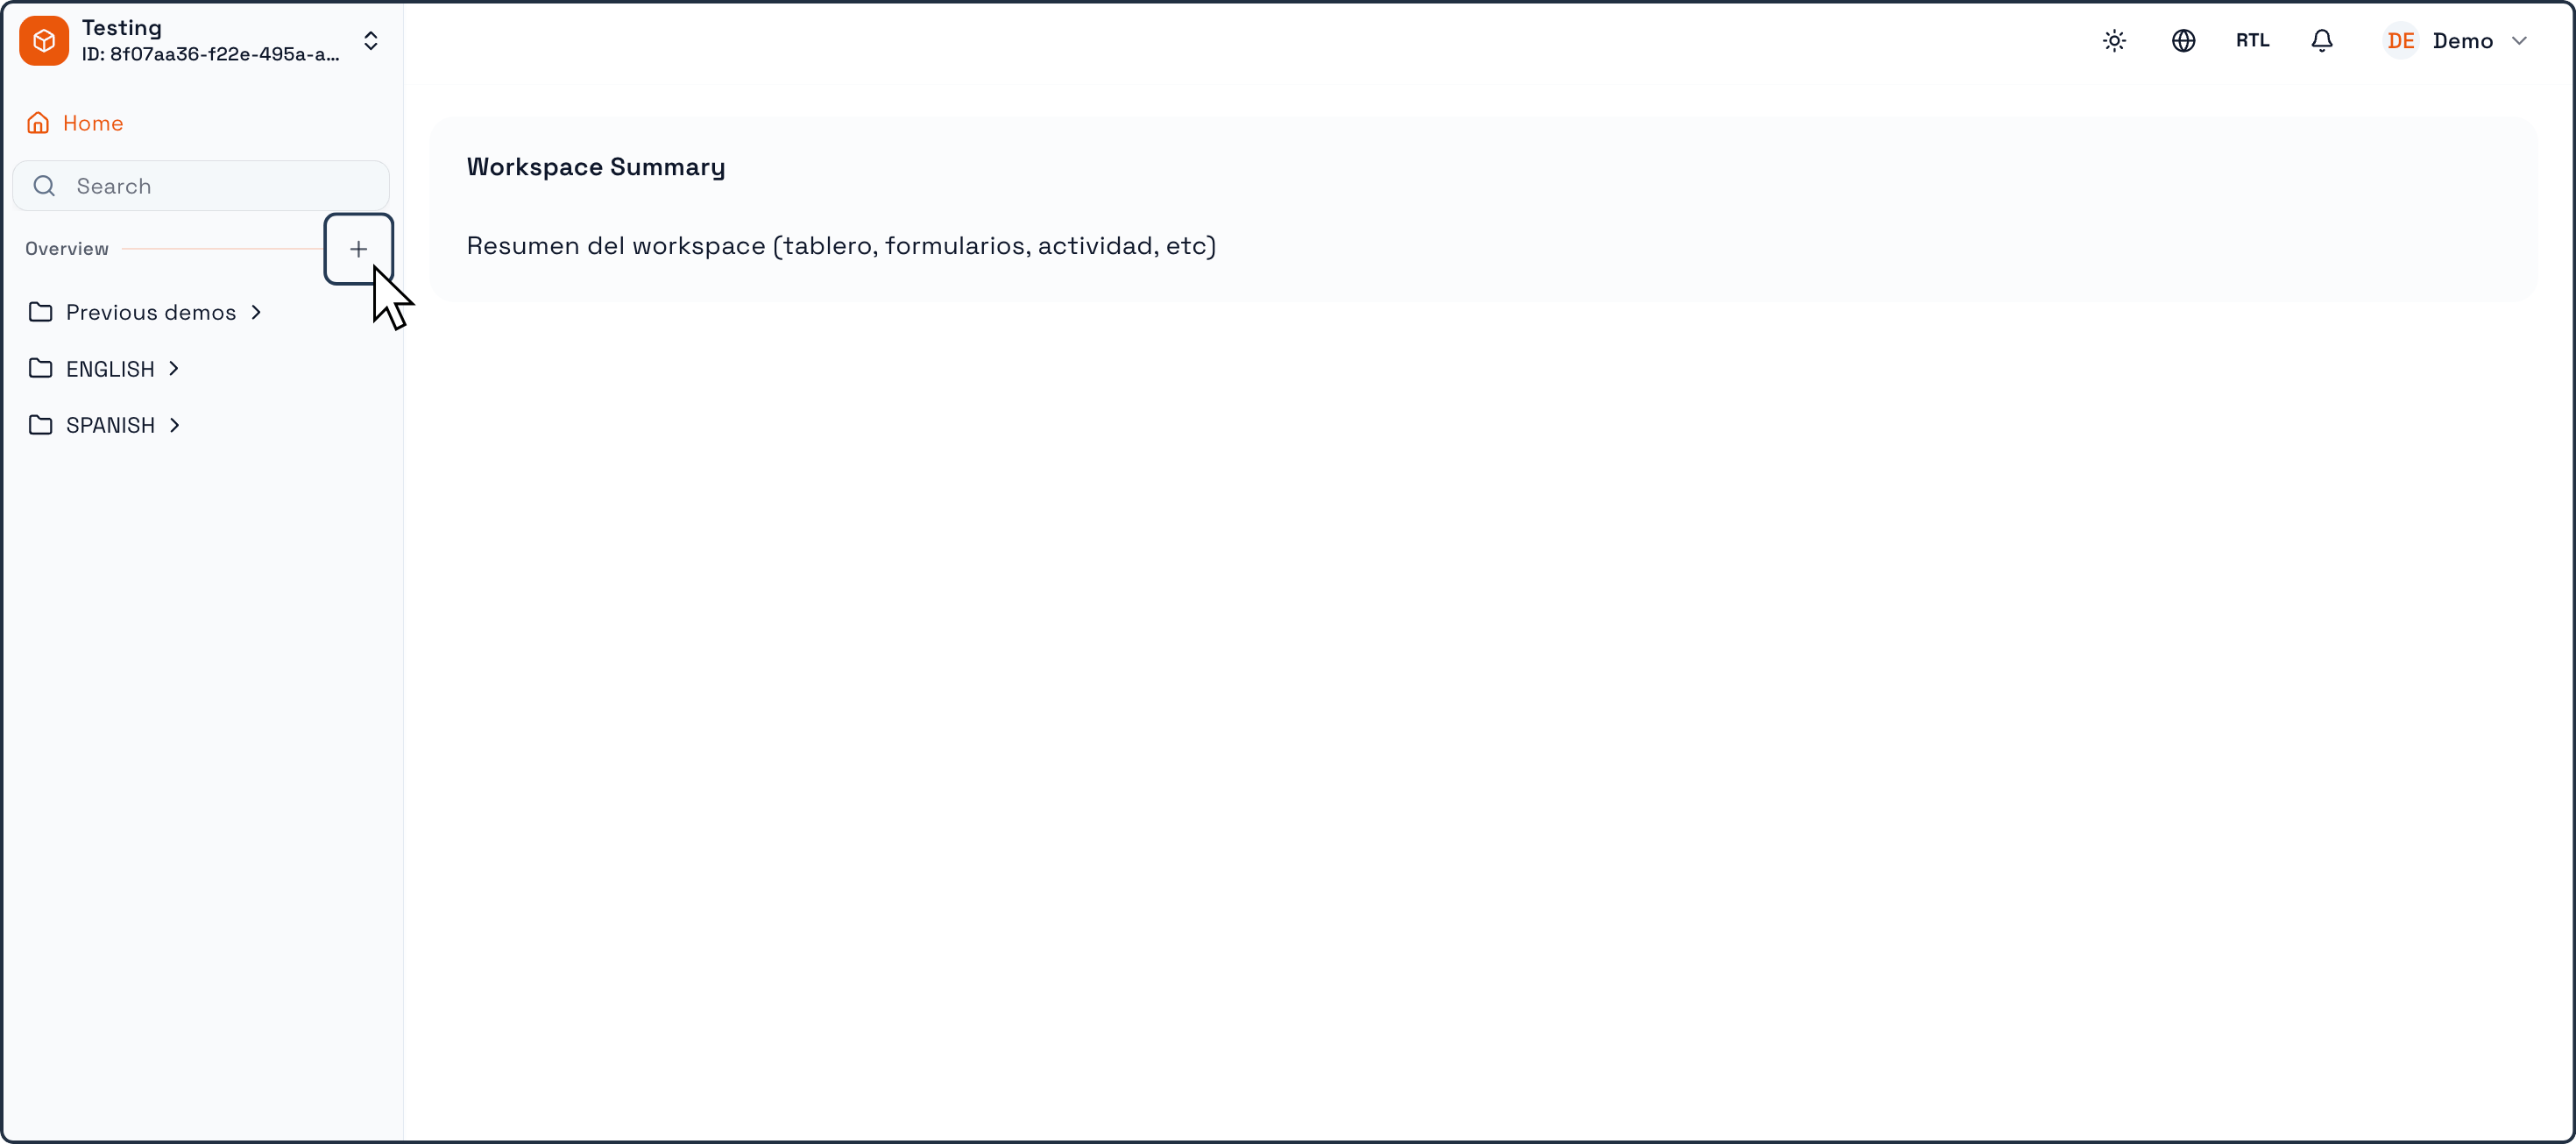
Open your Workspace.
In the left navigation panel, locate the Overview or main navigation area where Tables and other elements are listed.
Click the “+” (Create new element) button.
This action opens the Create New Element menu, where you can choose what type of element to create.
Creating a New Folder
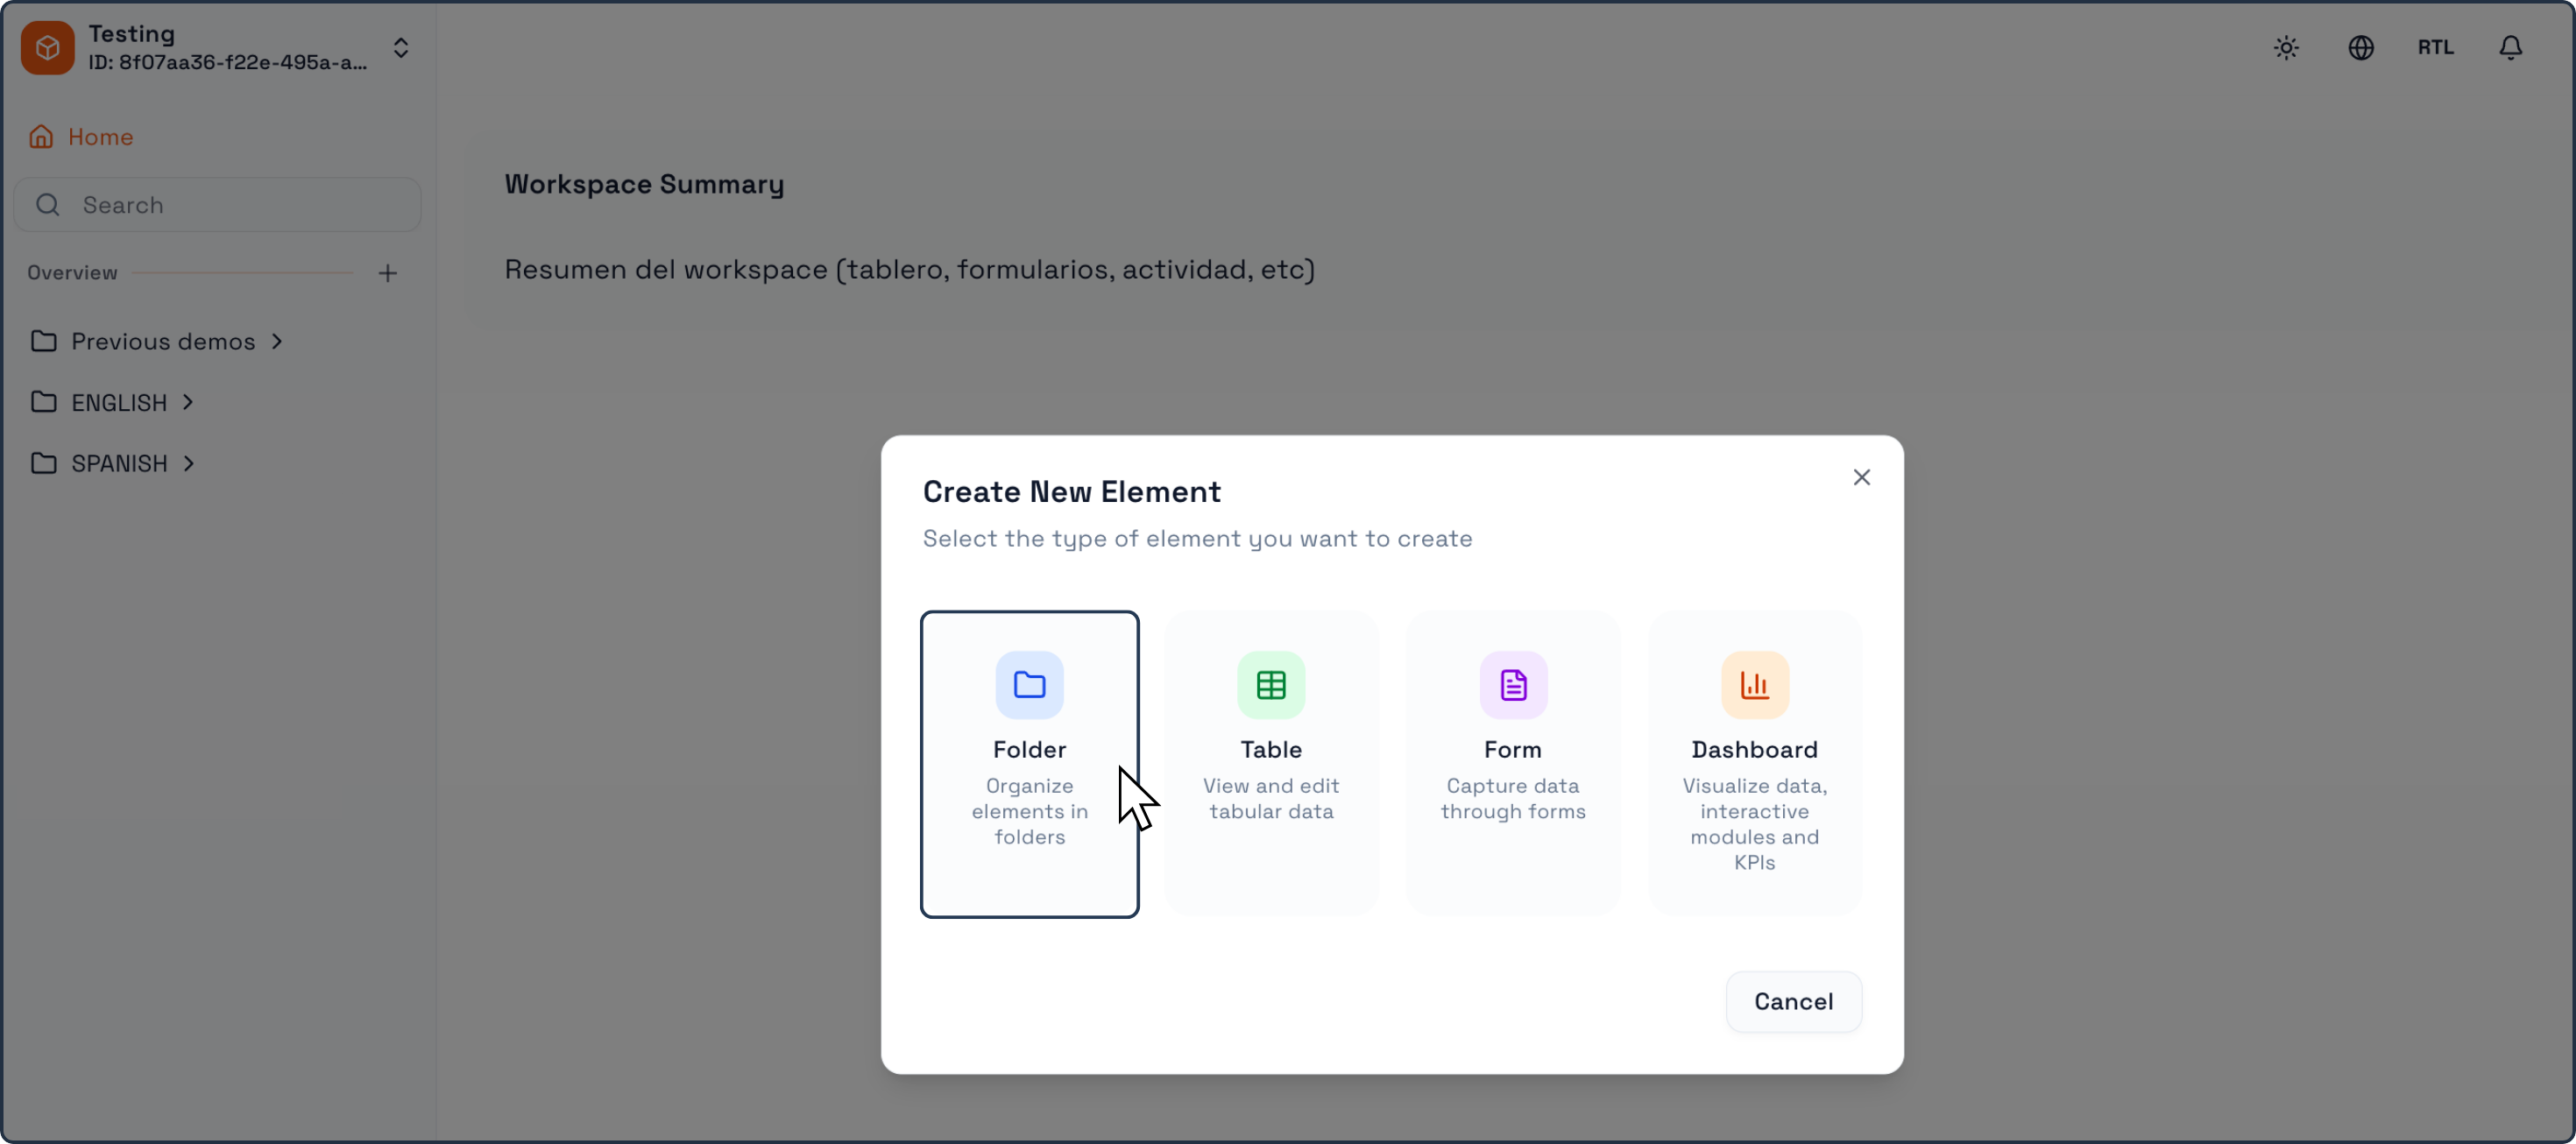
In the Create New Element menu:
Select Folder from the available options.
A dialog window for folder creation will appear.
Naming the Folder
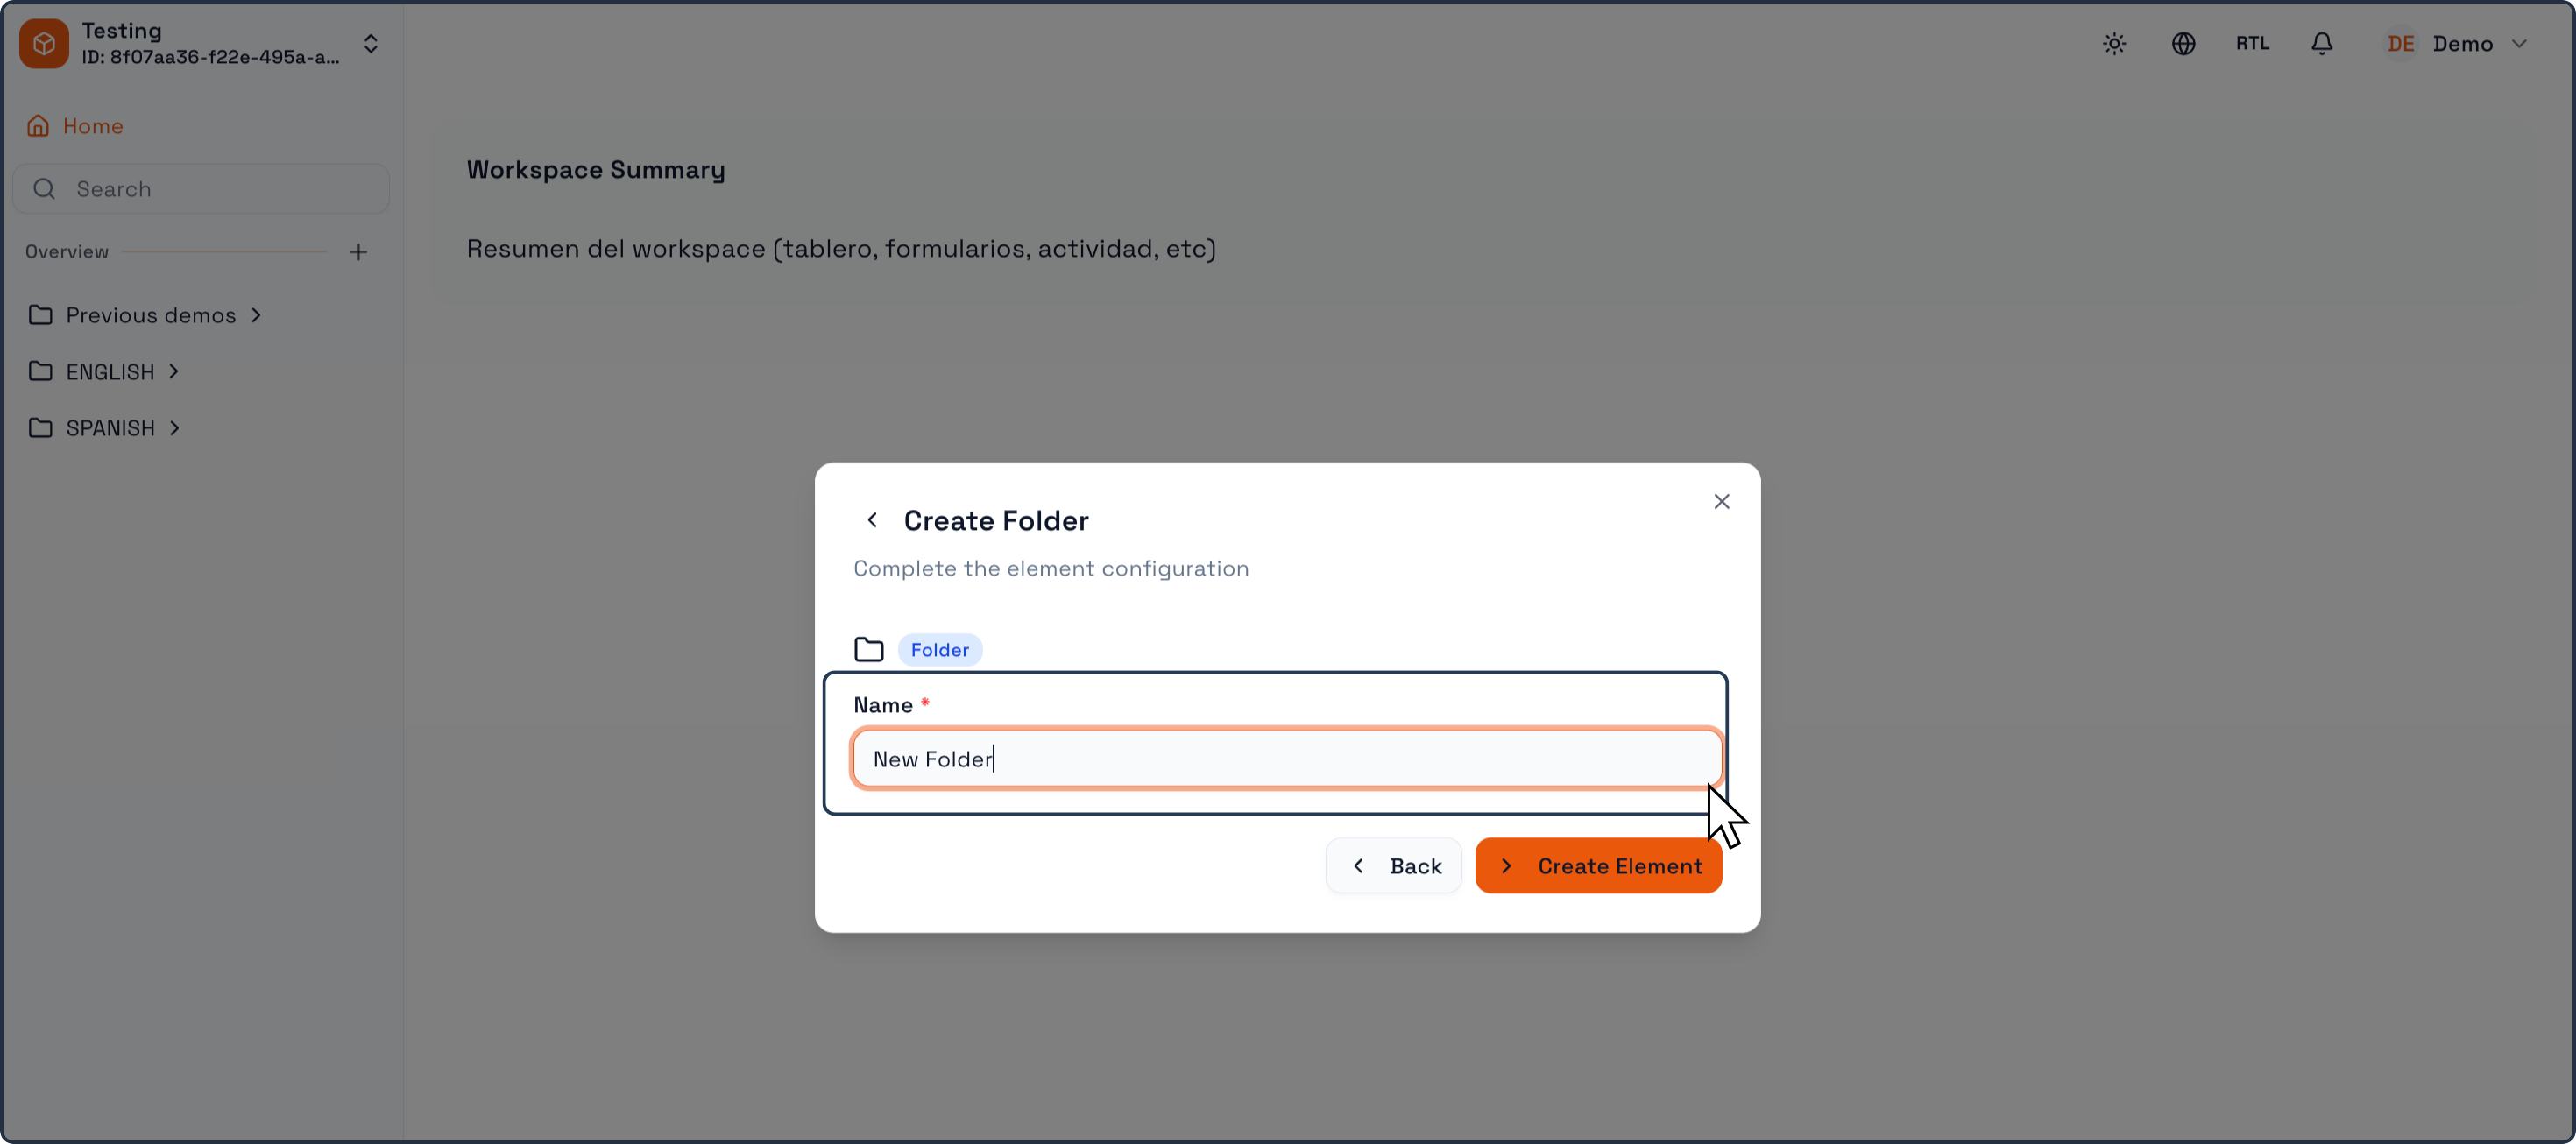
In the folder creation dialog:
Enter a Folder name.
The name should reflect the logical grouping you want to represent, such as a department, process, region, or operational area.
Examples:
Sales
Operations
Finance
Chile
Product A
Once the name is defined, confirm the action by clicking Create Element.
Folder Creation Result
After confirmation:
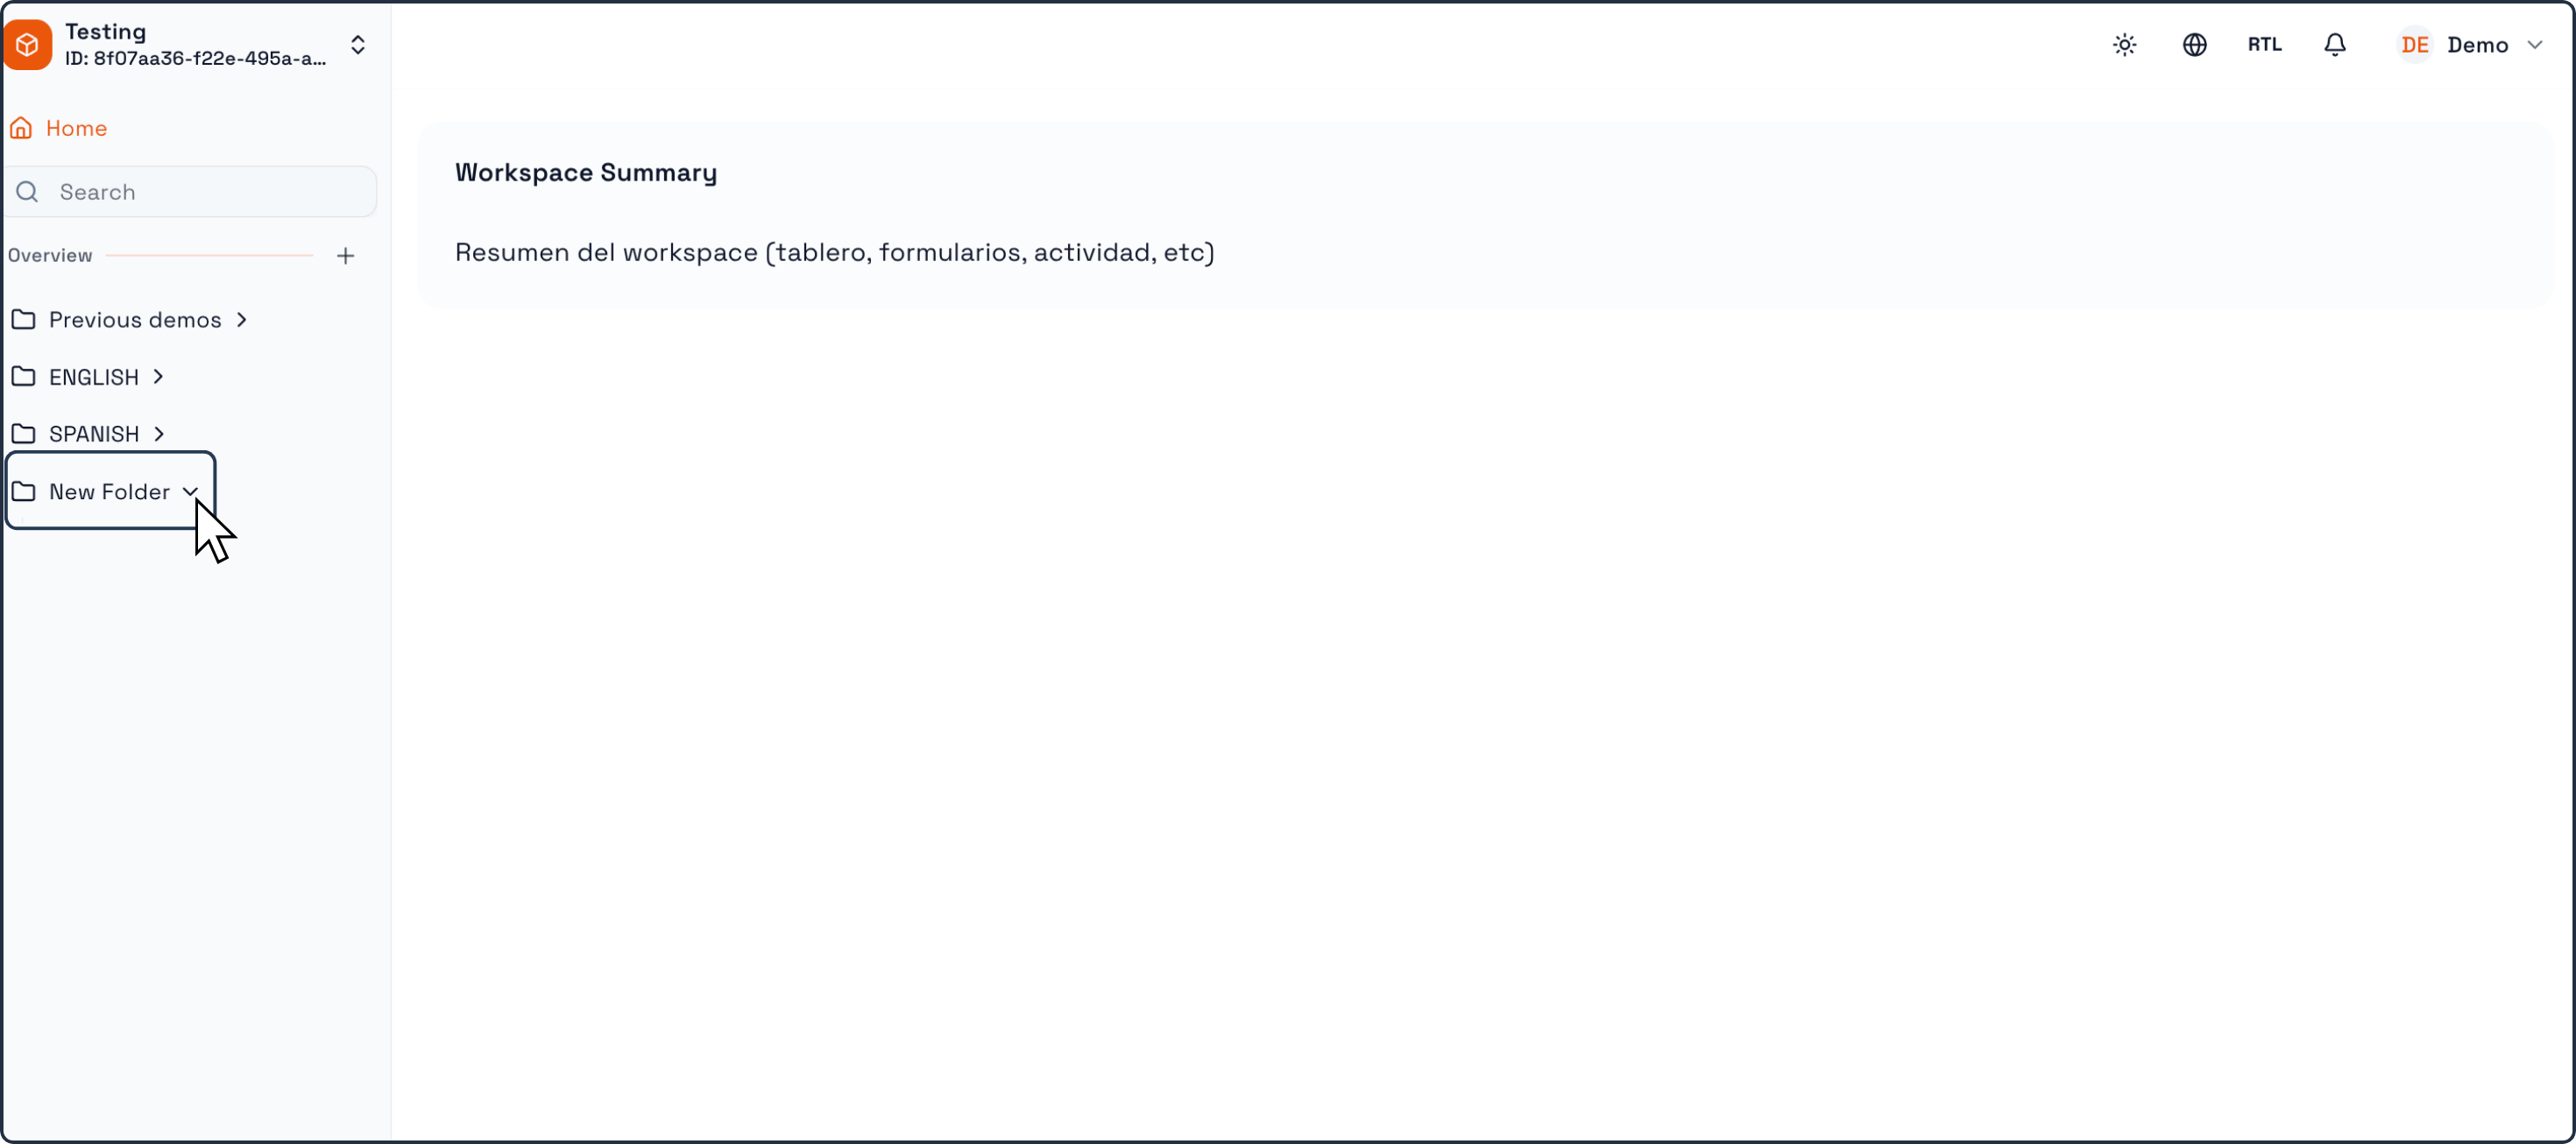
The folder is created immediately.
It appears in the left navigation panel of your Workspace.
The folder can now contain Tables, Forms, and Dashboards.
Folders are empty by default and act as containers for organizing elements. To move elements into a folder, you will need to follow the steps below.
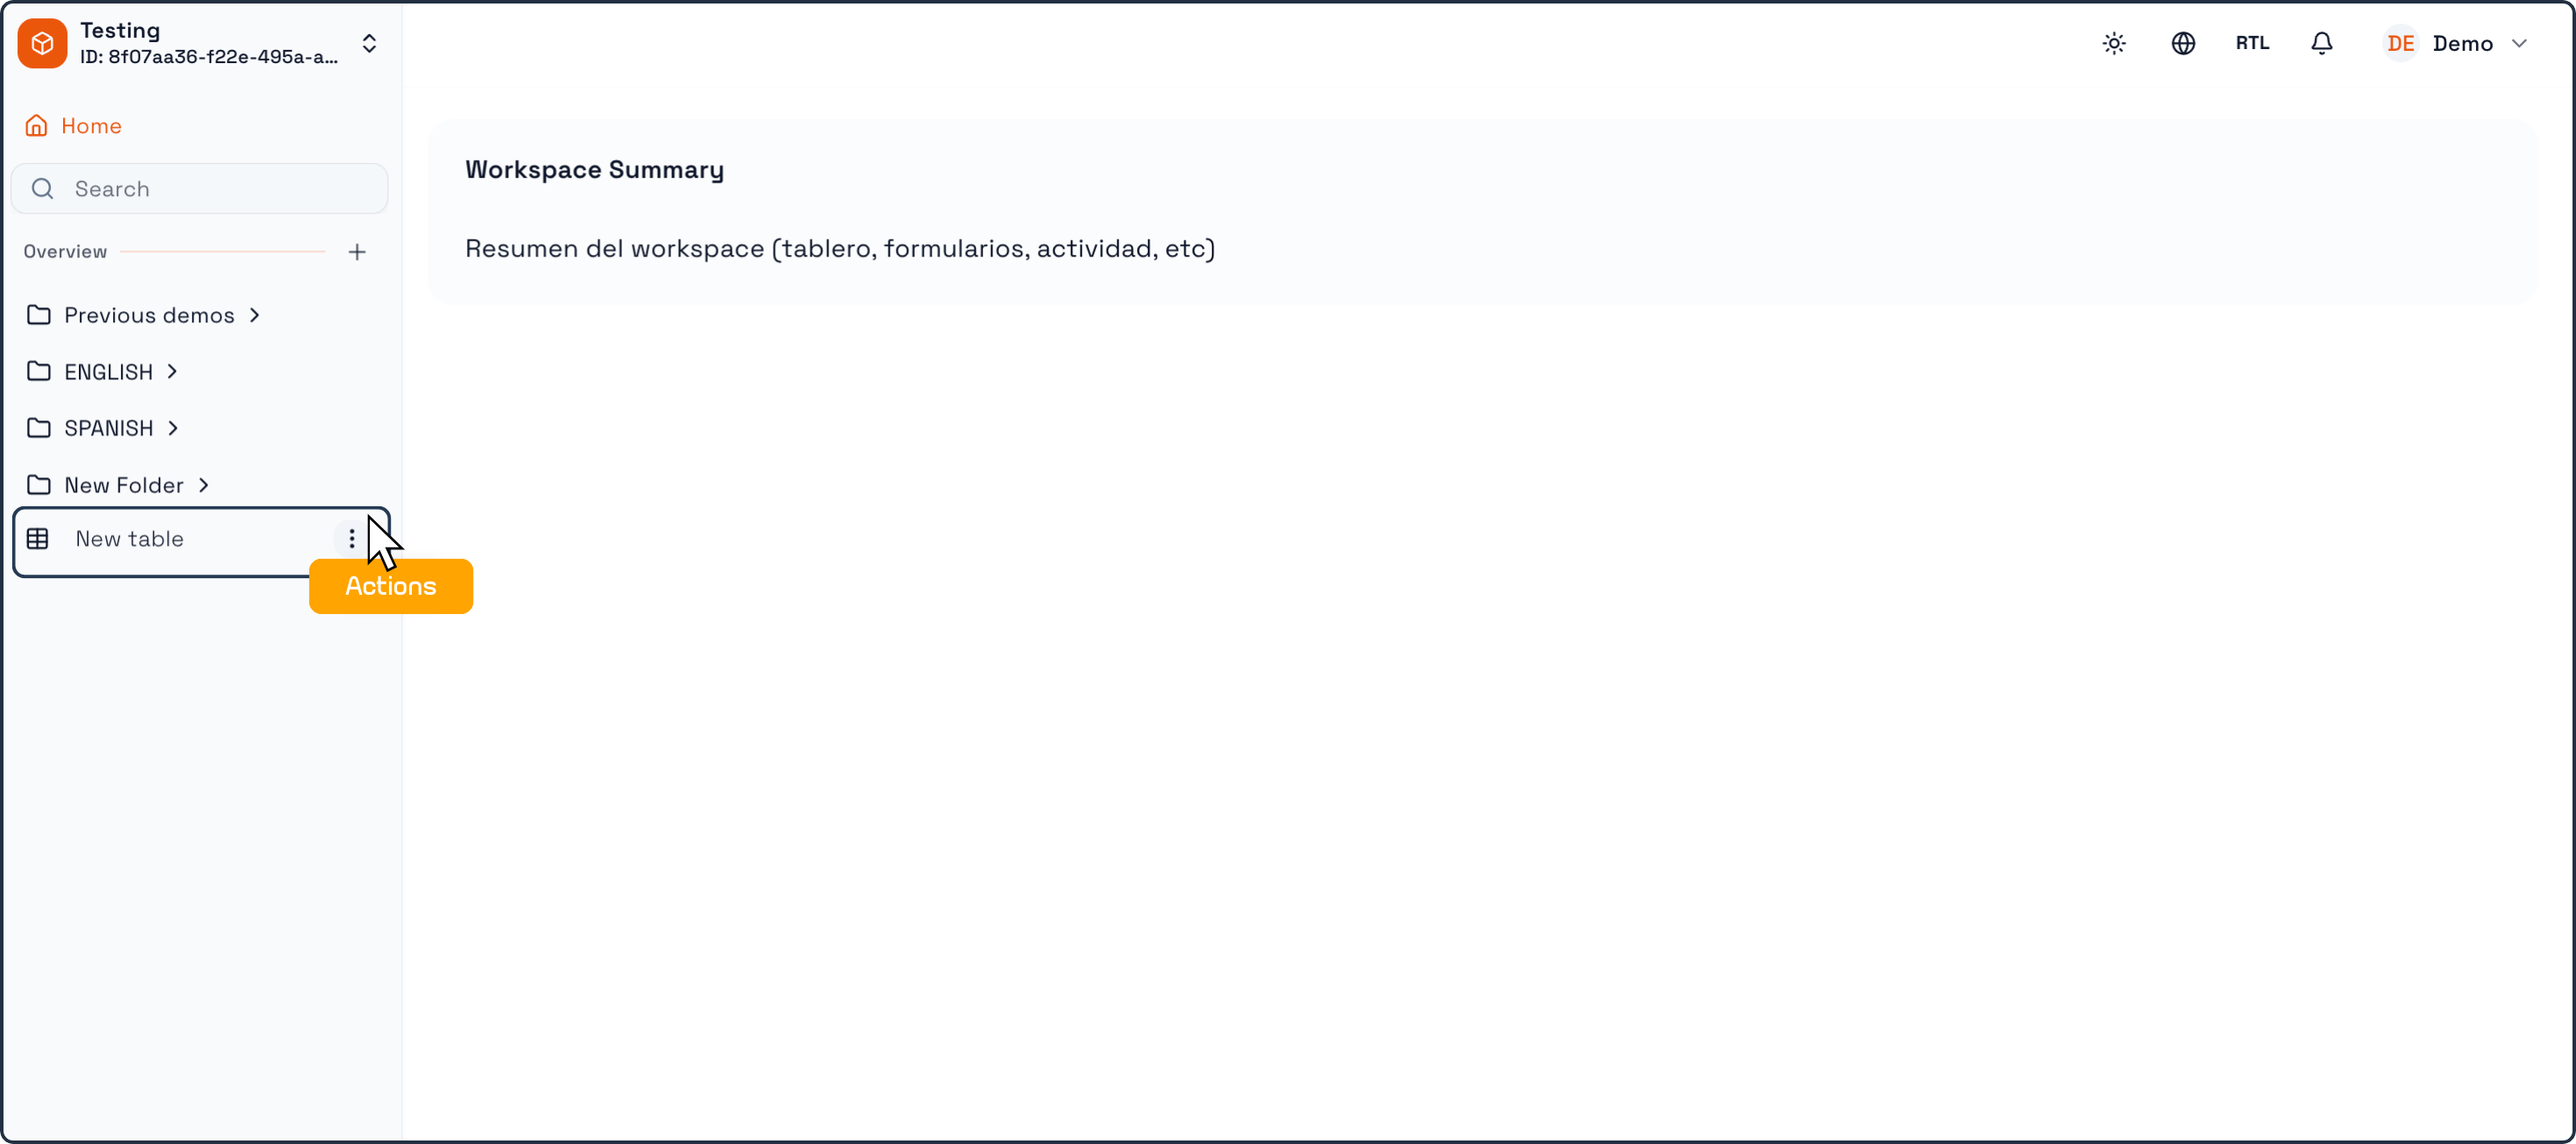
Using Folders After Creation
Once a folder exists, you can:
Create new Tables directly inside the folder.
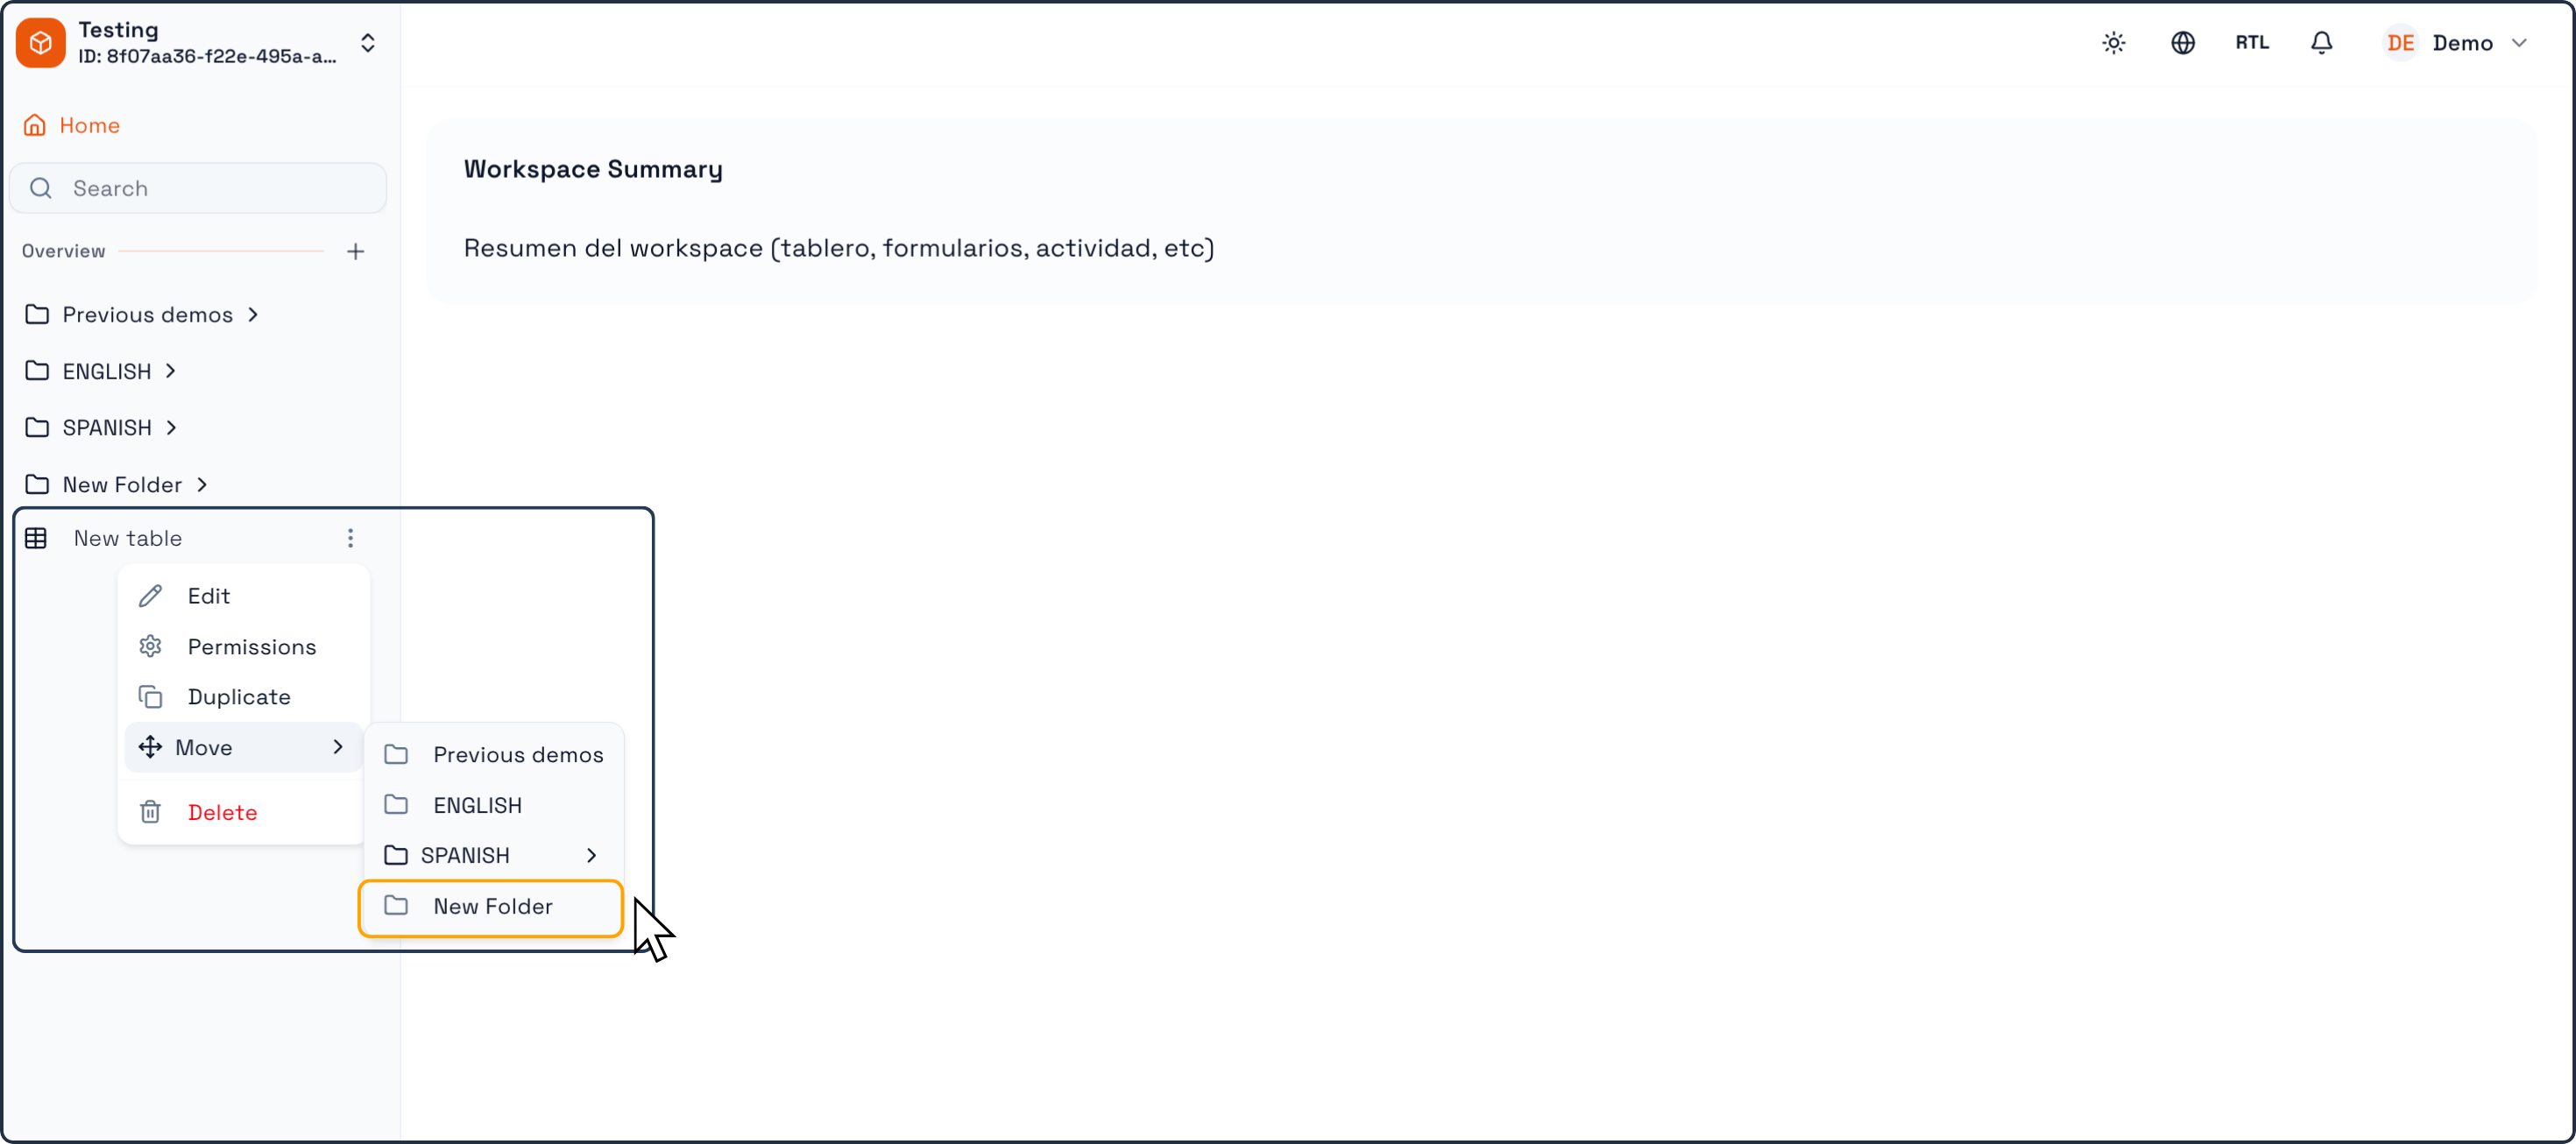
Move existing Tables, Forms, or Dashboards into the folder.
Expand or collapse the folder in the navigation panel to show or hide its contents.
Folders help keep the Workspace navigation clean and structured as more elements are added.