Creating you First Table
Camila Escobar · June 9, 2026
documentation/core/tables/creating-tables
Creating you First Table
Learn how to create and structure tables in Praxsuite by defining a table name, key column, and adding fields and records. This guide explains the step-by-step process to build flexible, scalable tables inside your Workspace.
In Praxsuite, creating a Table is a simple and guided process. Tables start as clean containers and are gradually shaped as your operation grows. The platform intentionally asks for only the minimum information required to define a Table, allowing you to focus on structuring your data rather than managing technical details.
This section explains how to create a Table, define its identity, and start adding data.
Accessing Table Creation
Tables are created from within your Workspace.
To start creating a Table:
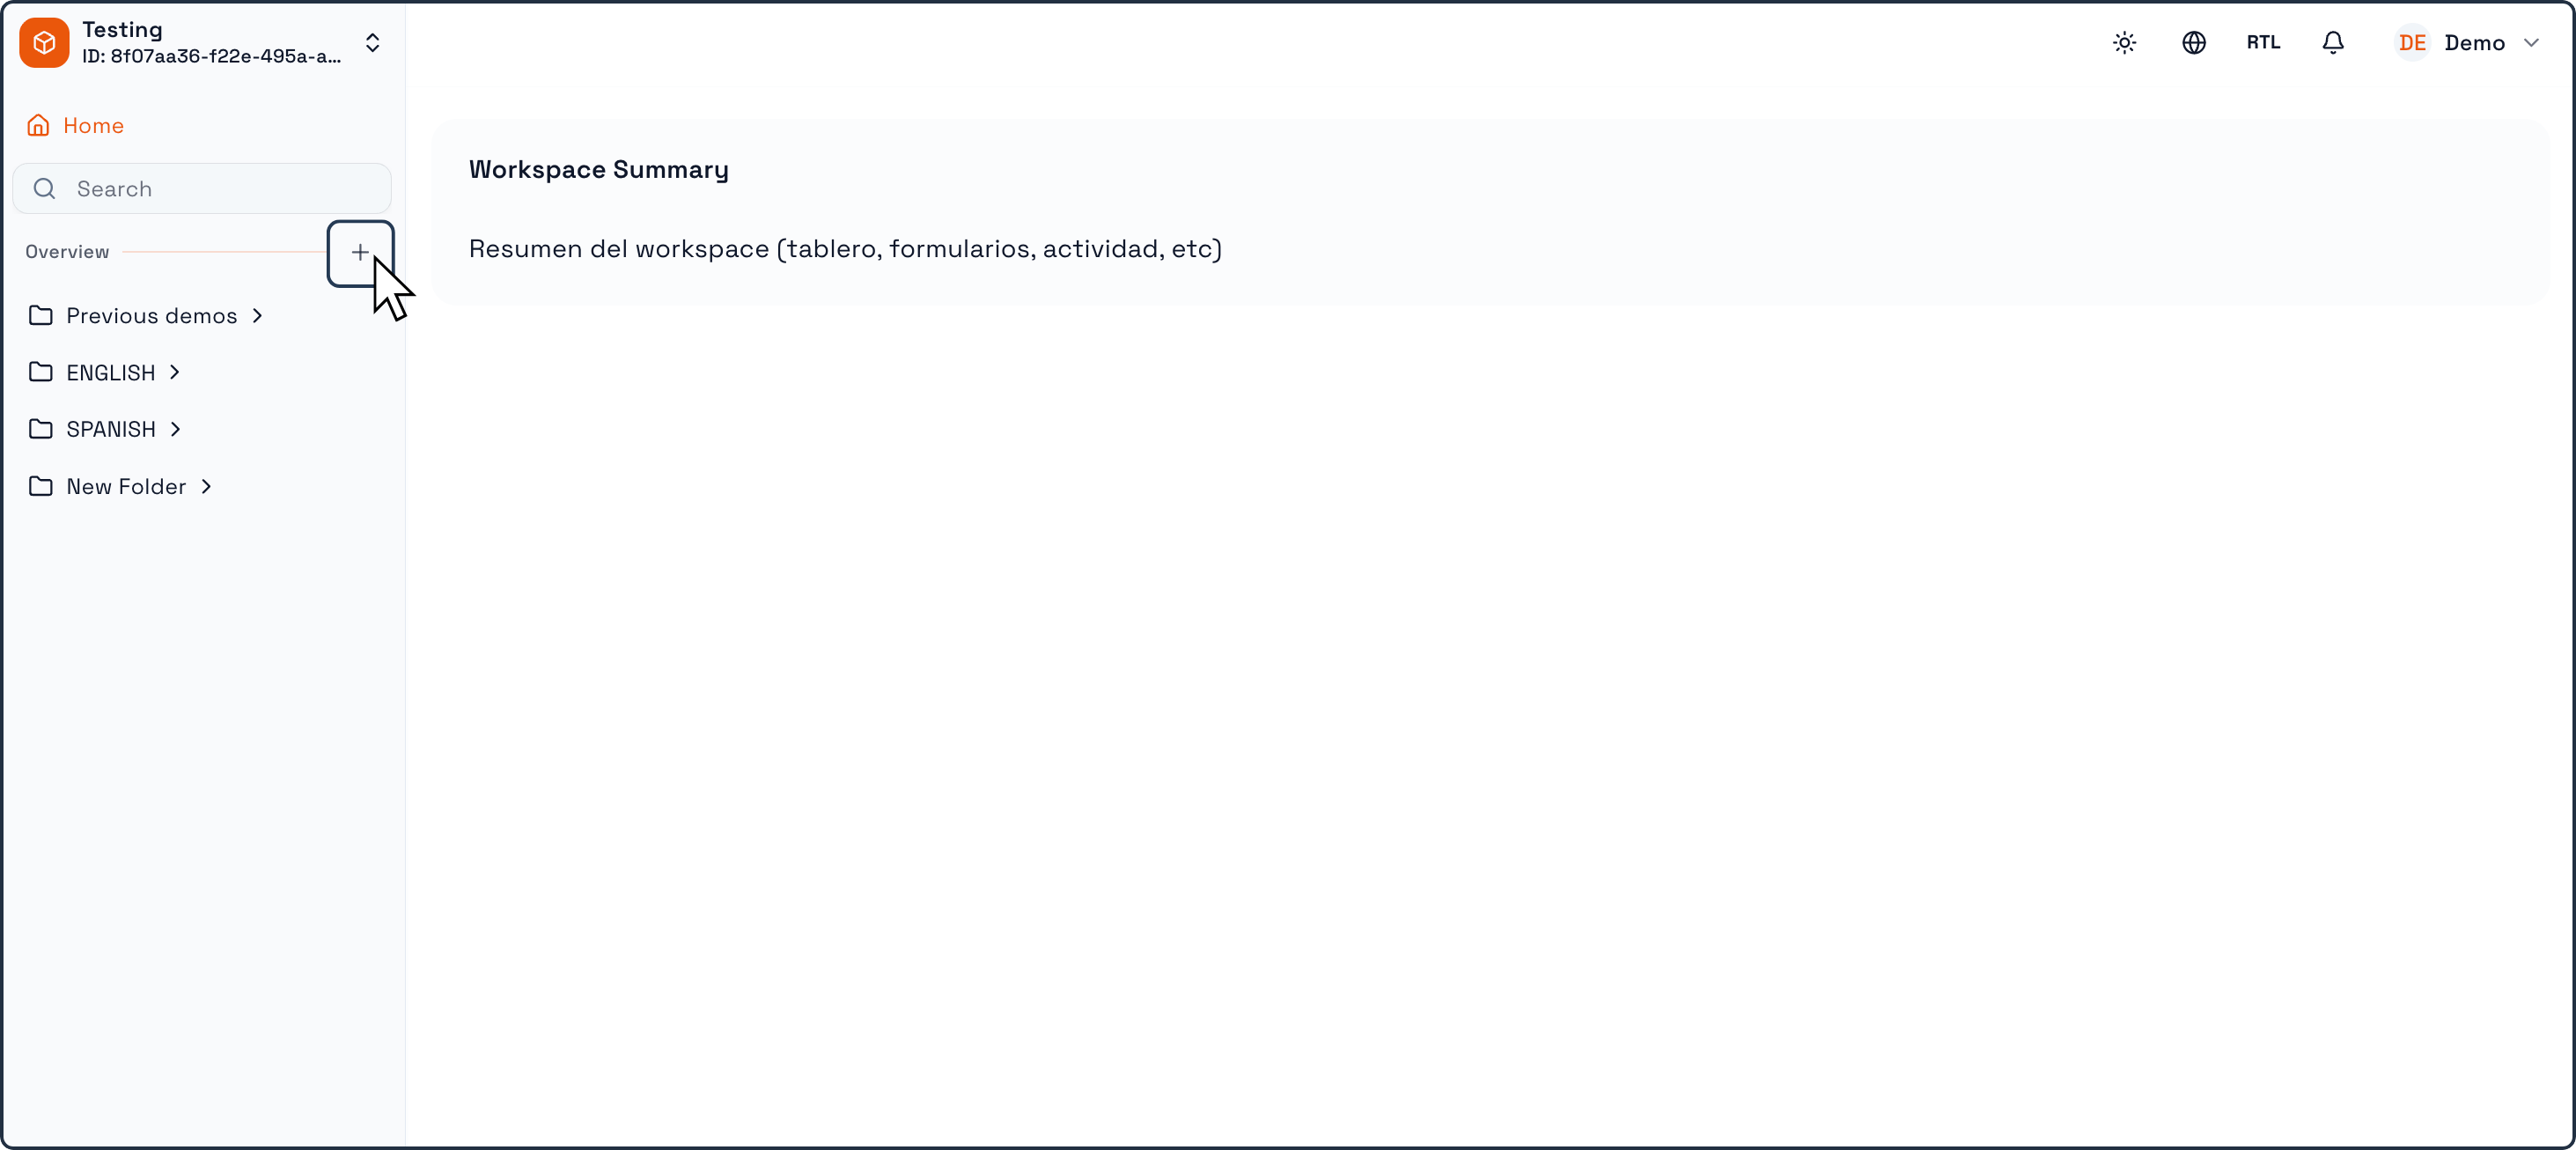
Open your Workspace.
In the left navigation panel, locate the section where your Tables are listed.
Click the “+” (Create new element) button next to the Tables area .
A modal window will open allowing you to choose what type of element you want to create.
Creating a New Table
Selecting “Table”
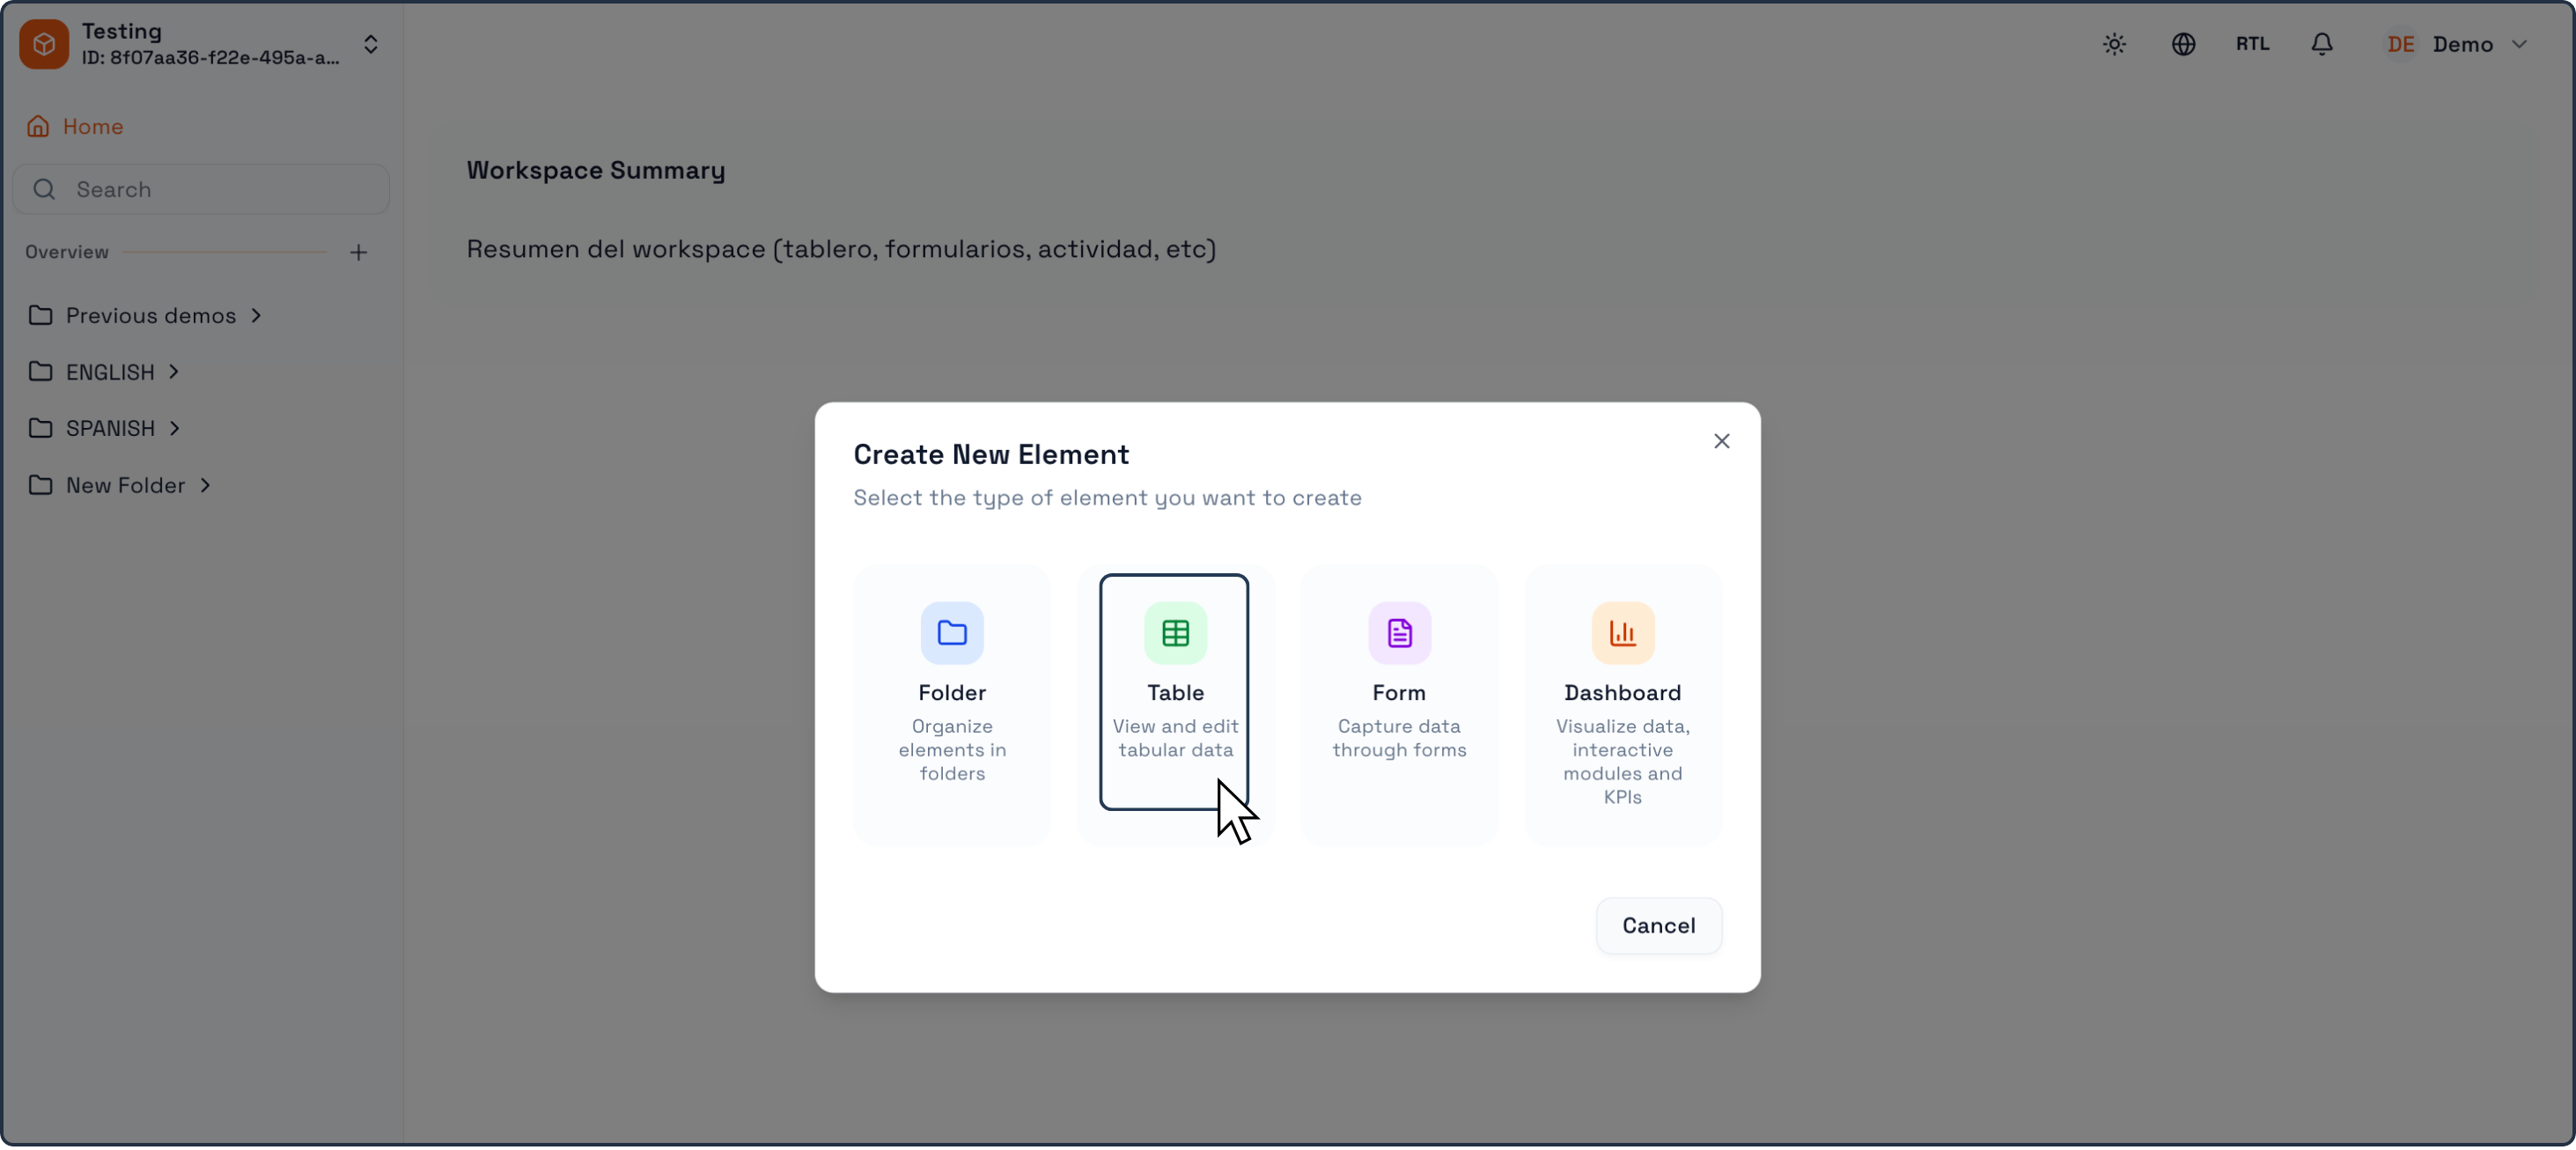
In the Create New Element window:
Select Table from the available options .
This will open the Create Table configuration dialog.
Defining the Table Name and the Key Column
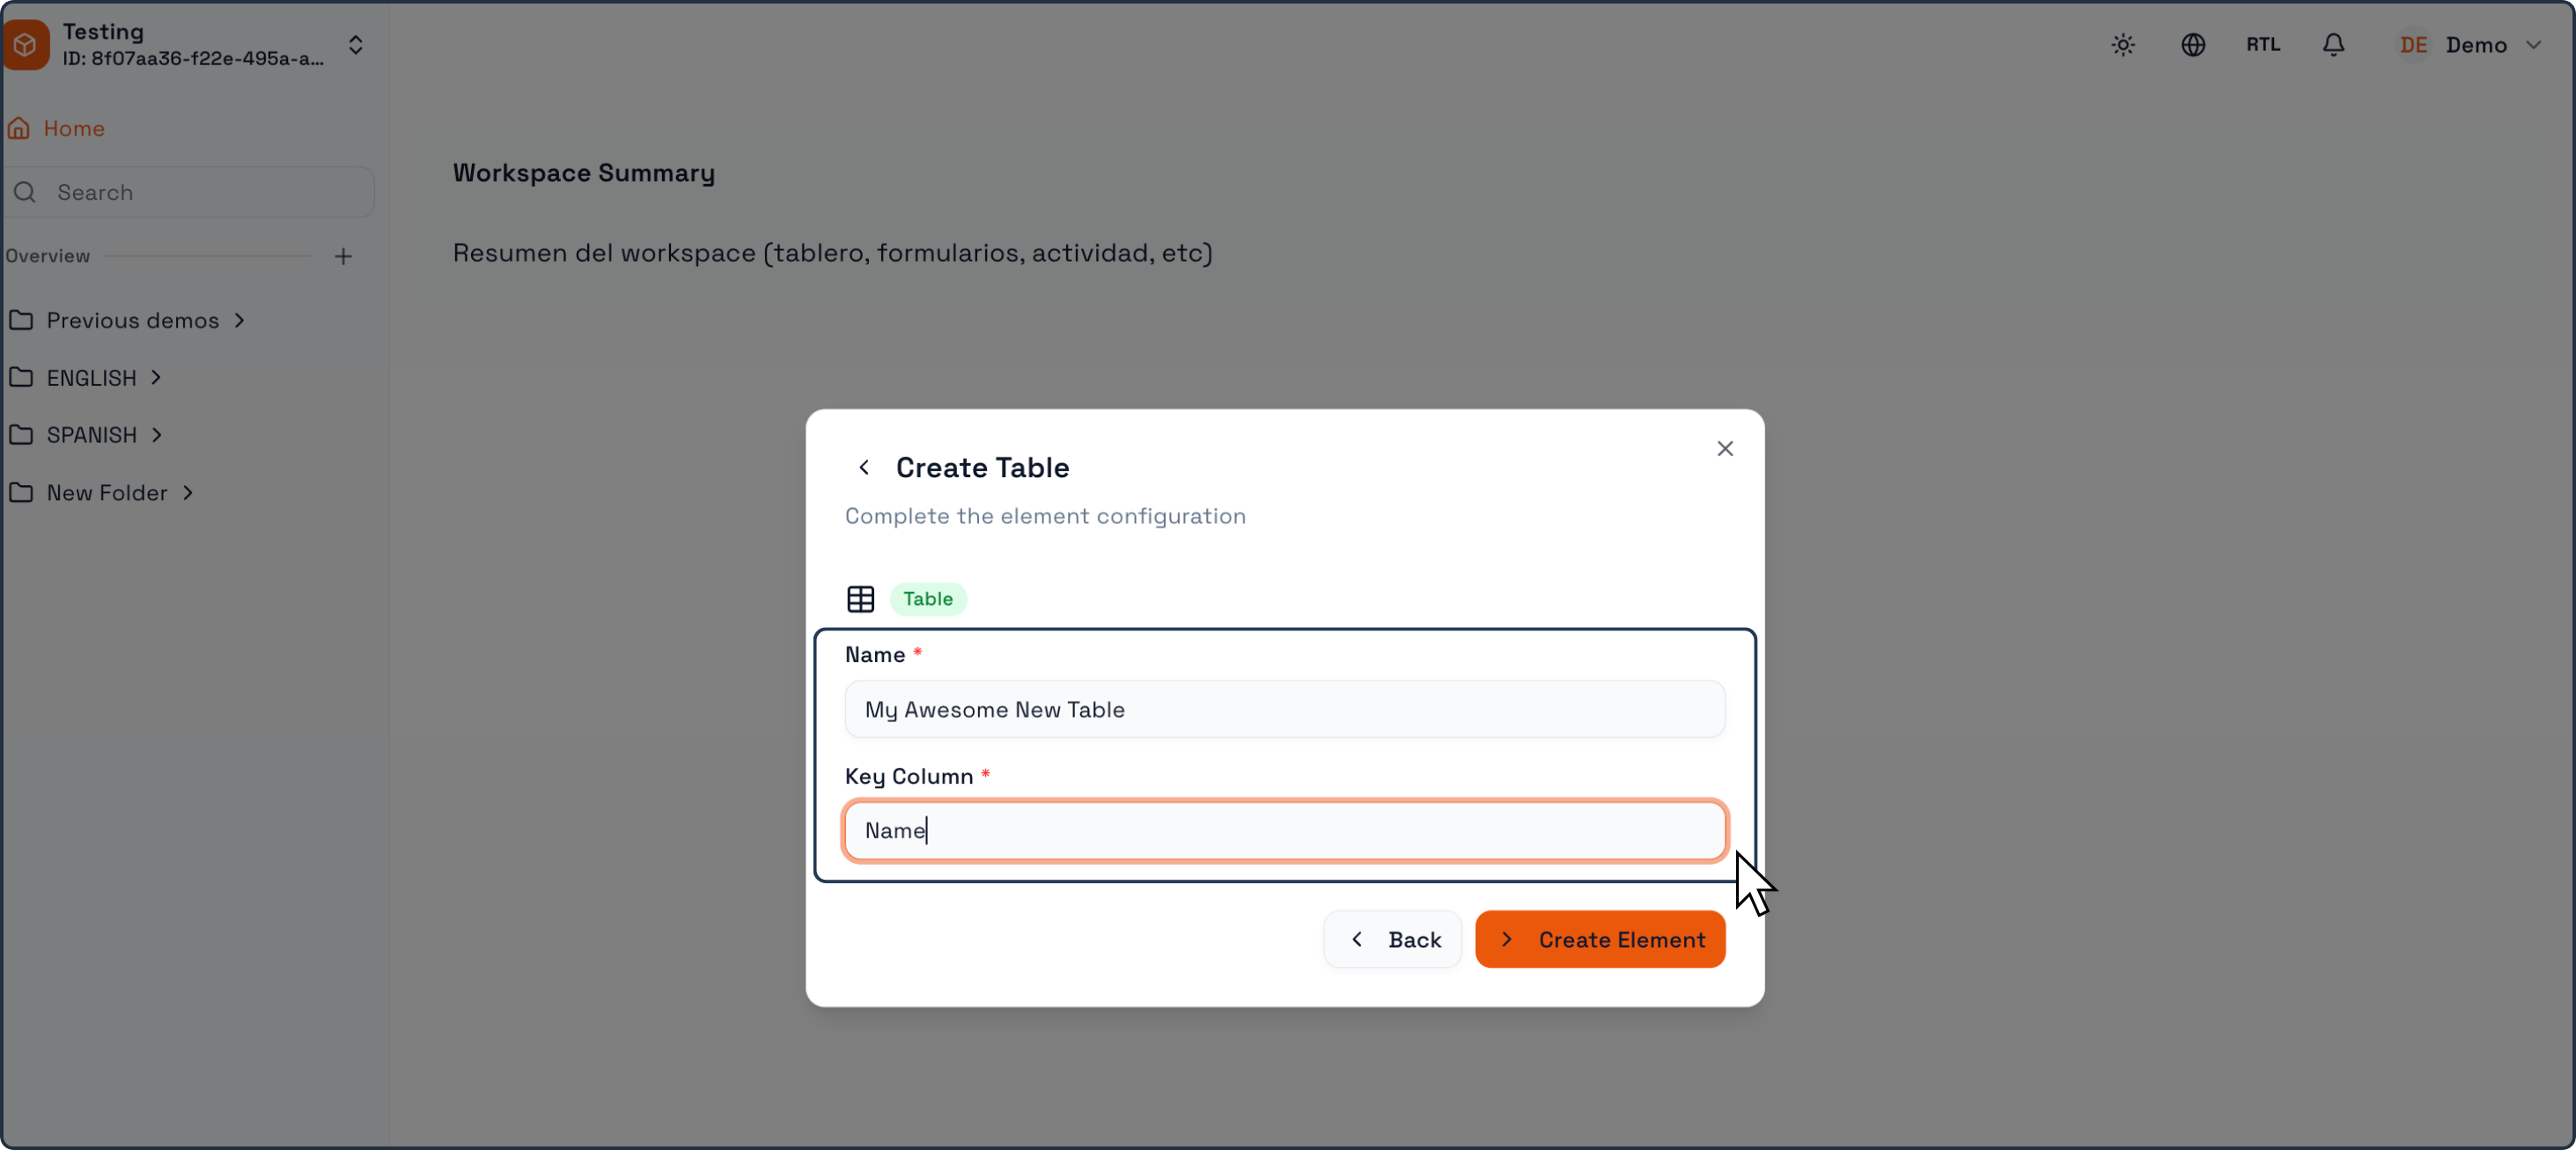
In the Name field:
Enter the name of your Table.
This name is the human-facing label used by you and your team to recognize the Table. The Table name can be changed later without affecting the system’s internal structure.
Examples:
Clients
Orders
Vehicles
Support Tickets
Below the Table name, you must define the Key Column.
The Key Column is the primary visual identifier for each record in the Table.
It is the first column created automatically when the Table is created.
Examples of Key Columns:
Client Name
License Plate
Ticket Title
Invoice Number
This column determines how records are displayed when referenced in other Tables, Forms, Dashboards, or workflows.
Creating the Table
Once both fields are completed:
Click Create (or Create Element) .
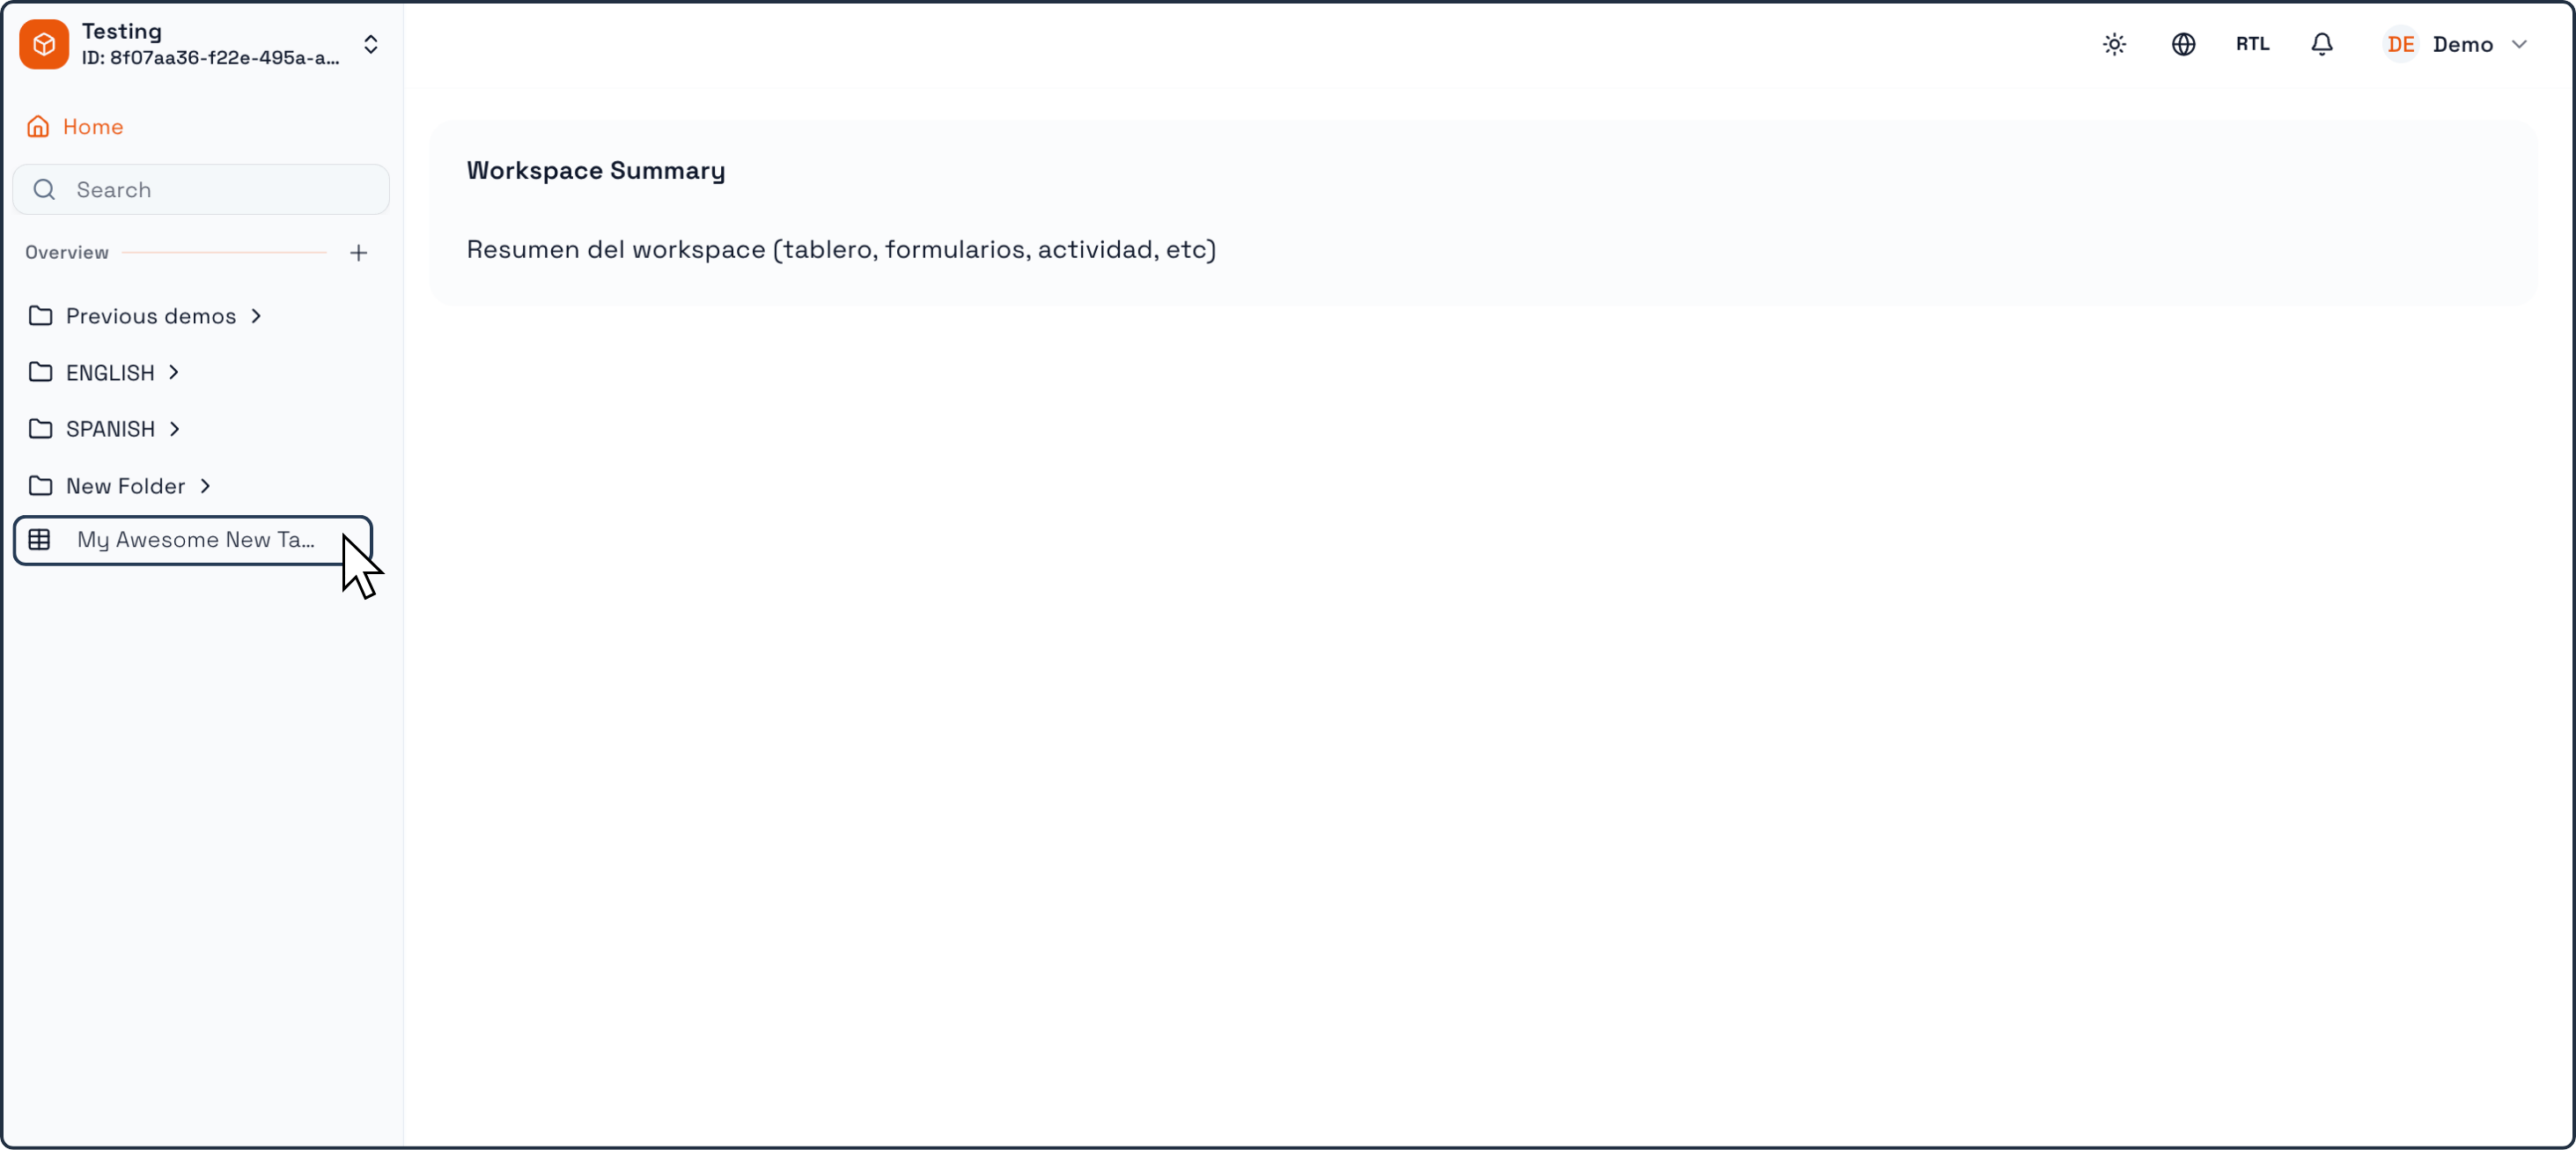
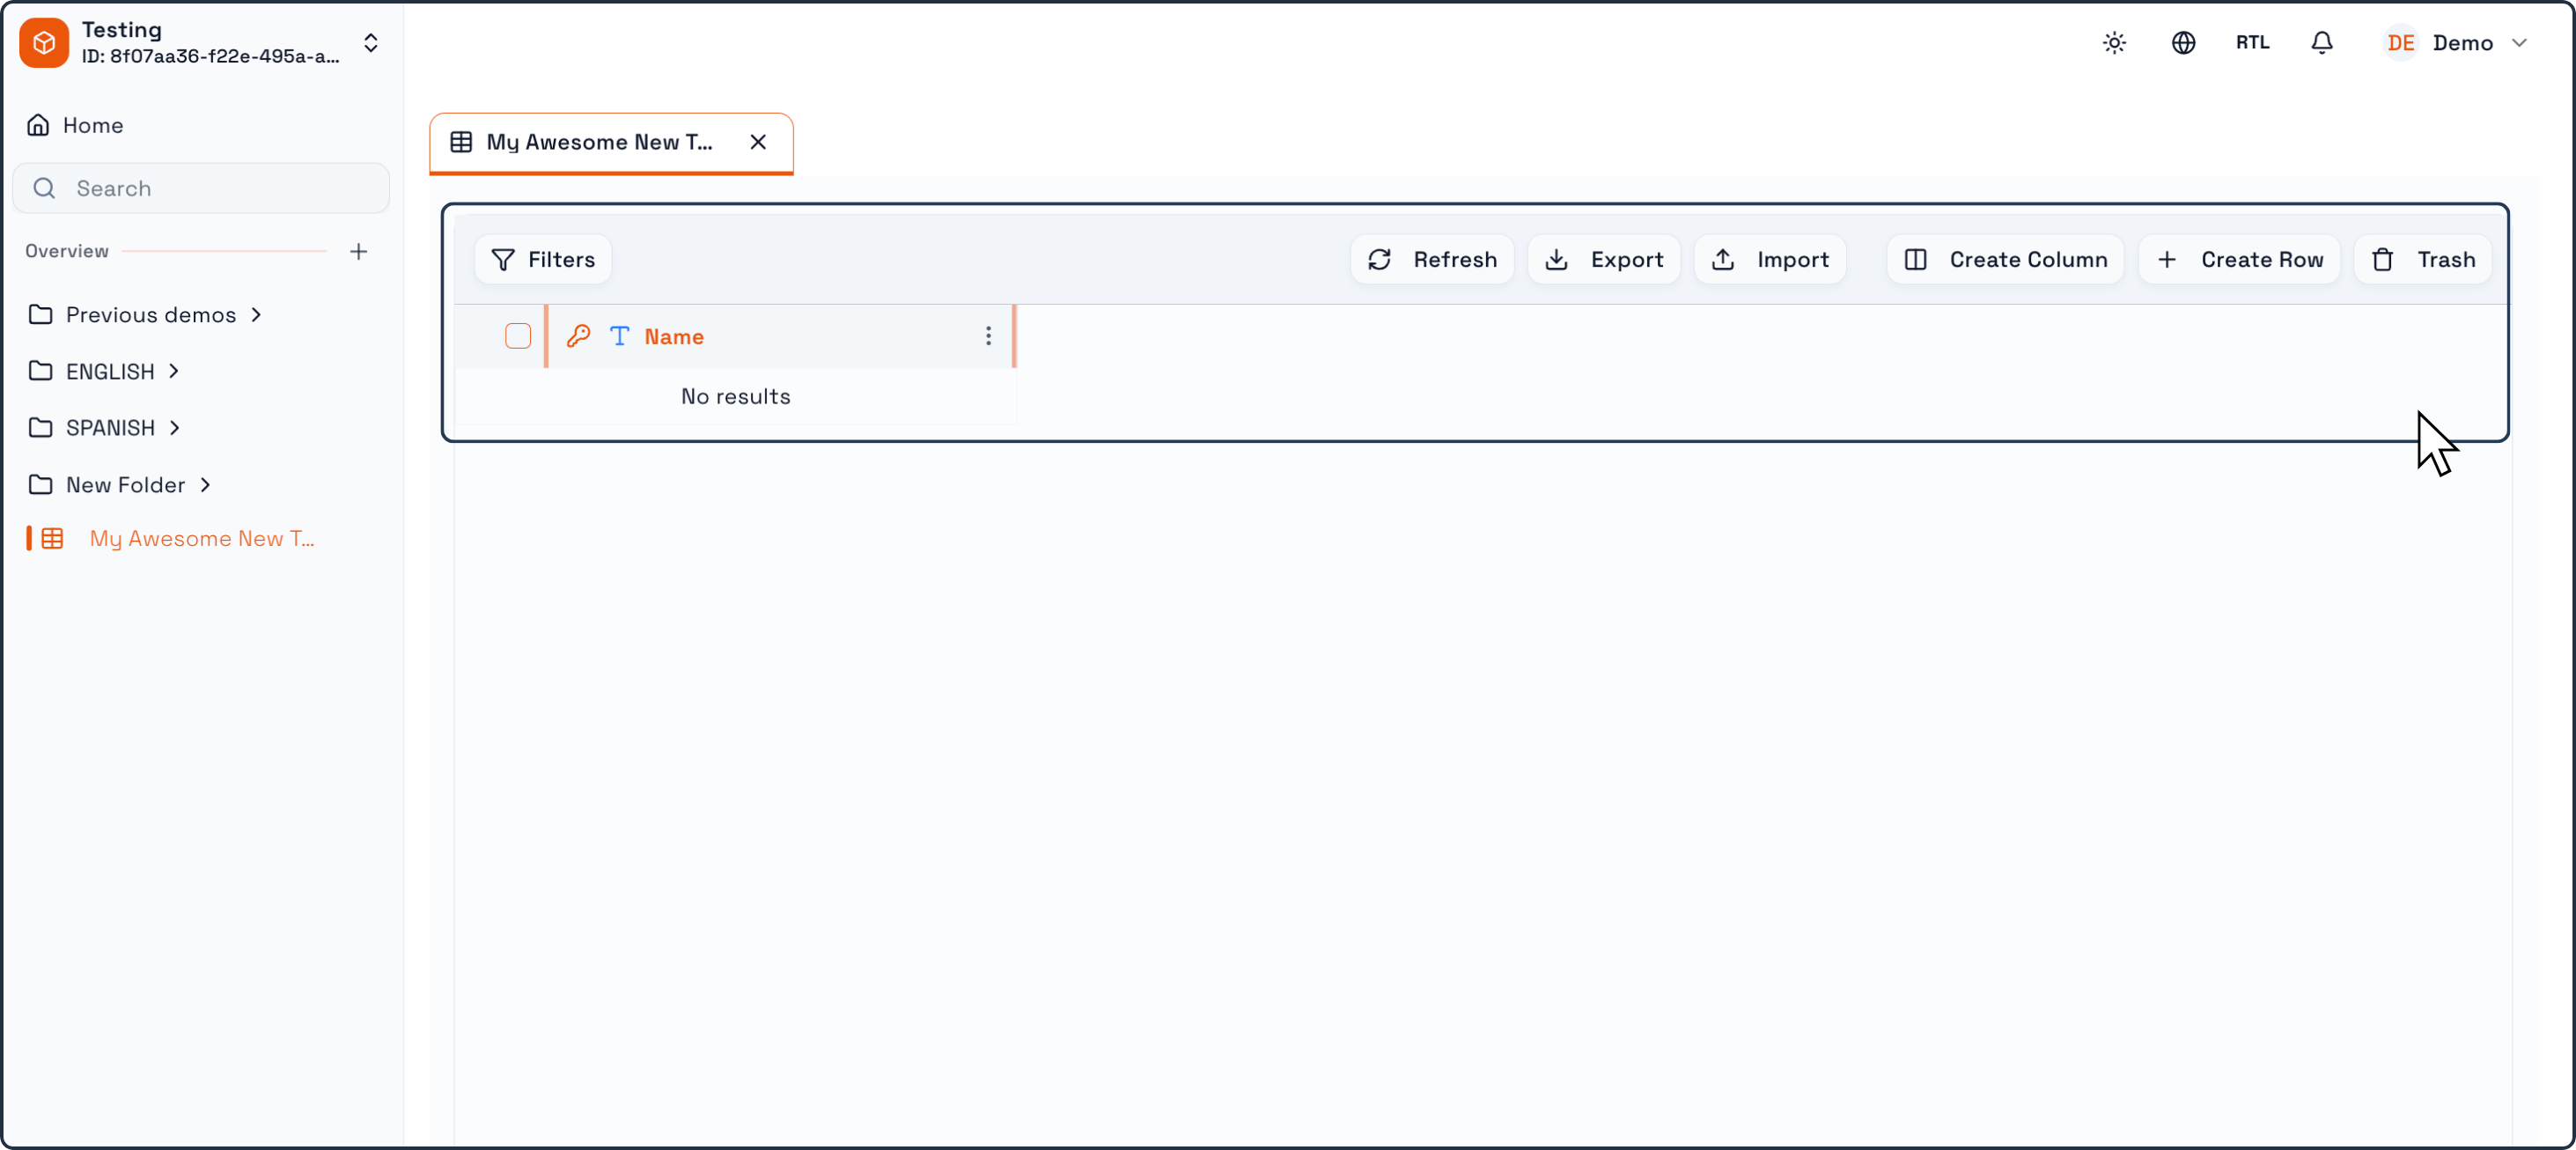
The Table will be created instantly and opened in a new tab.
At this point, you have a fully valid, empty Table with one column (the Key Column).
Adding Columns to the Table
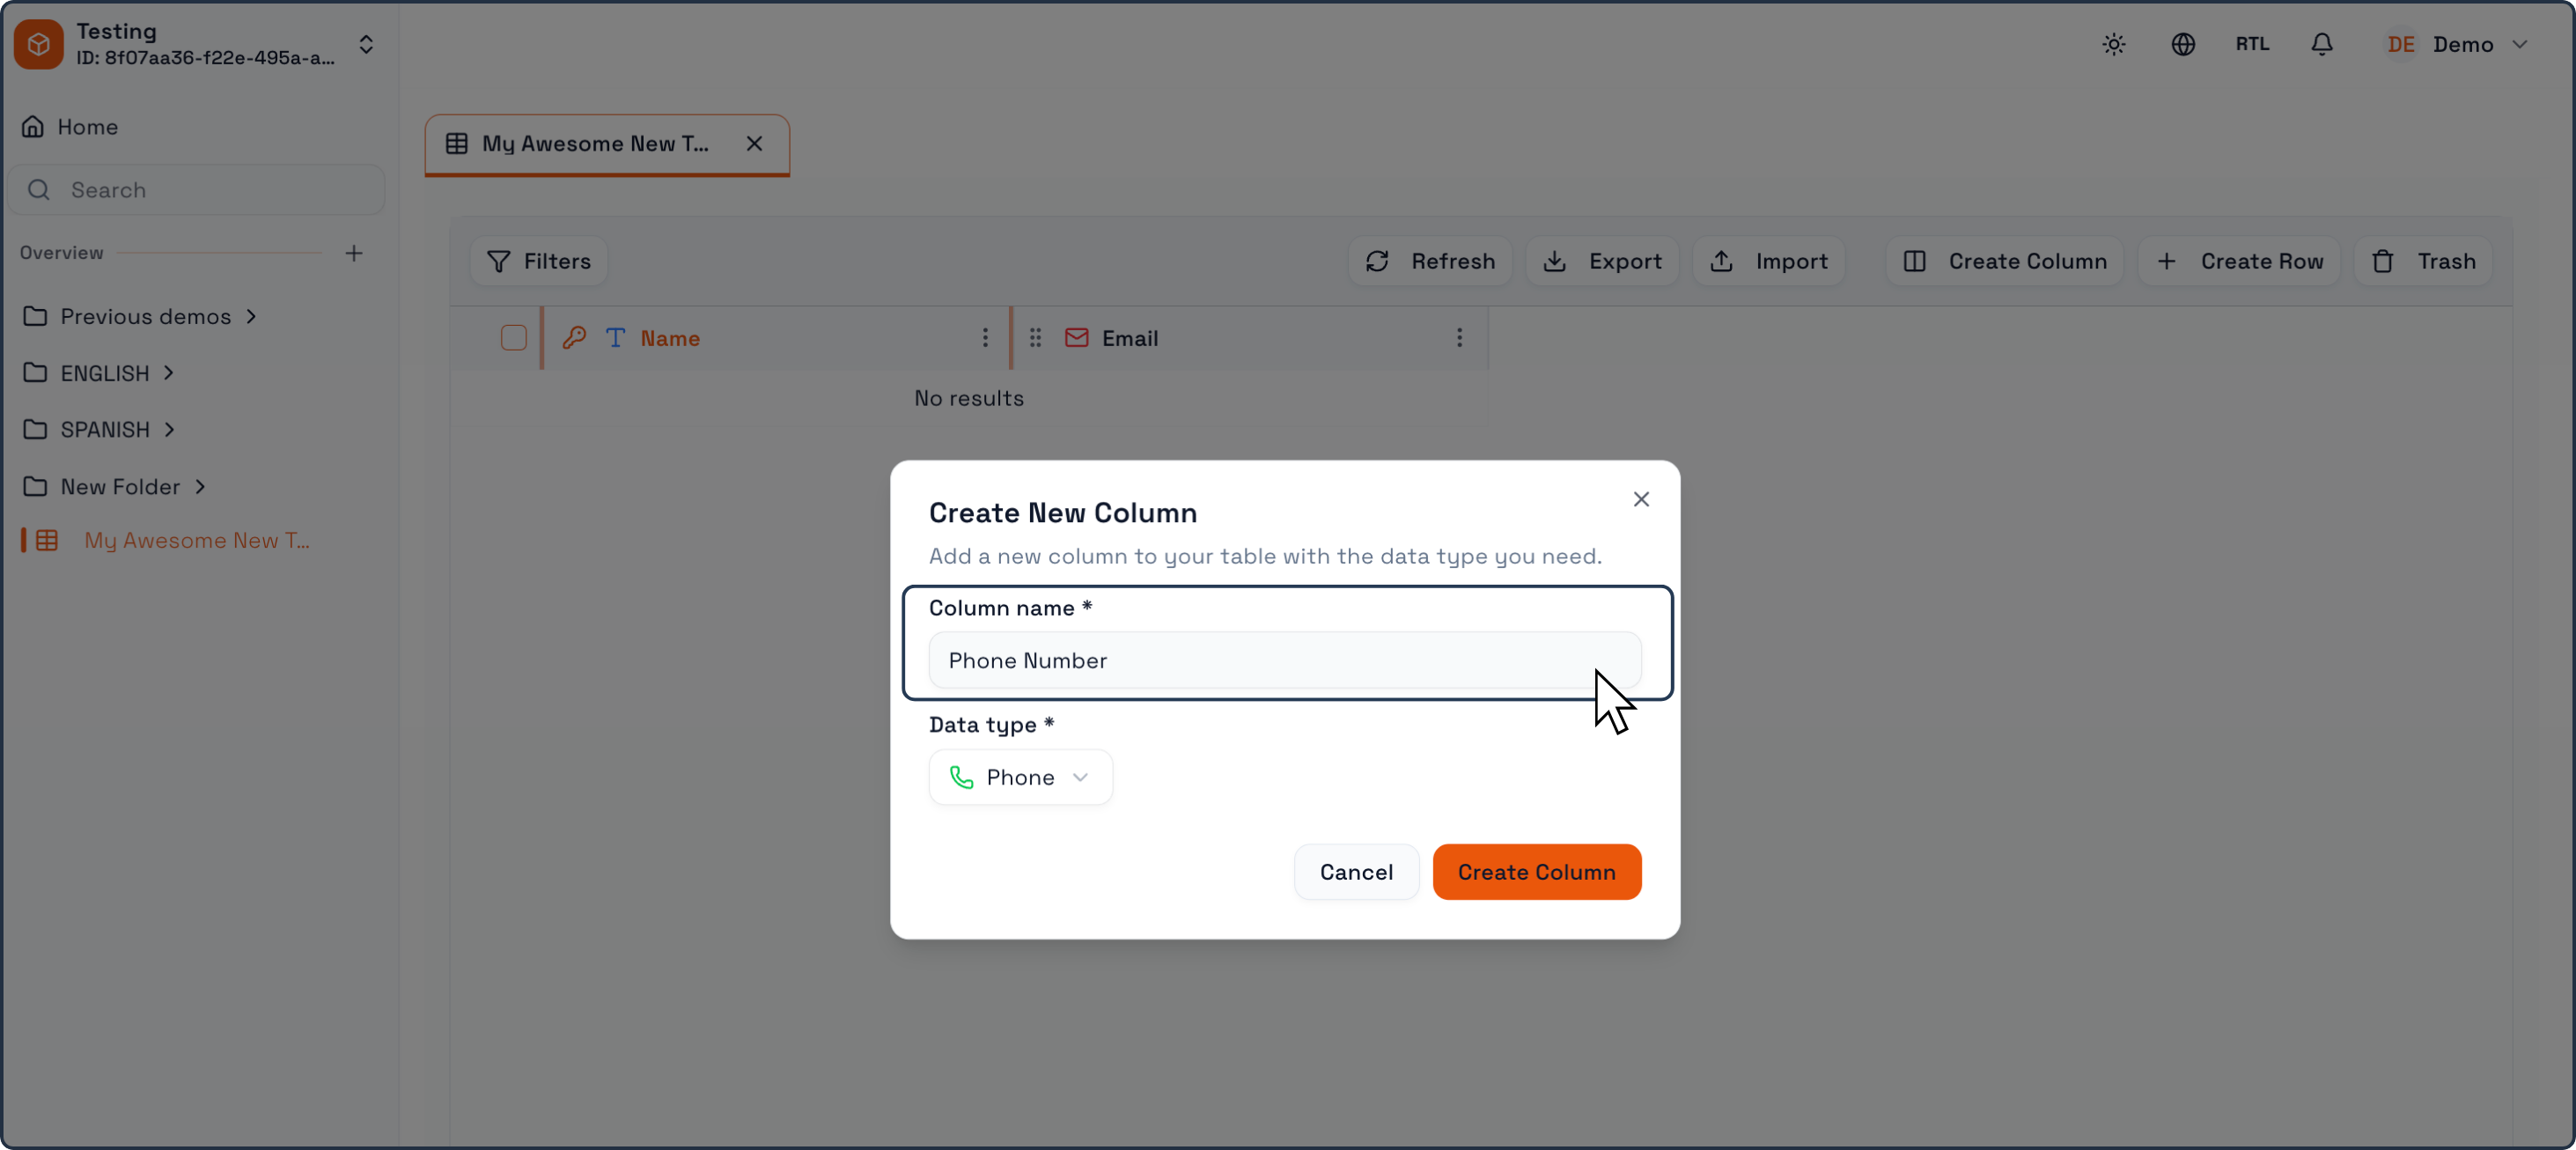
For this example, we will be followig a simple Table Structure. The Key Column will hold a Name, then followed by an Email and Phone Columns, each with a corresponding Email and Phone Datatype Column.
After creating the Table, you can begin shaping its structure by adding more columns.
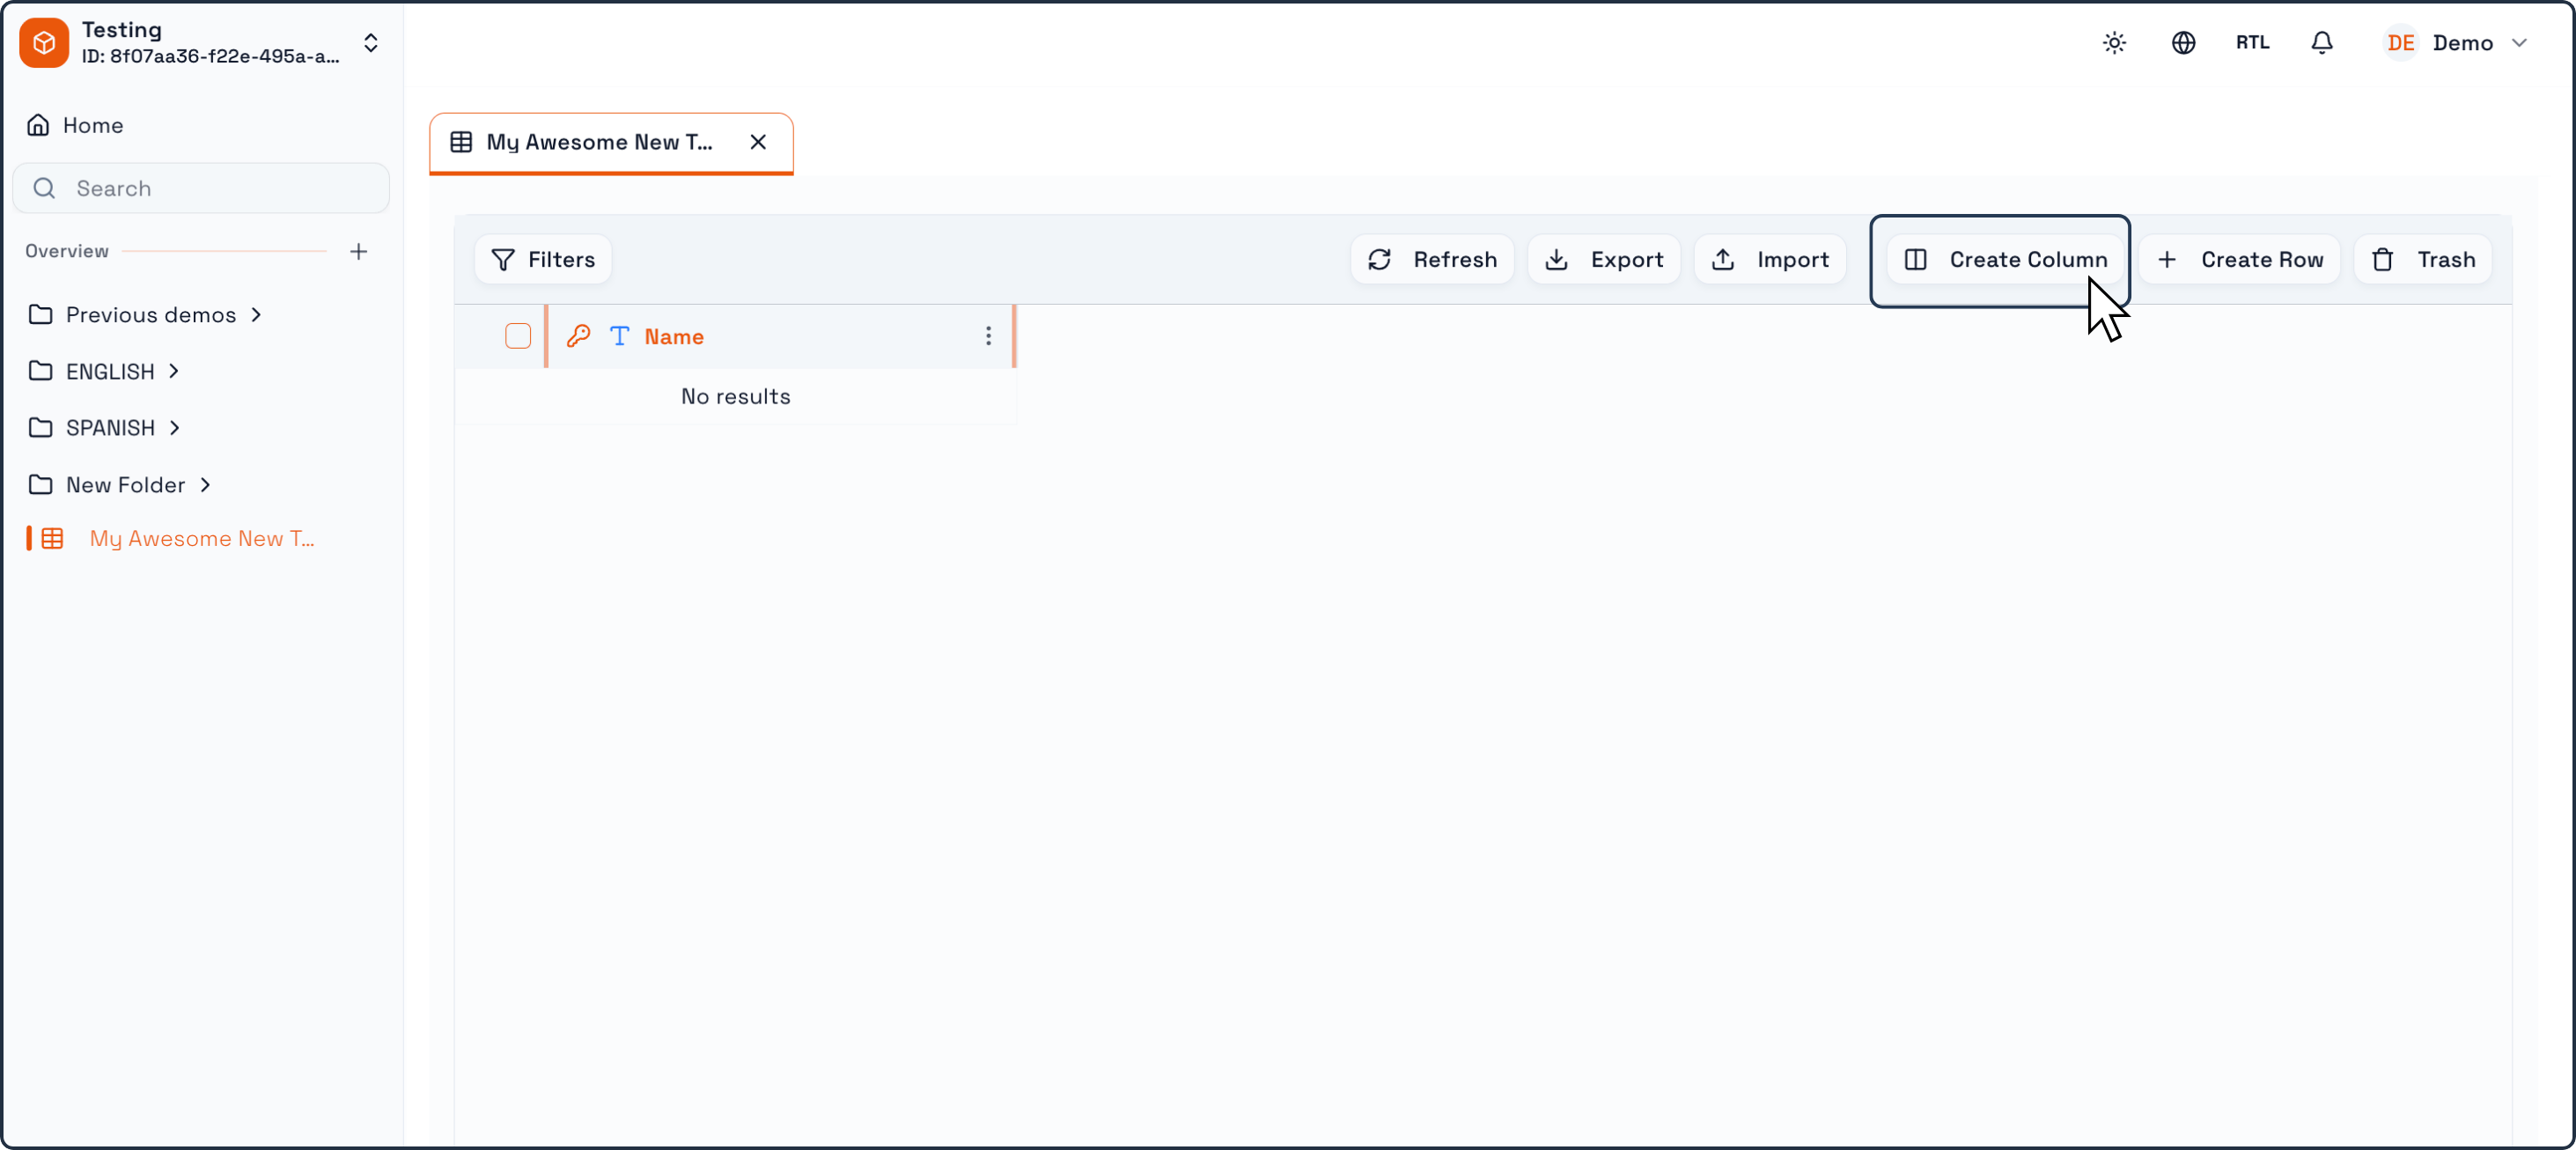
To add a new column:
Click the Create Column button in the Table toolbar .
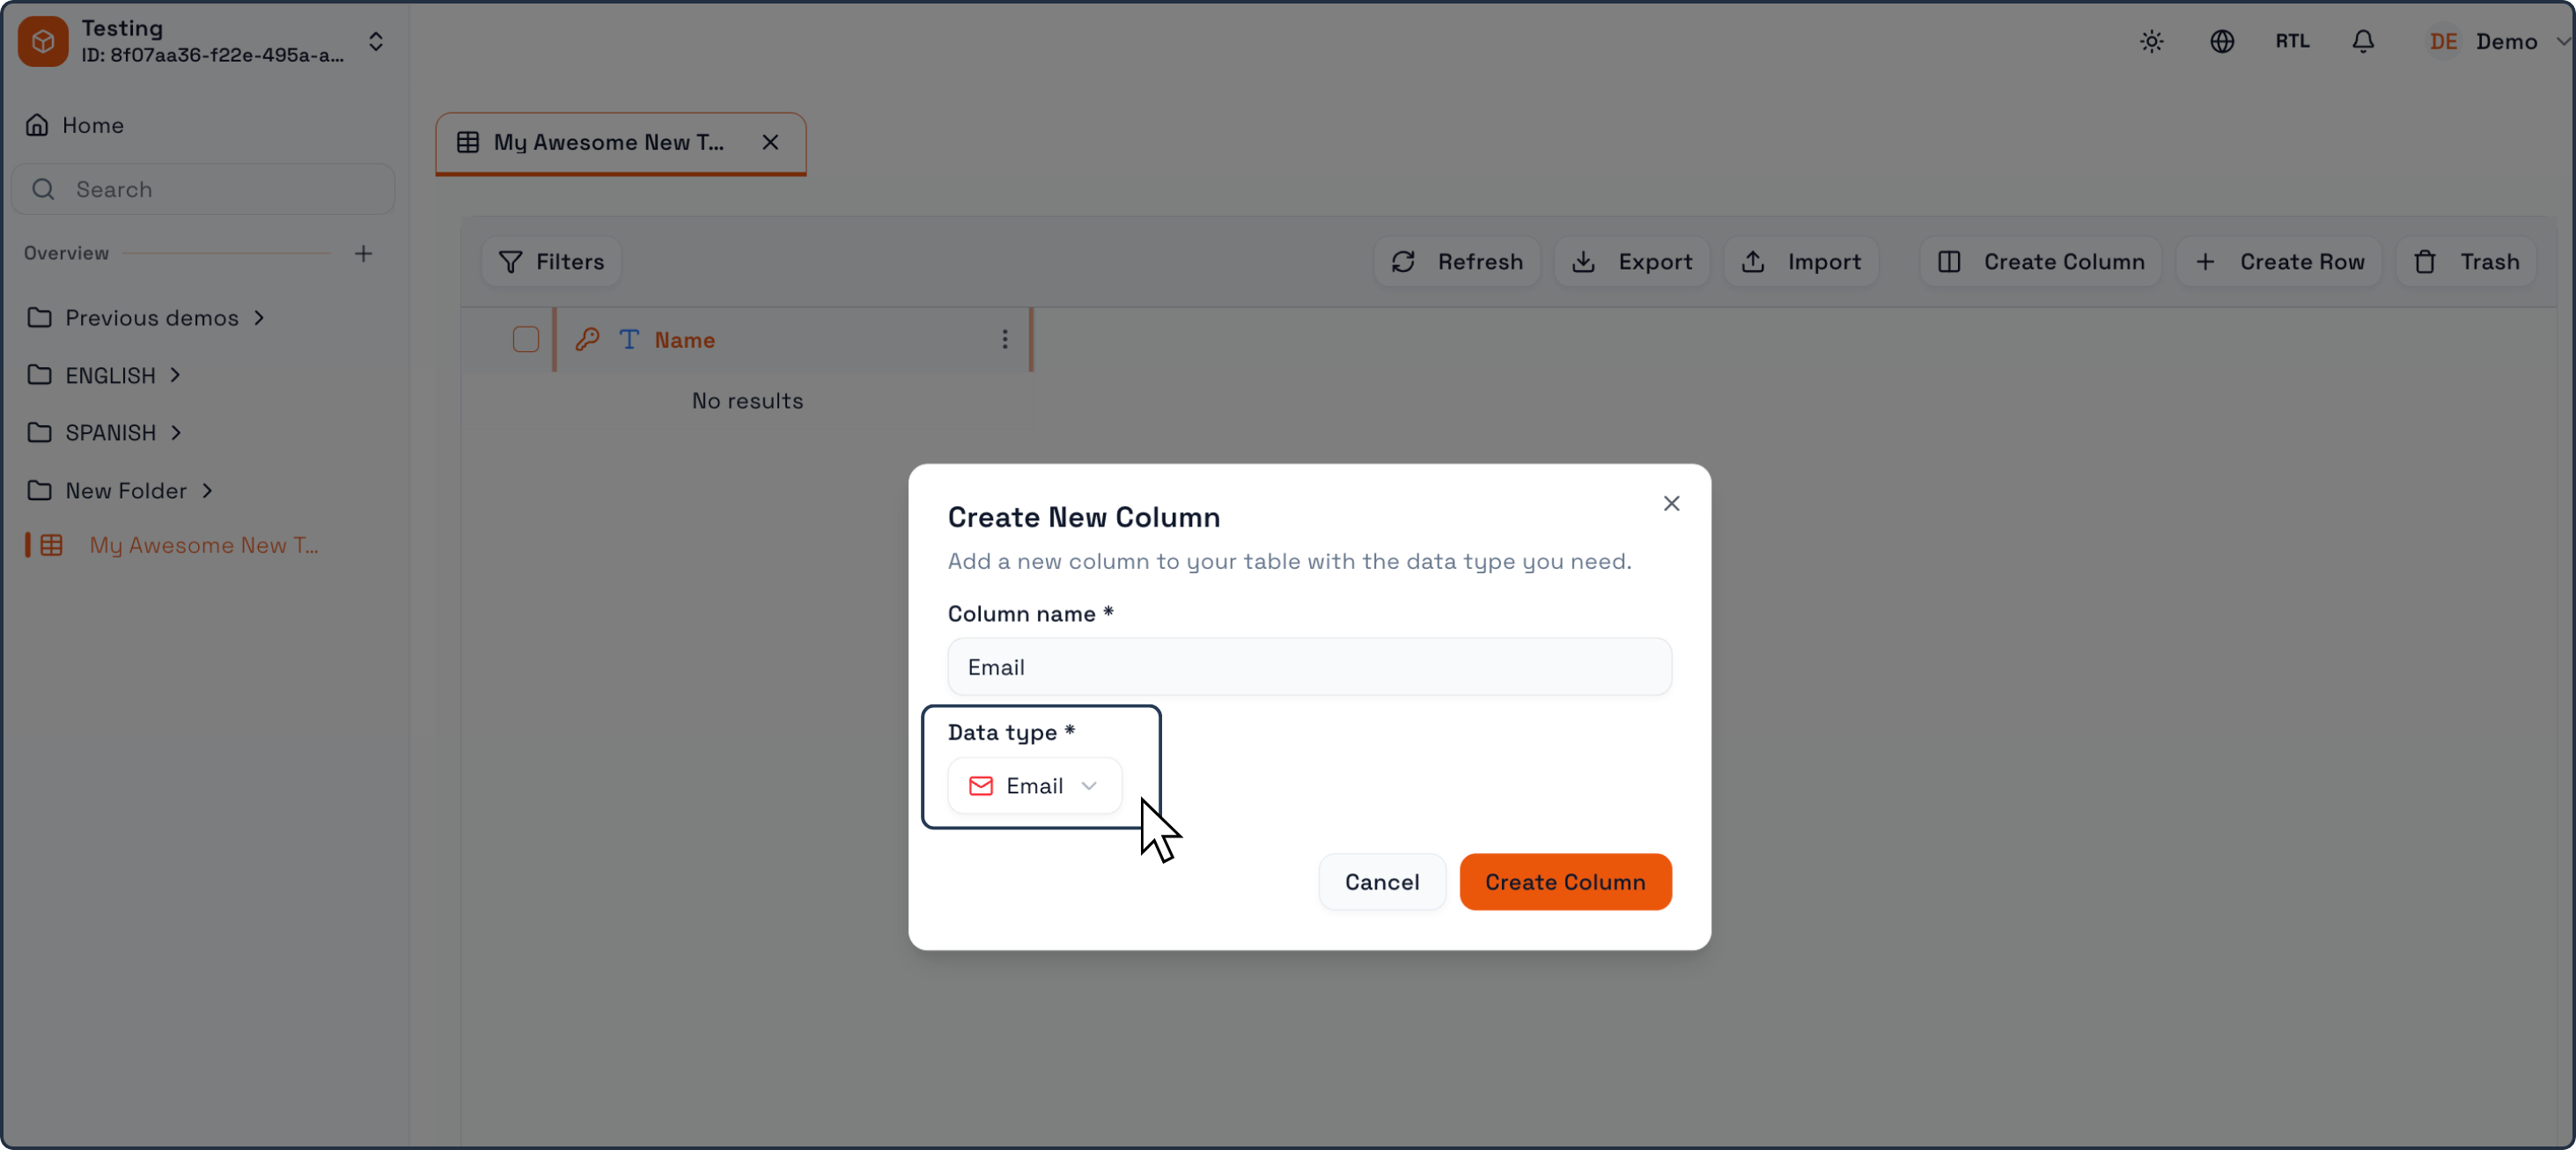
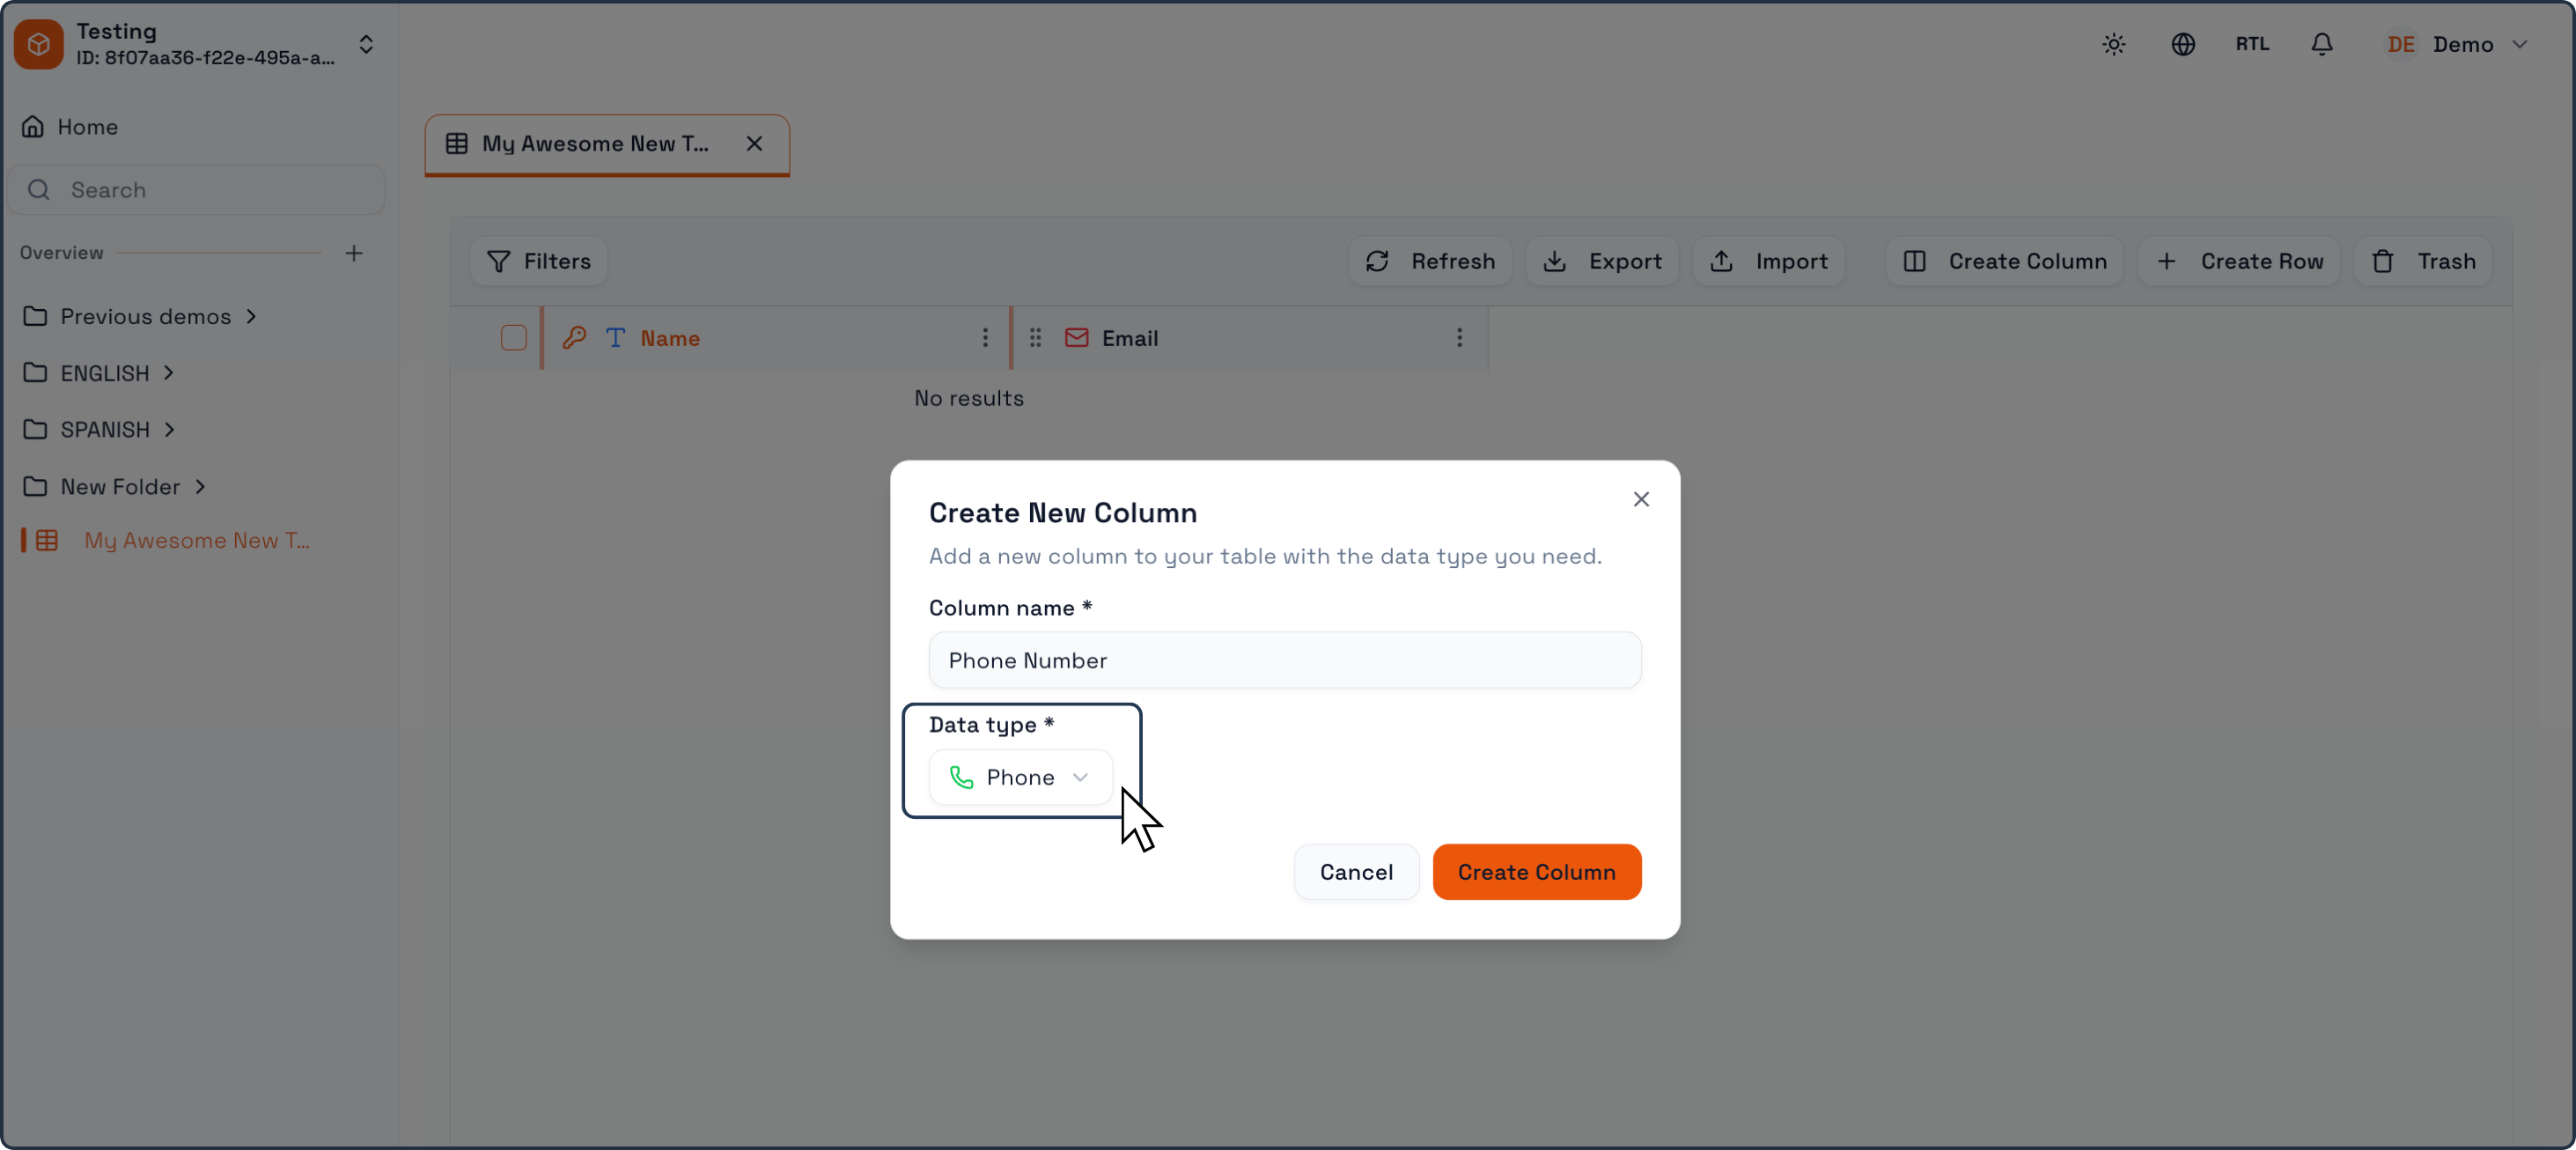
A Create New Column dialog will appear.
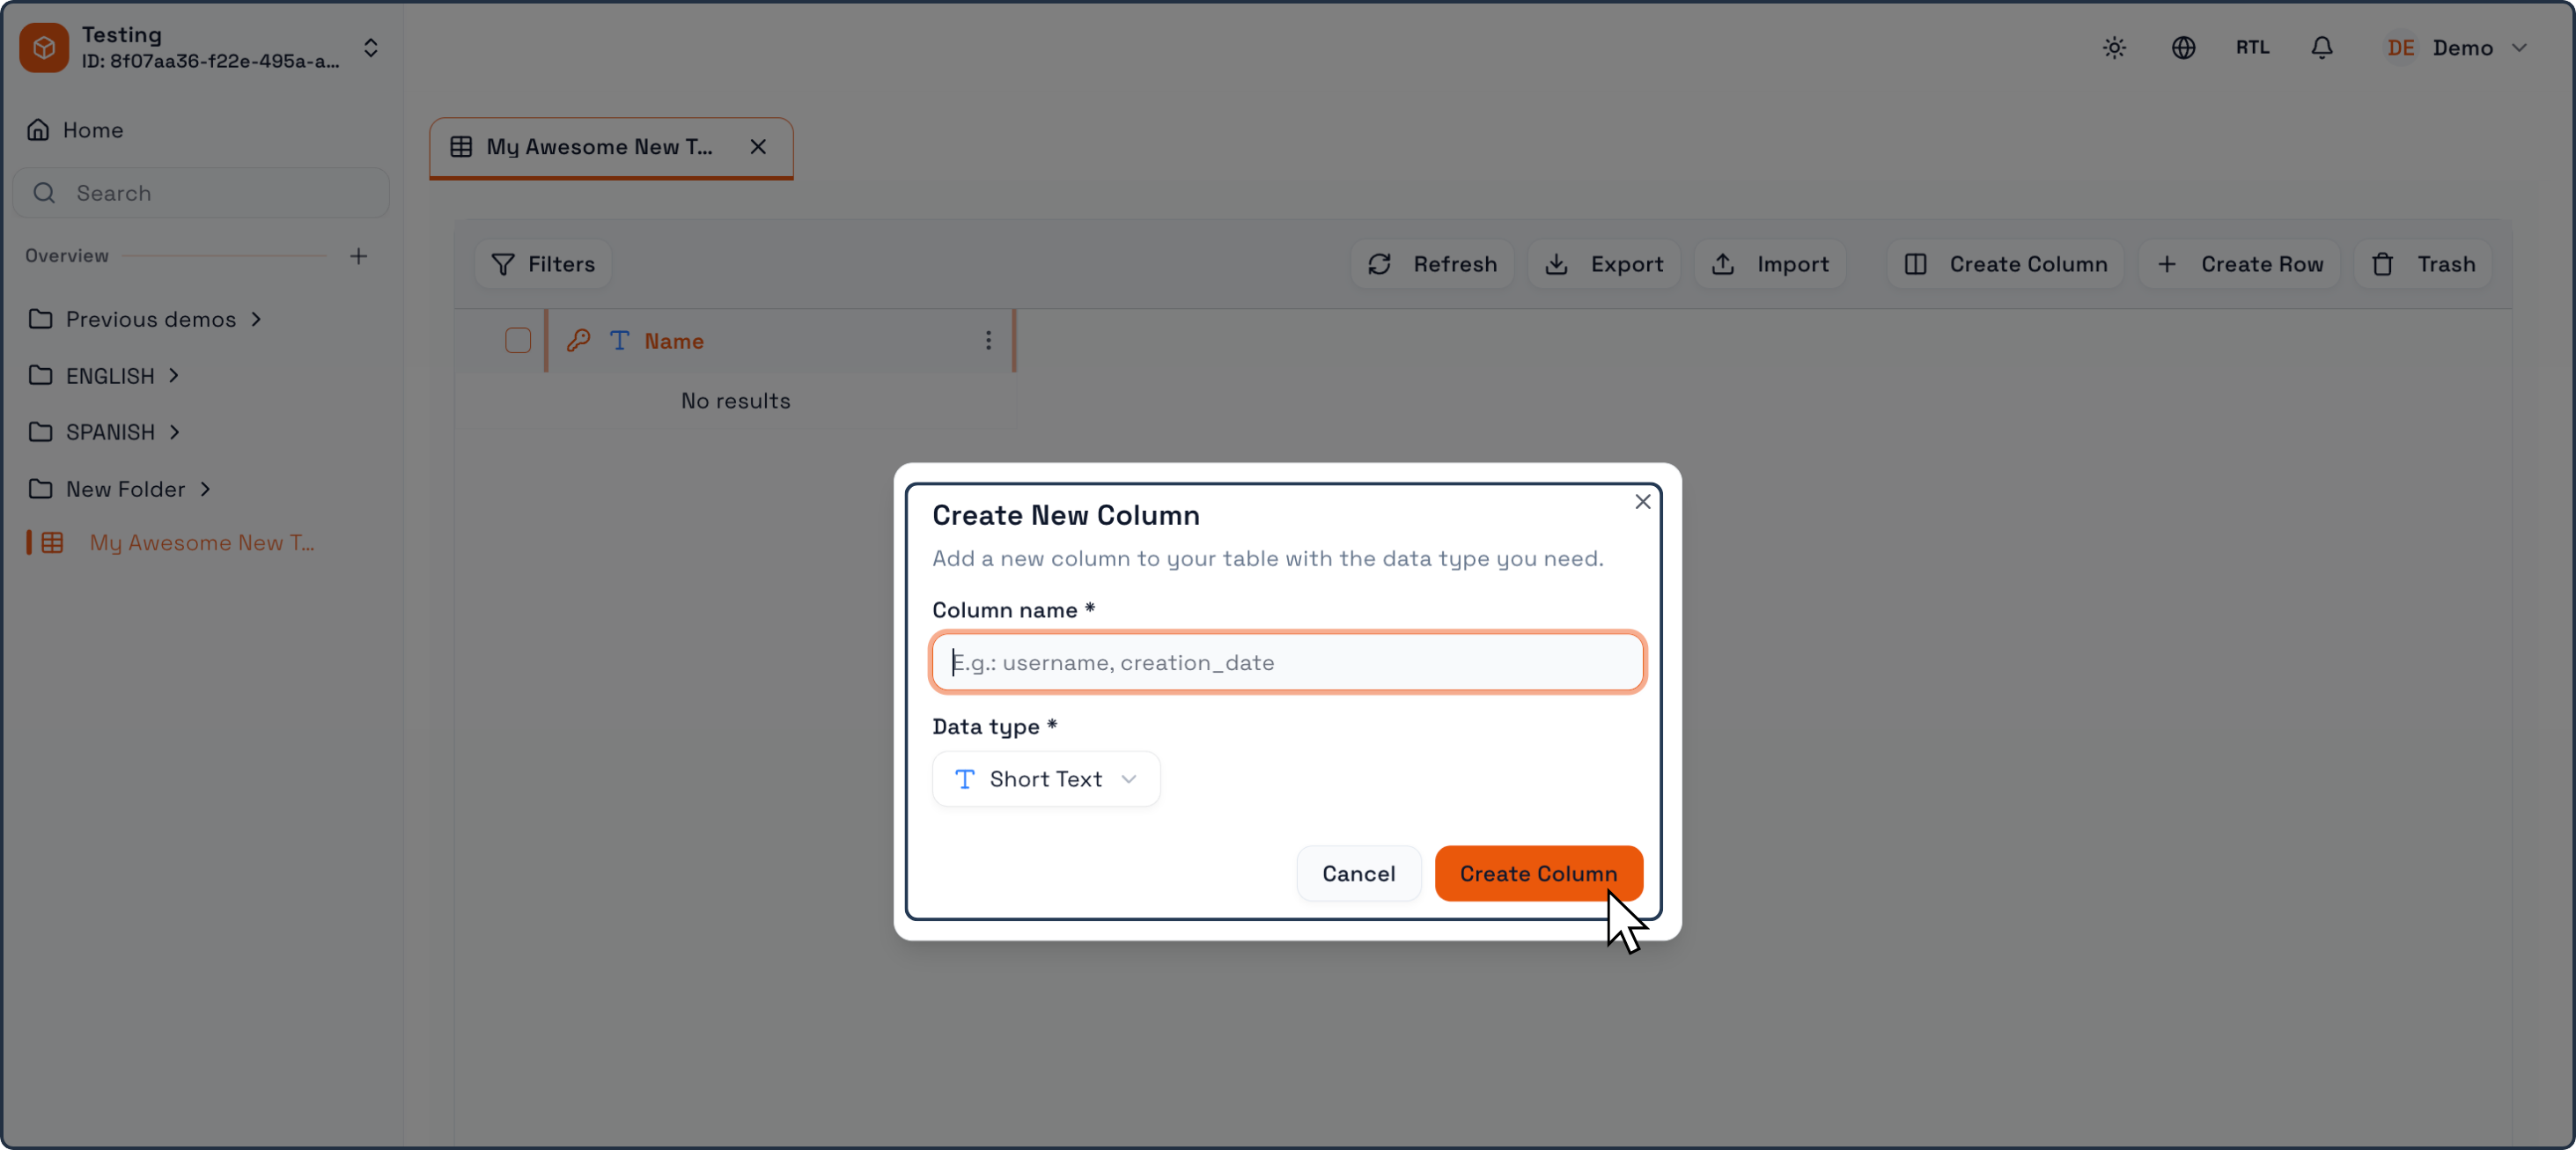
In this dialog:
Enter the Column name.
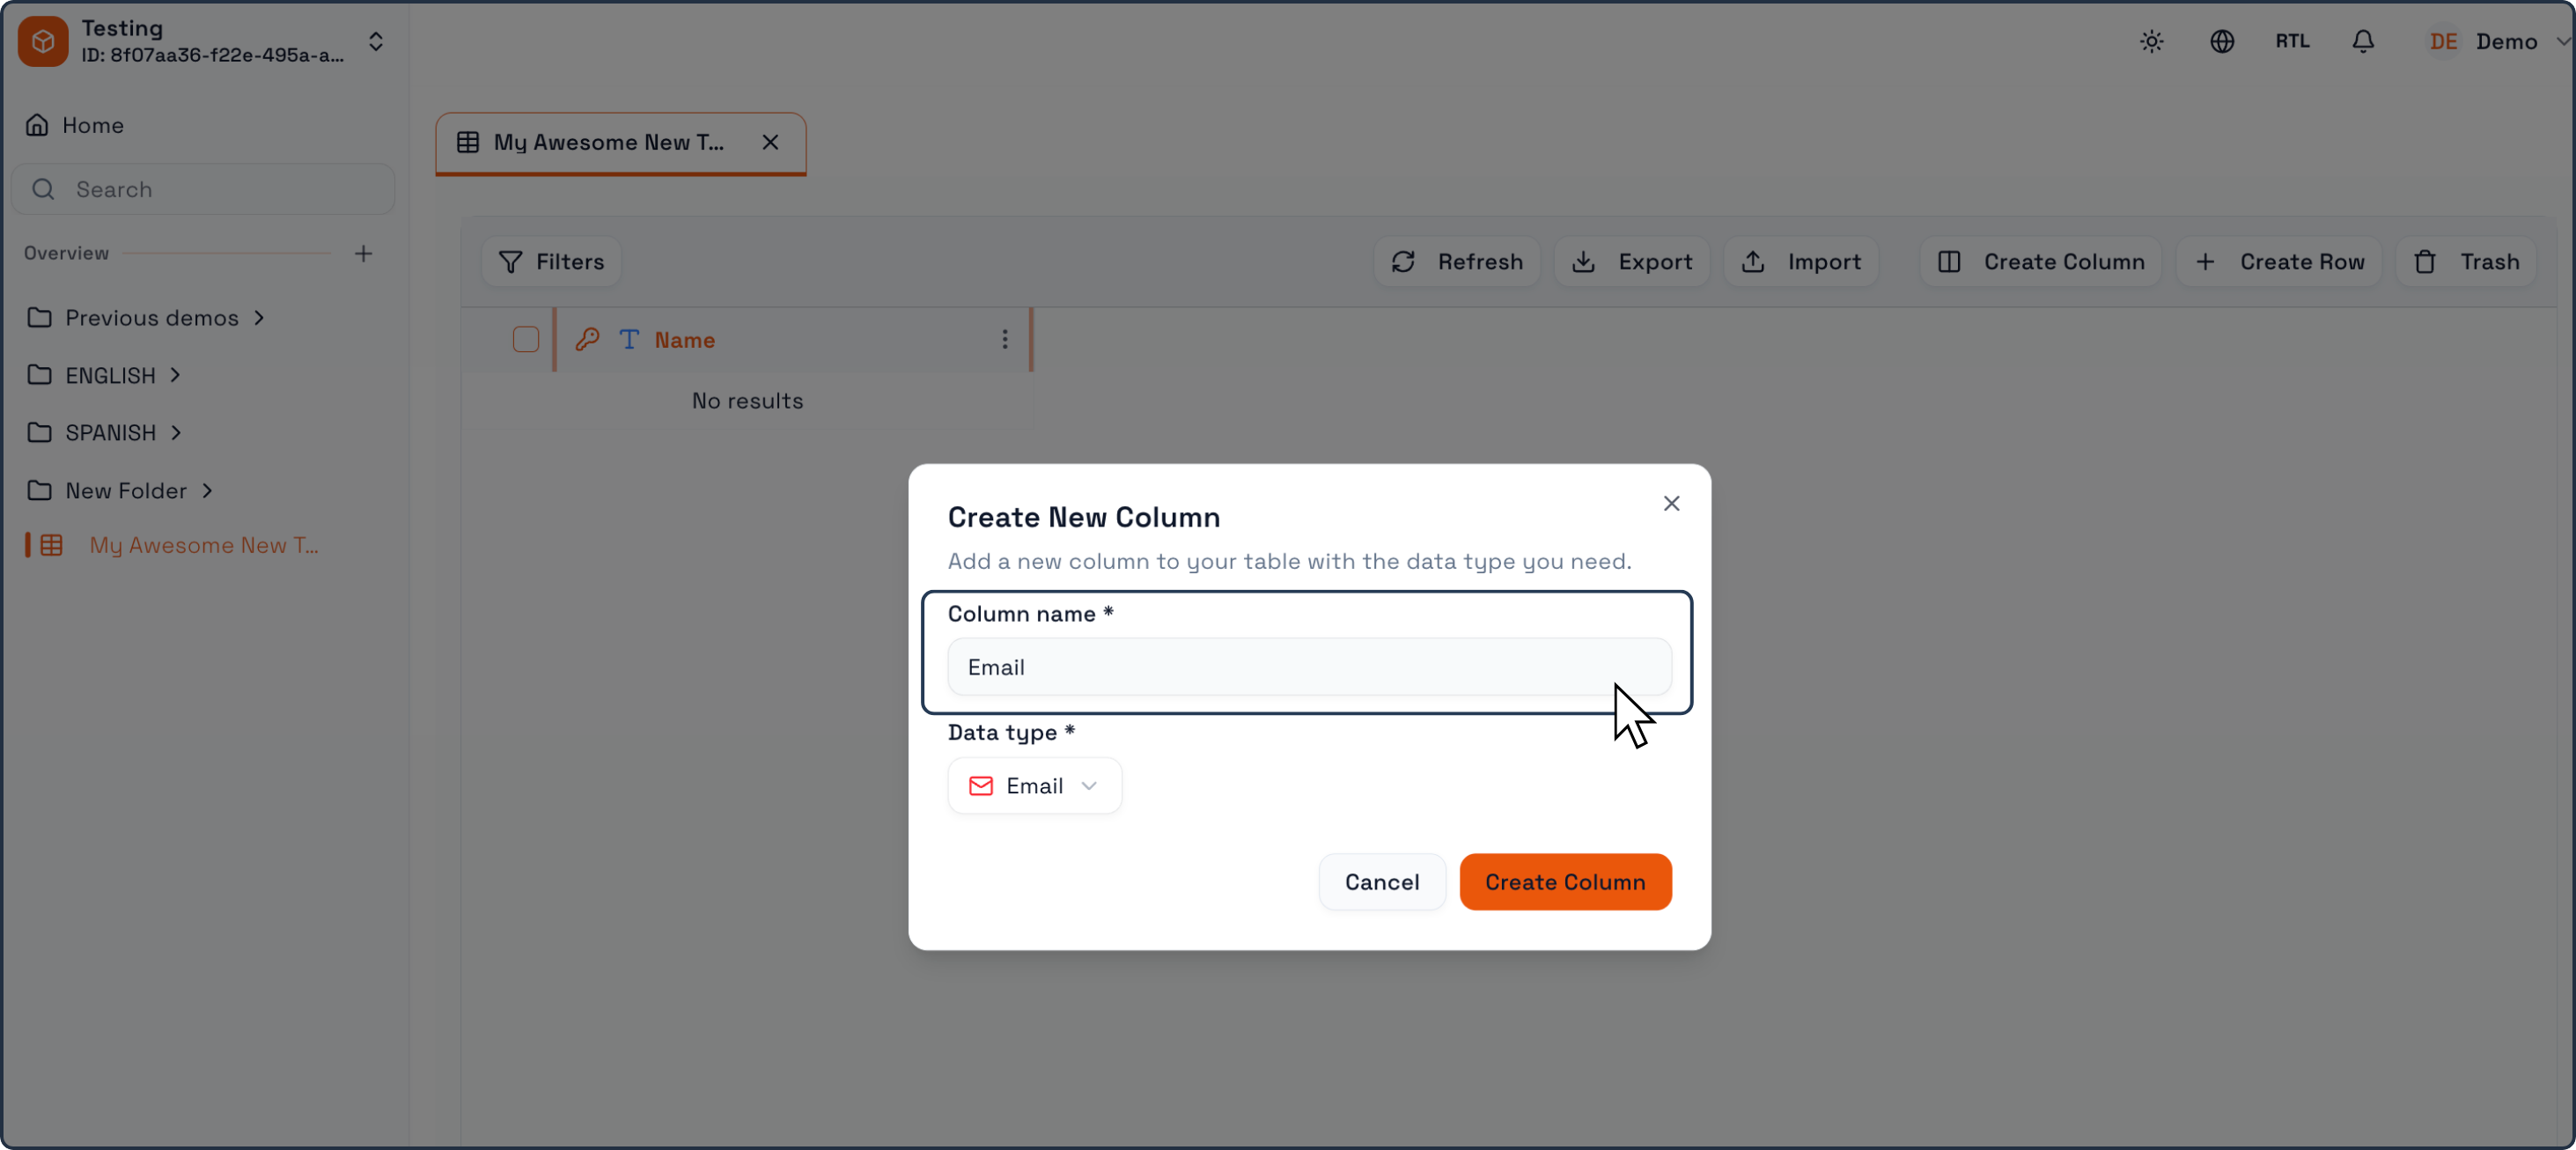
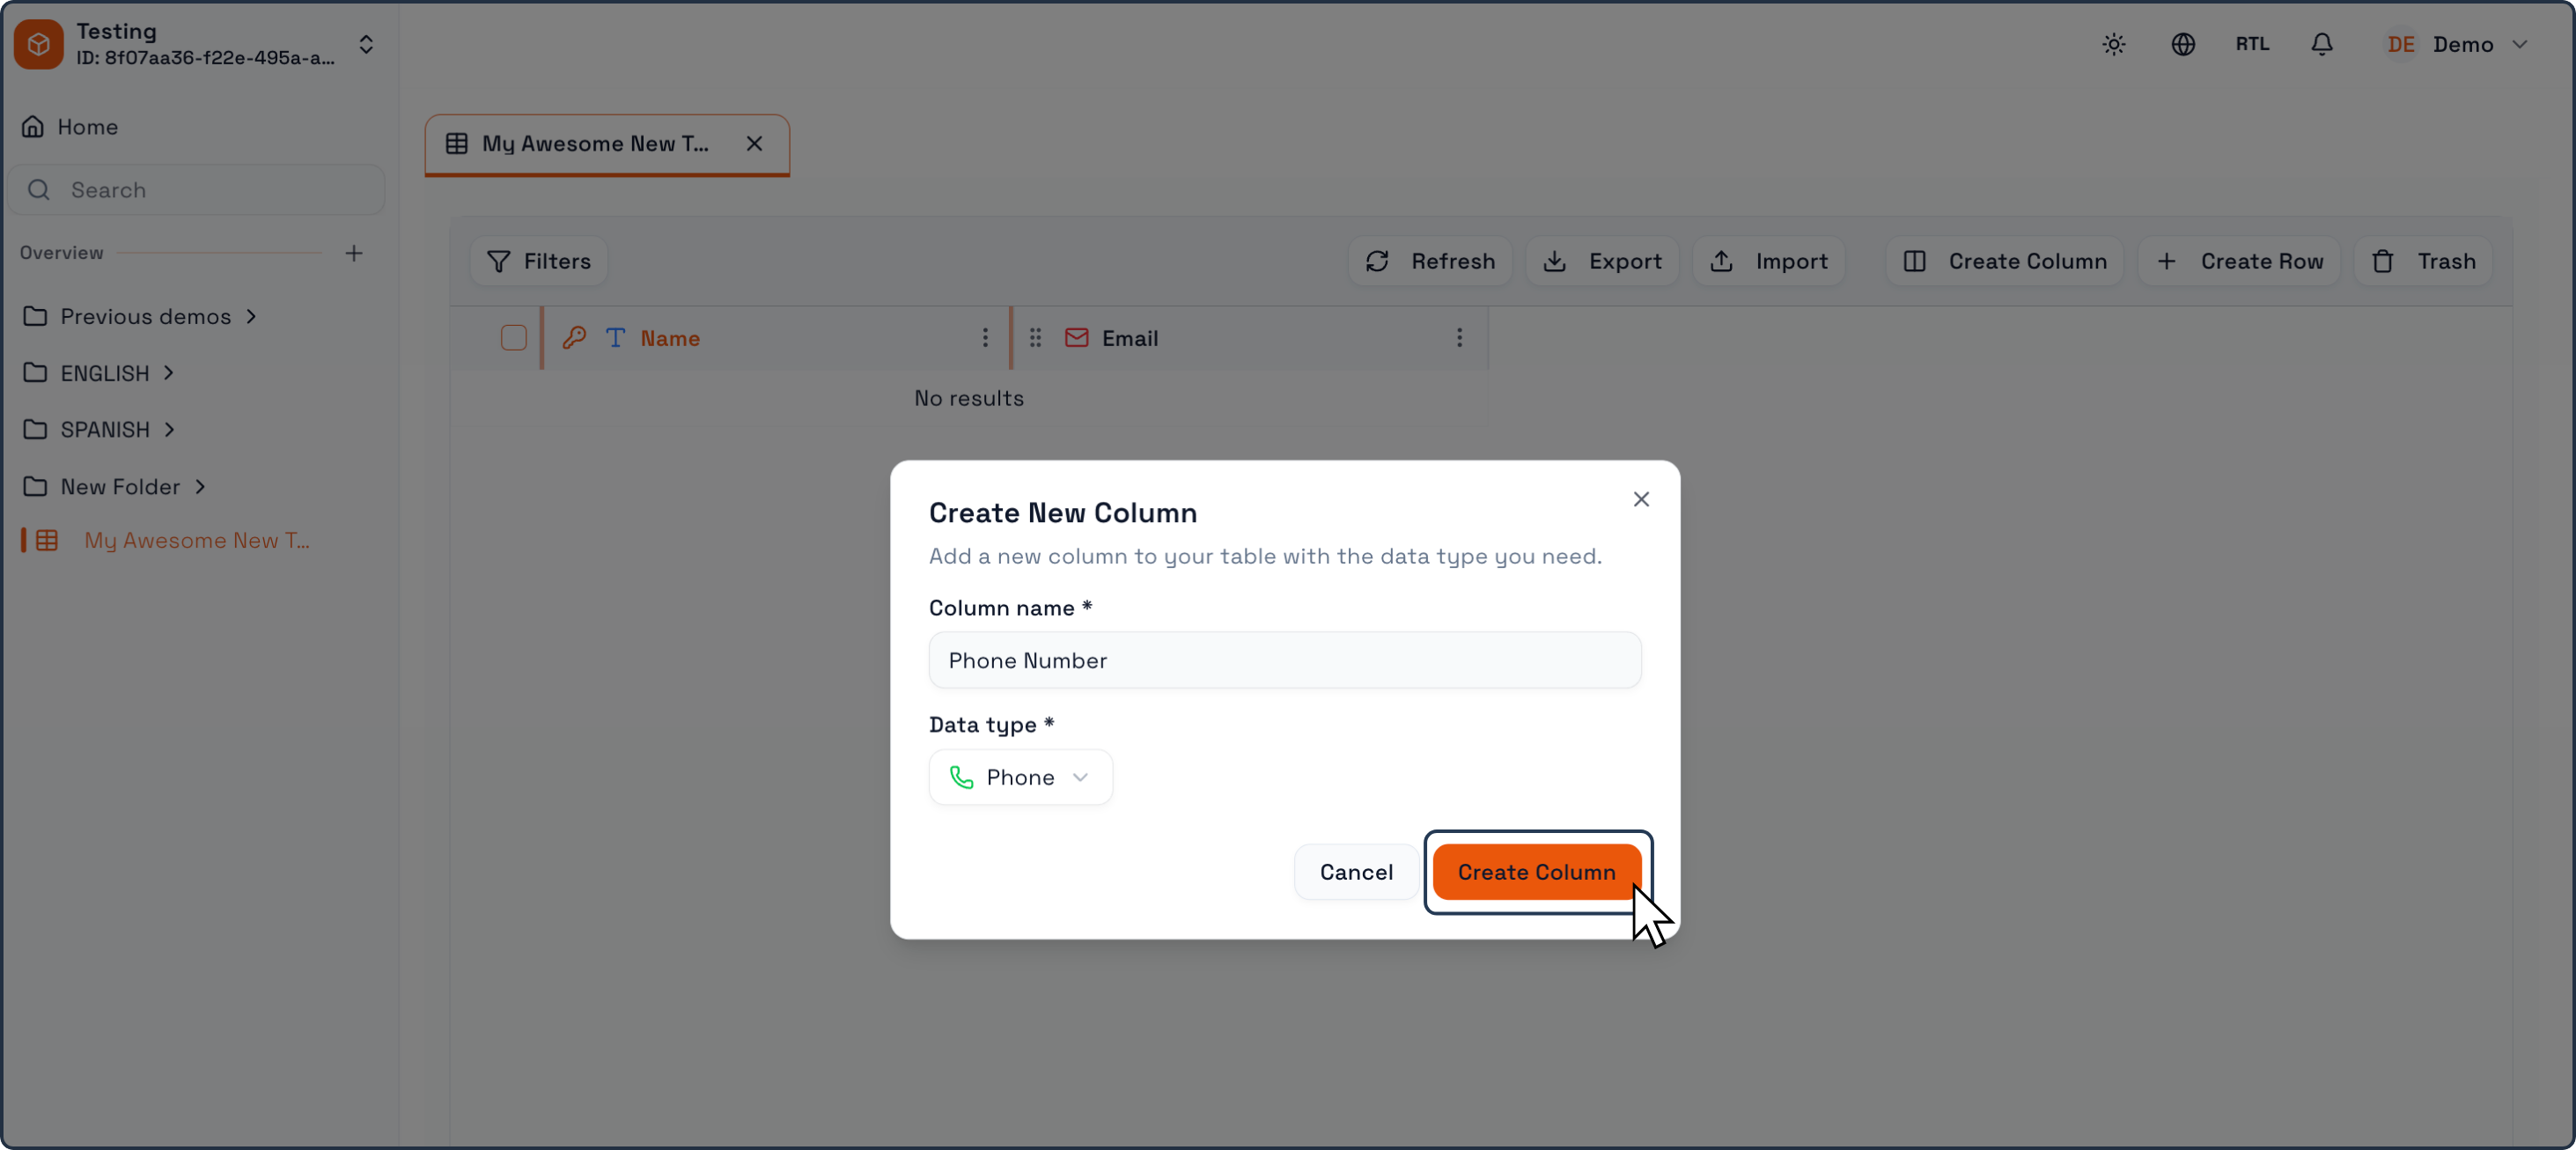
Select the Data Type from the dropdown list (for example: Short Text, Number, Date, Currency, Status, Relation).
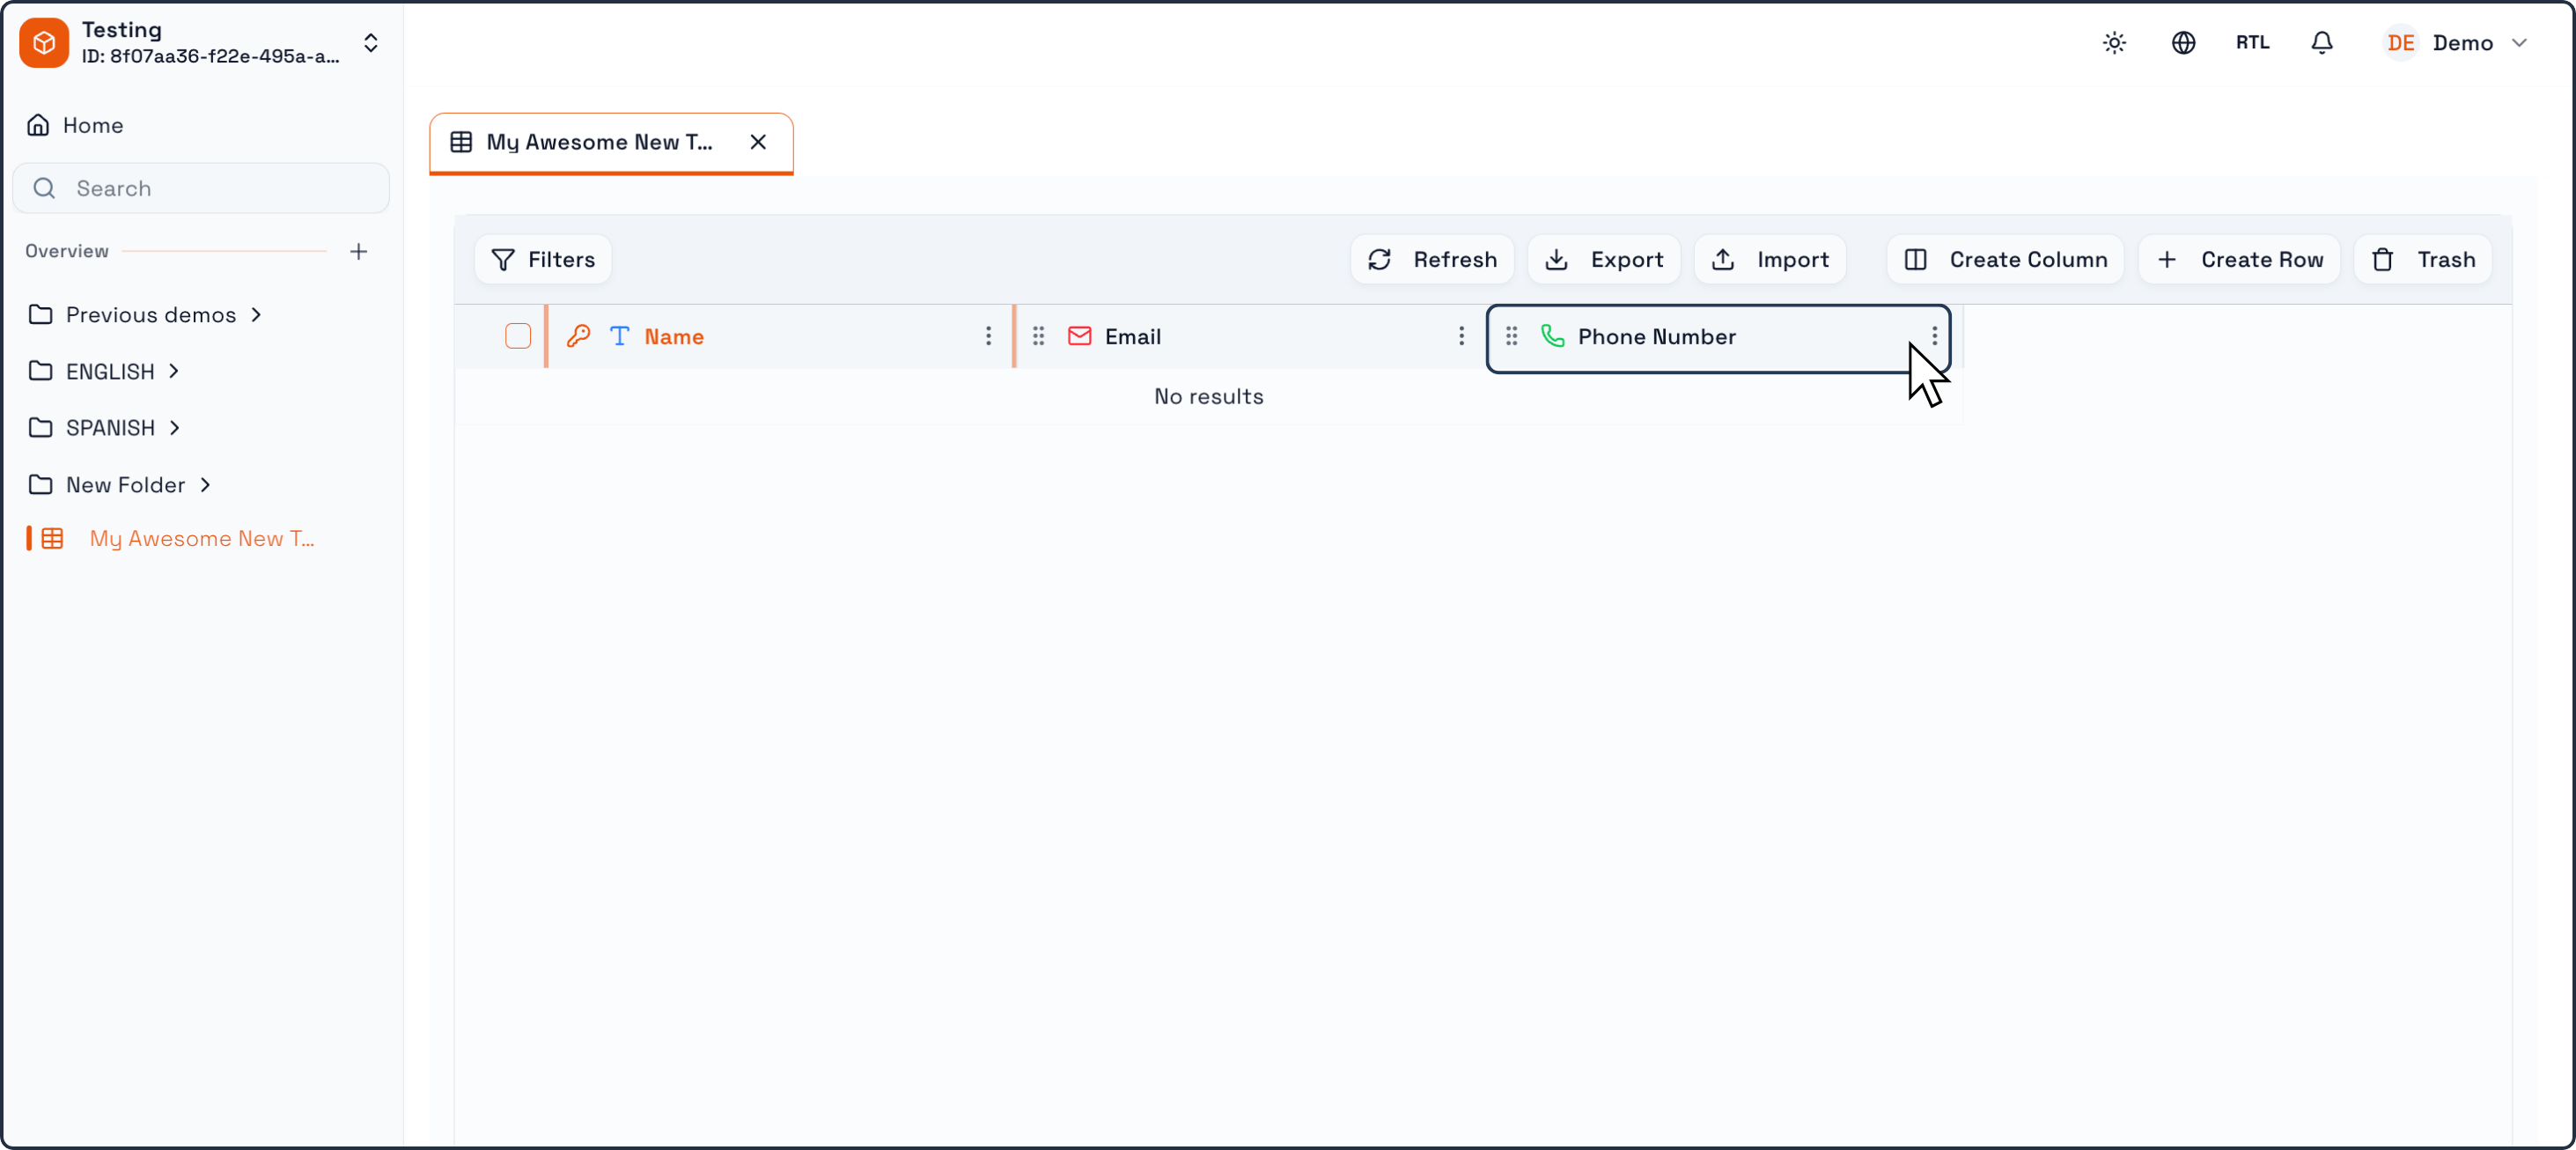
Click Create Column.
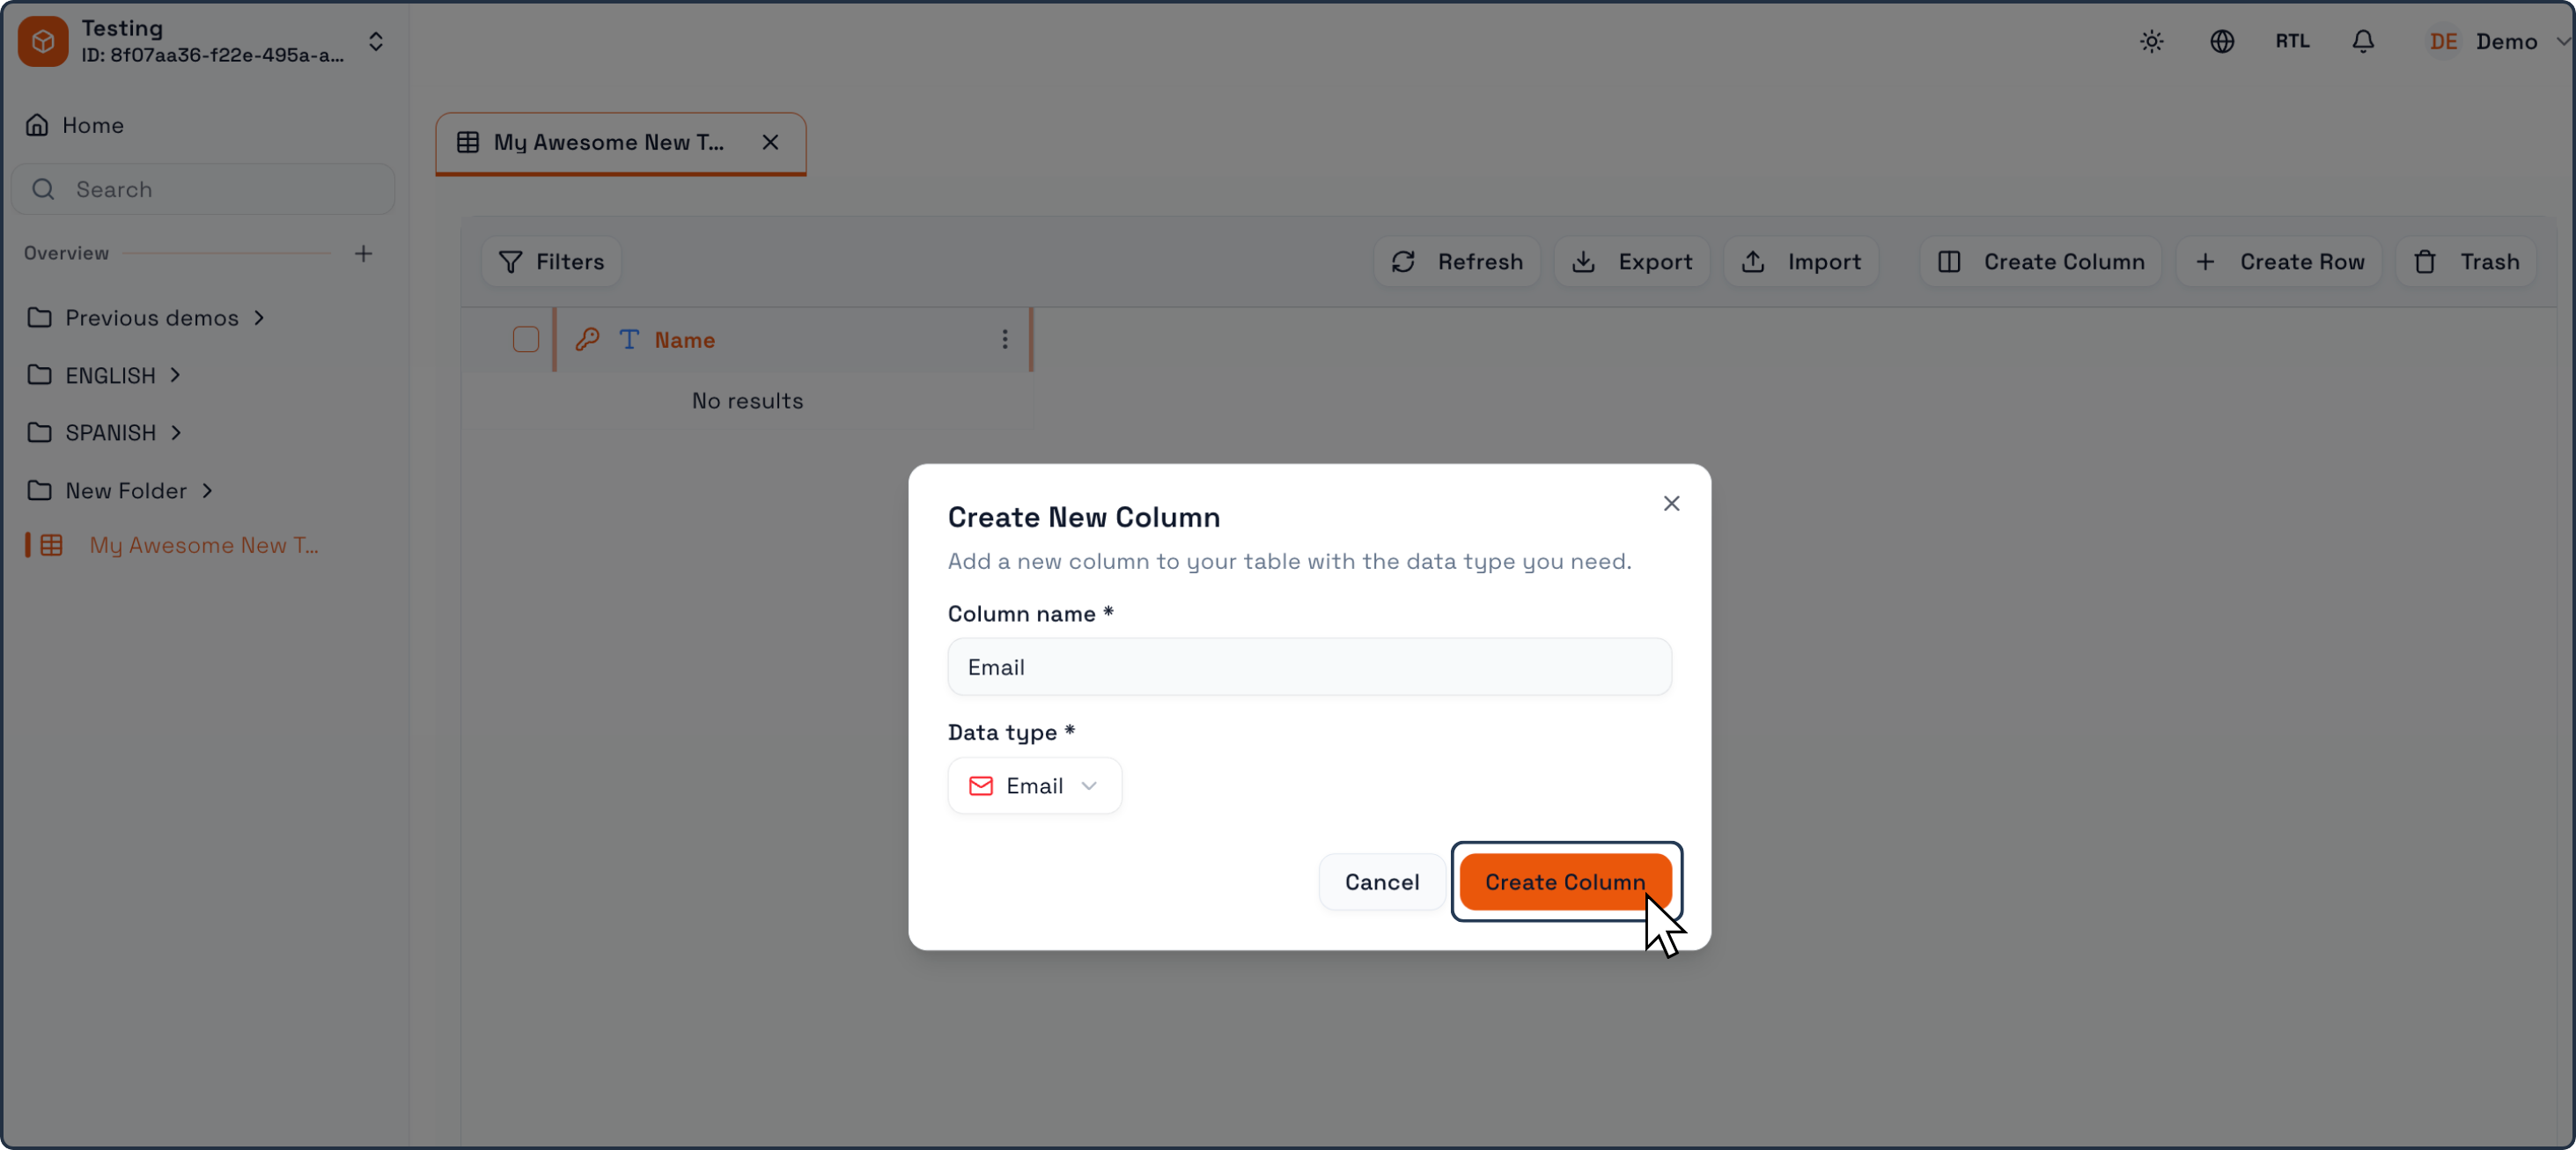
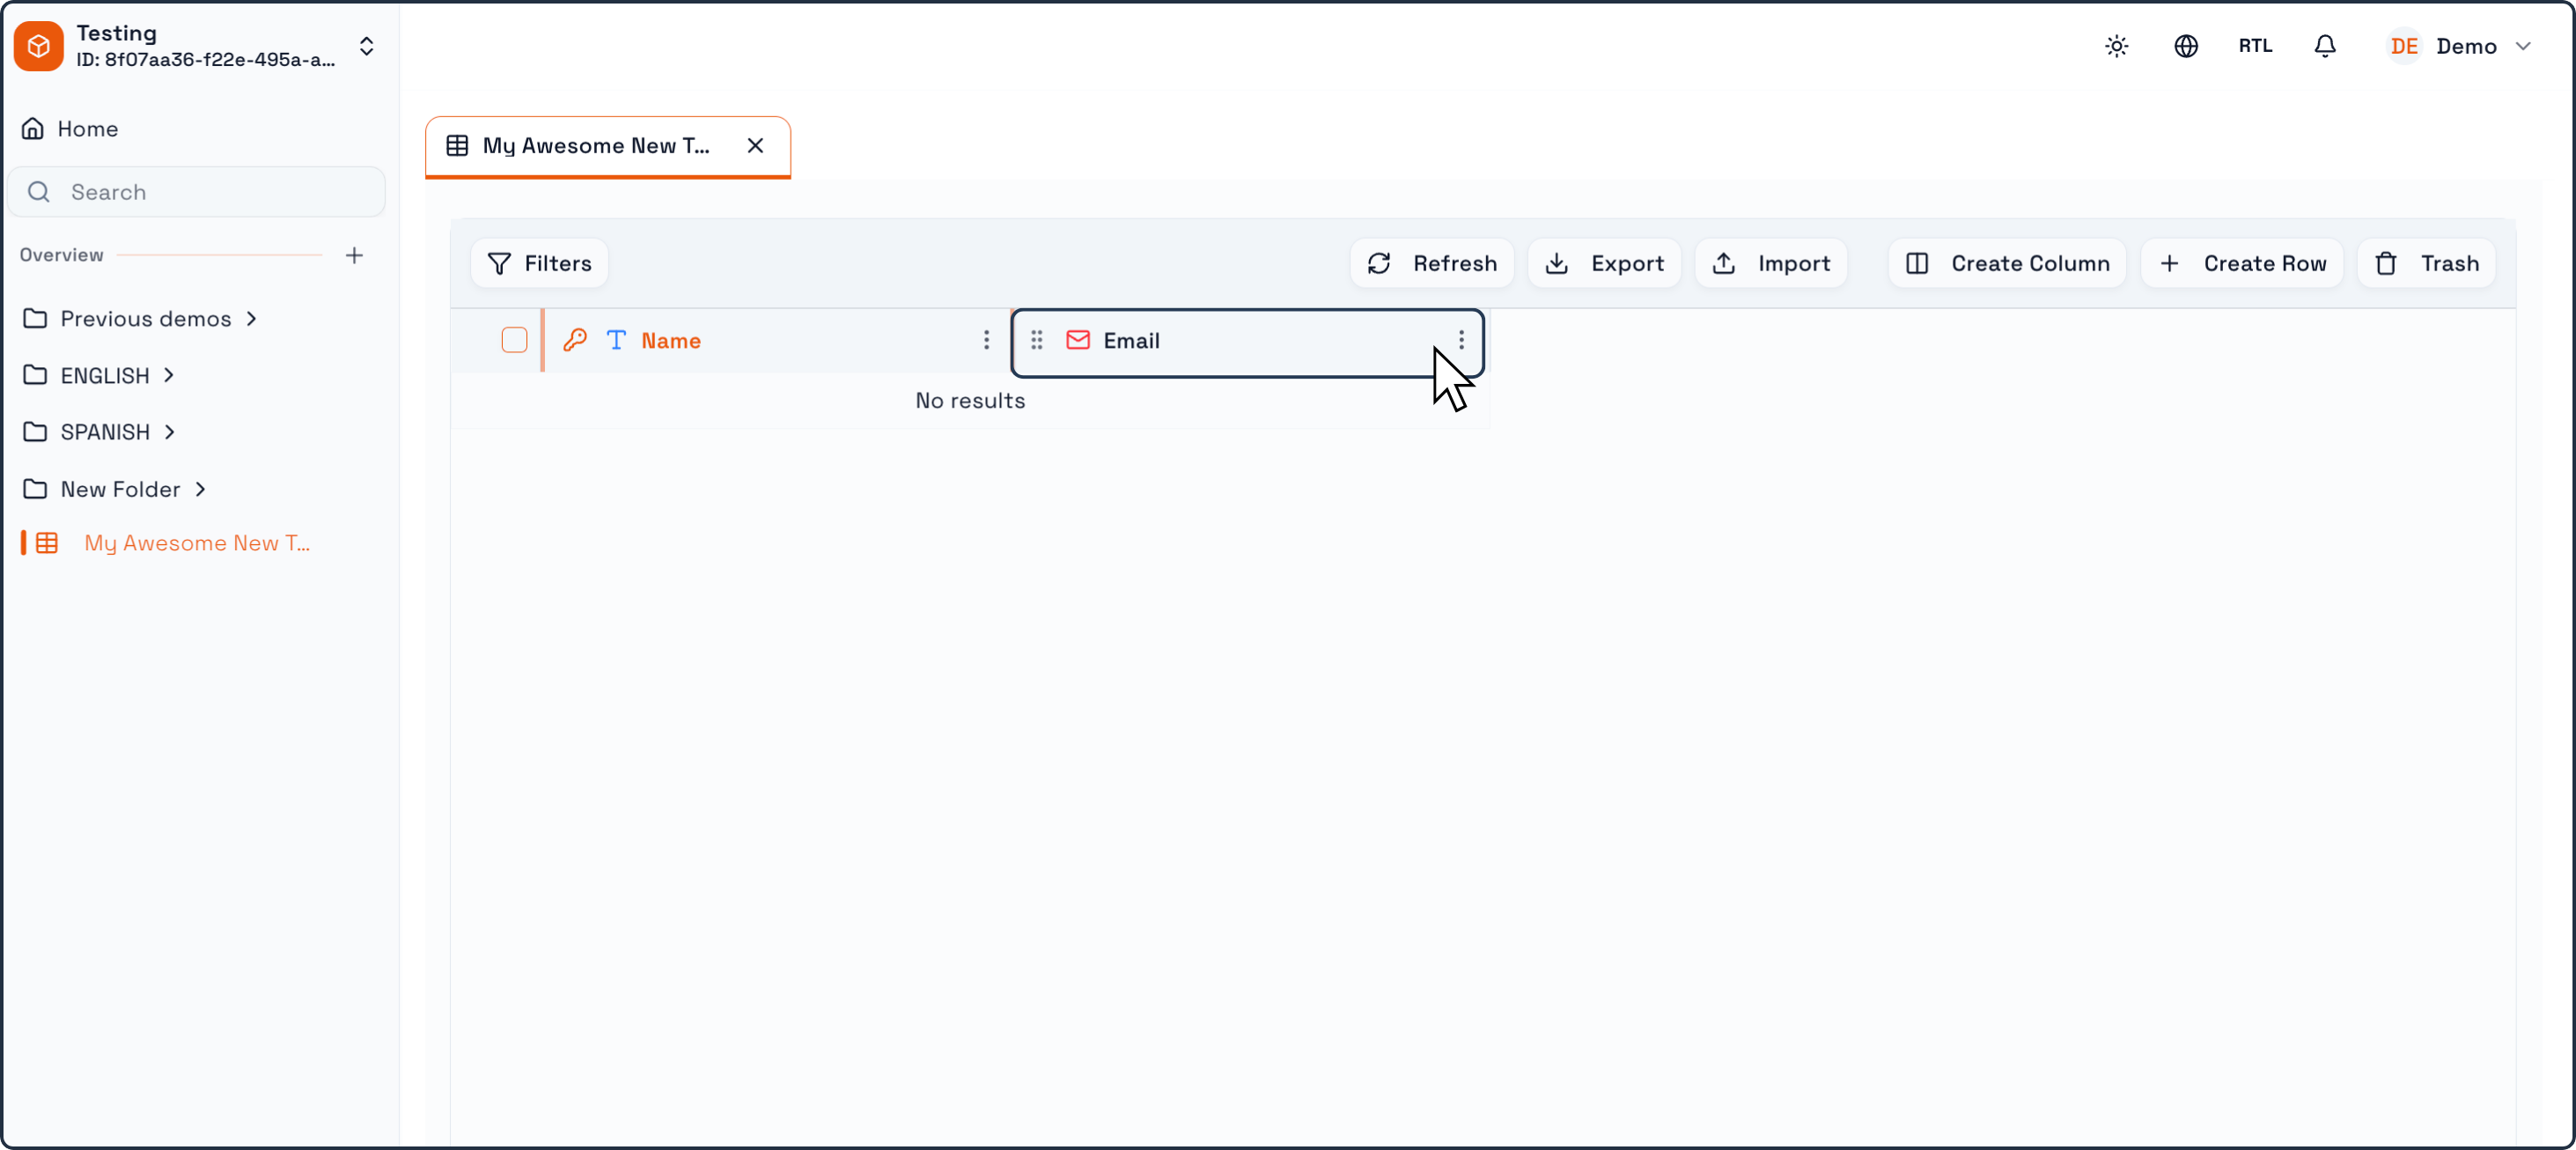
The new column will immediately appear in the Table.
Creating Rows (Records)
Once your Table has columns, you can start adding records.
To create a row:
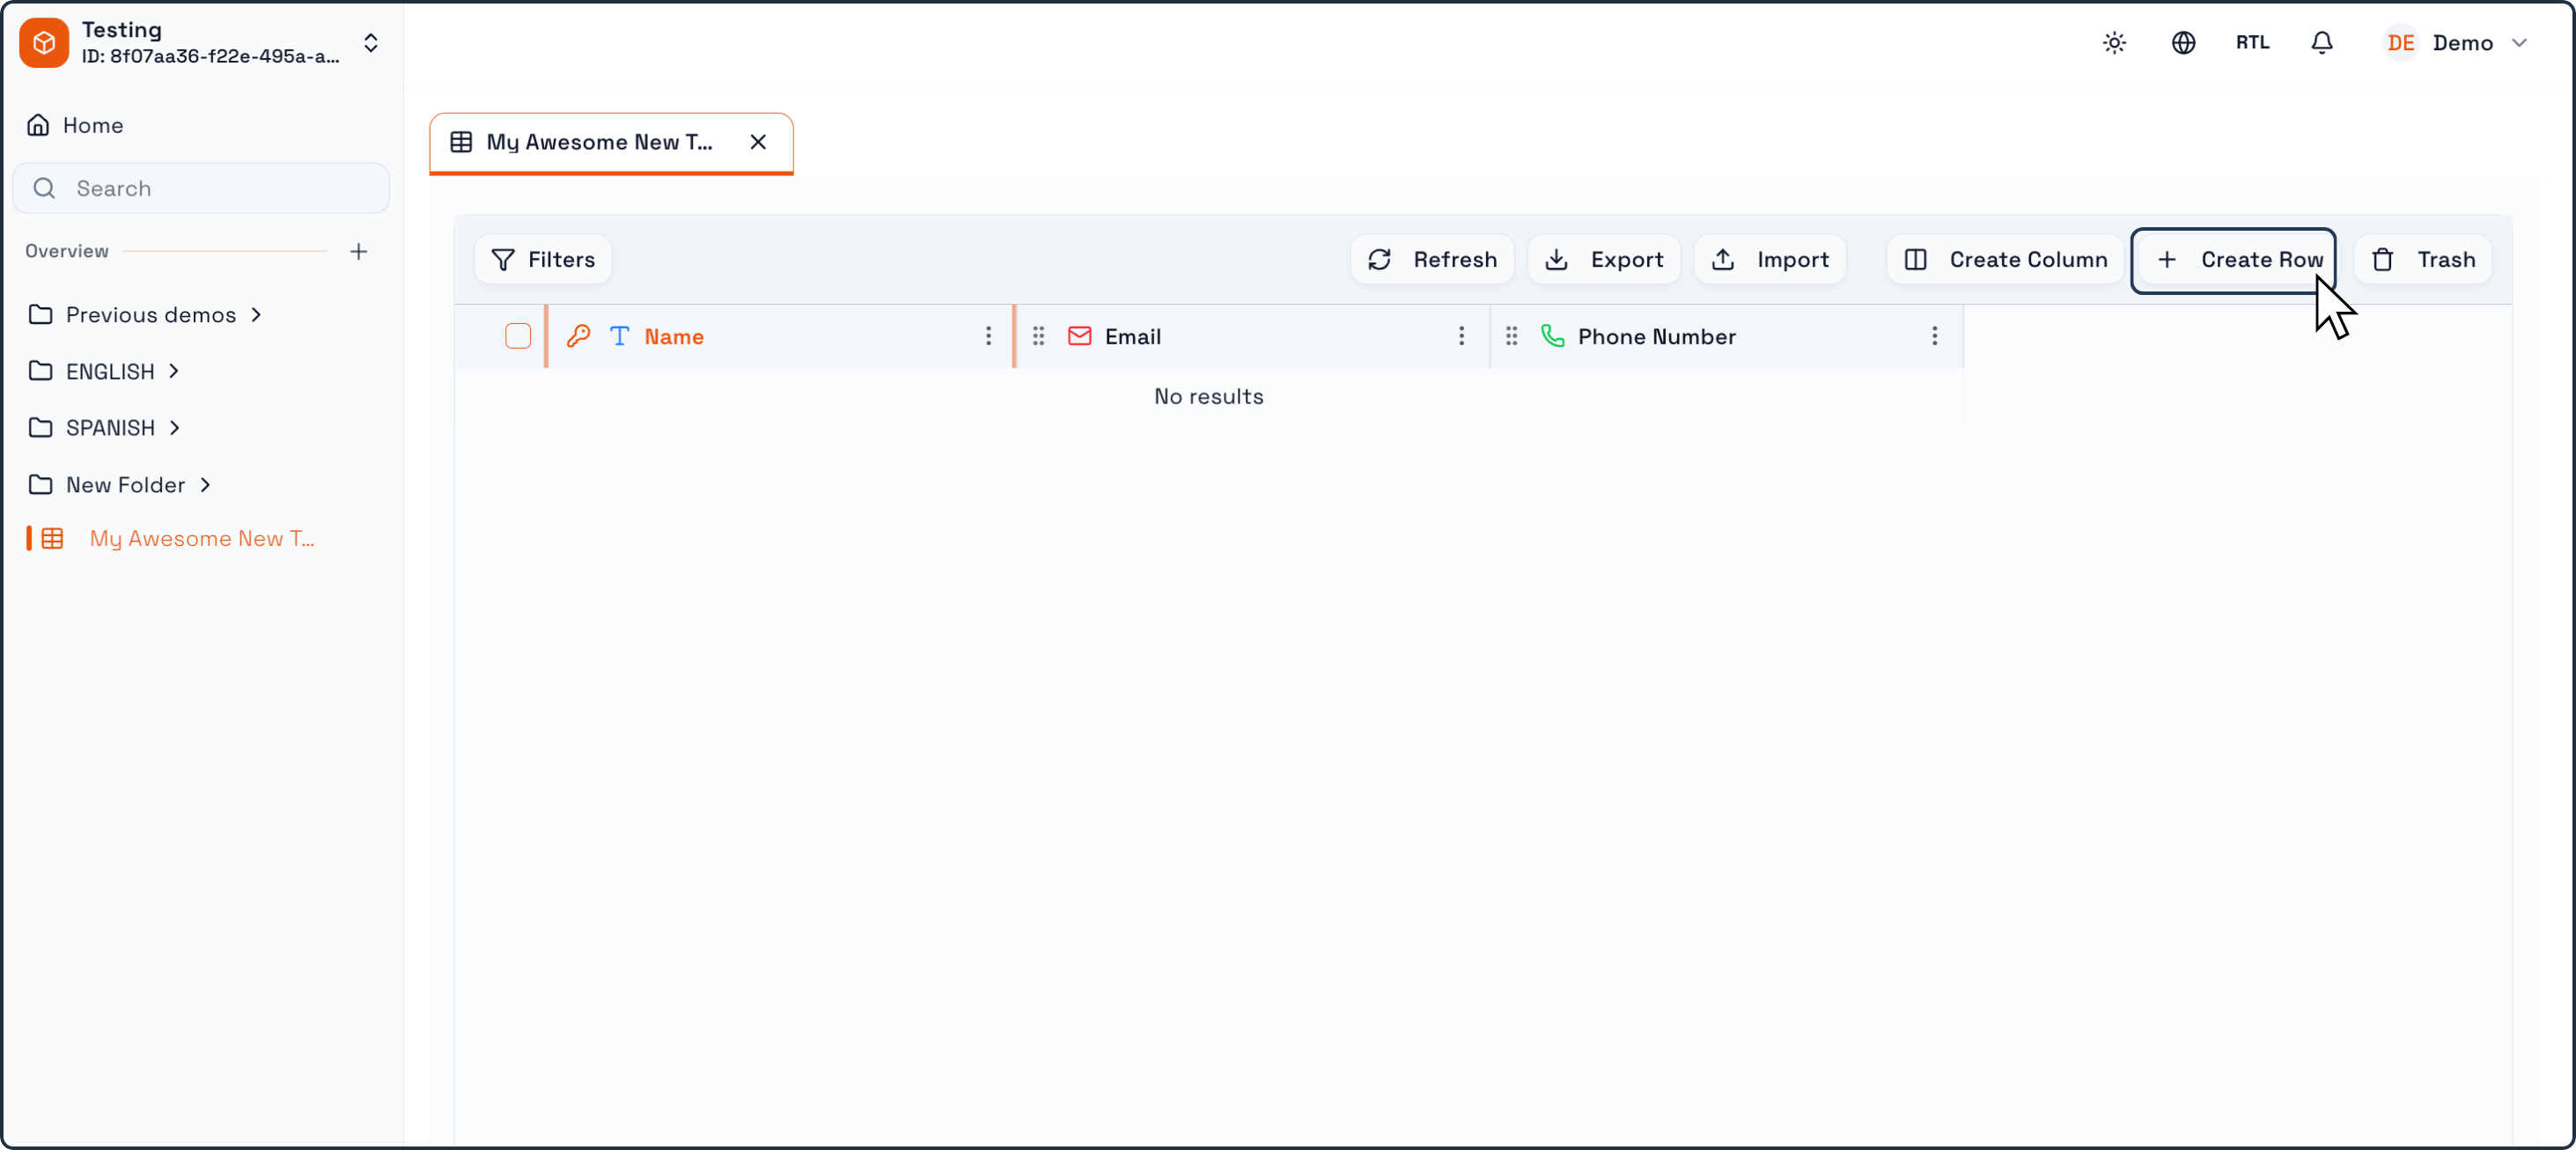
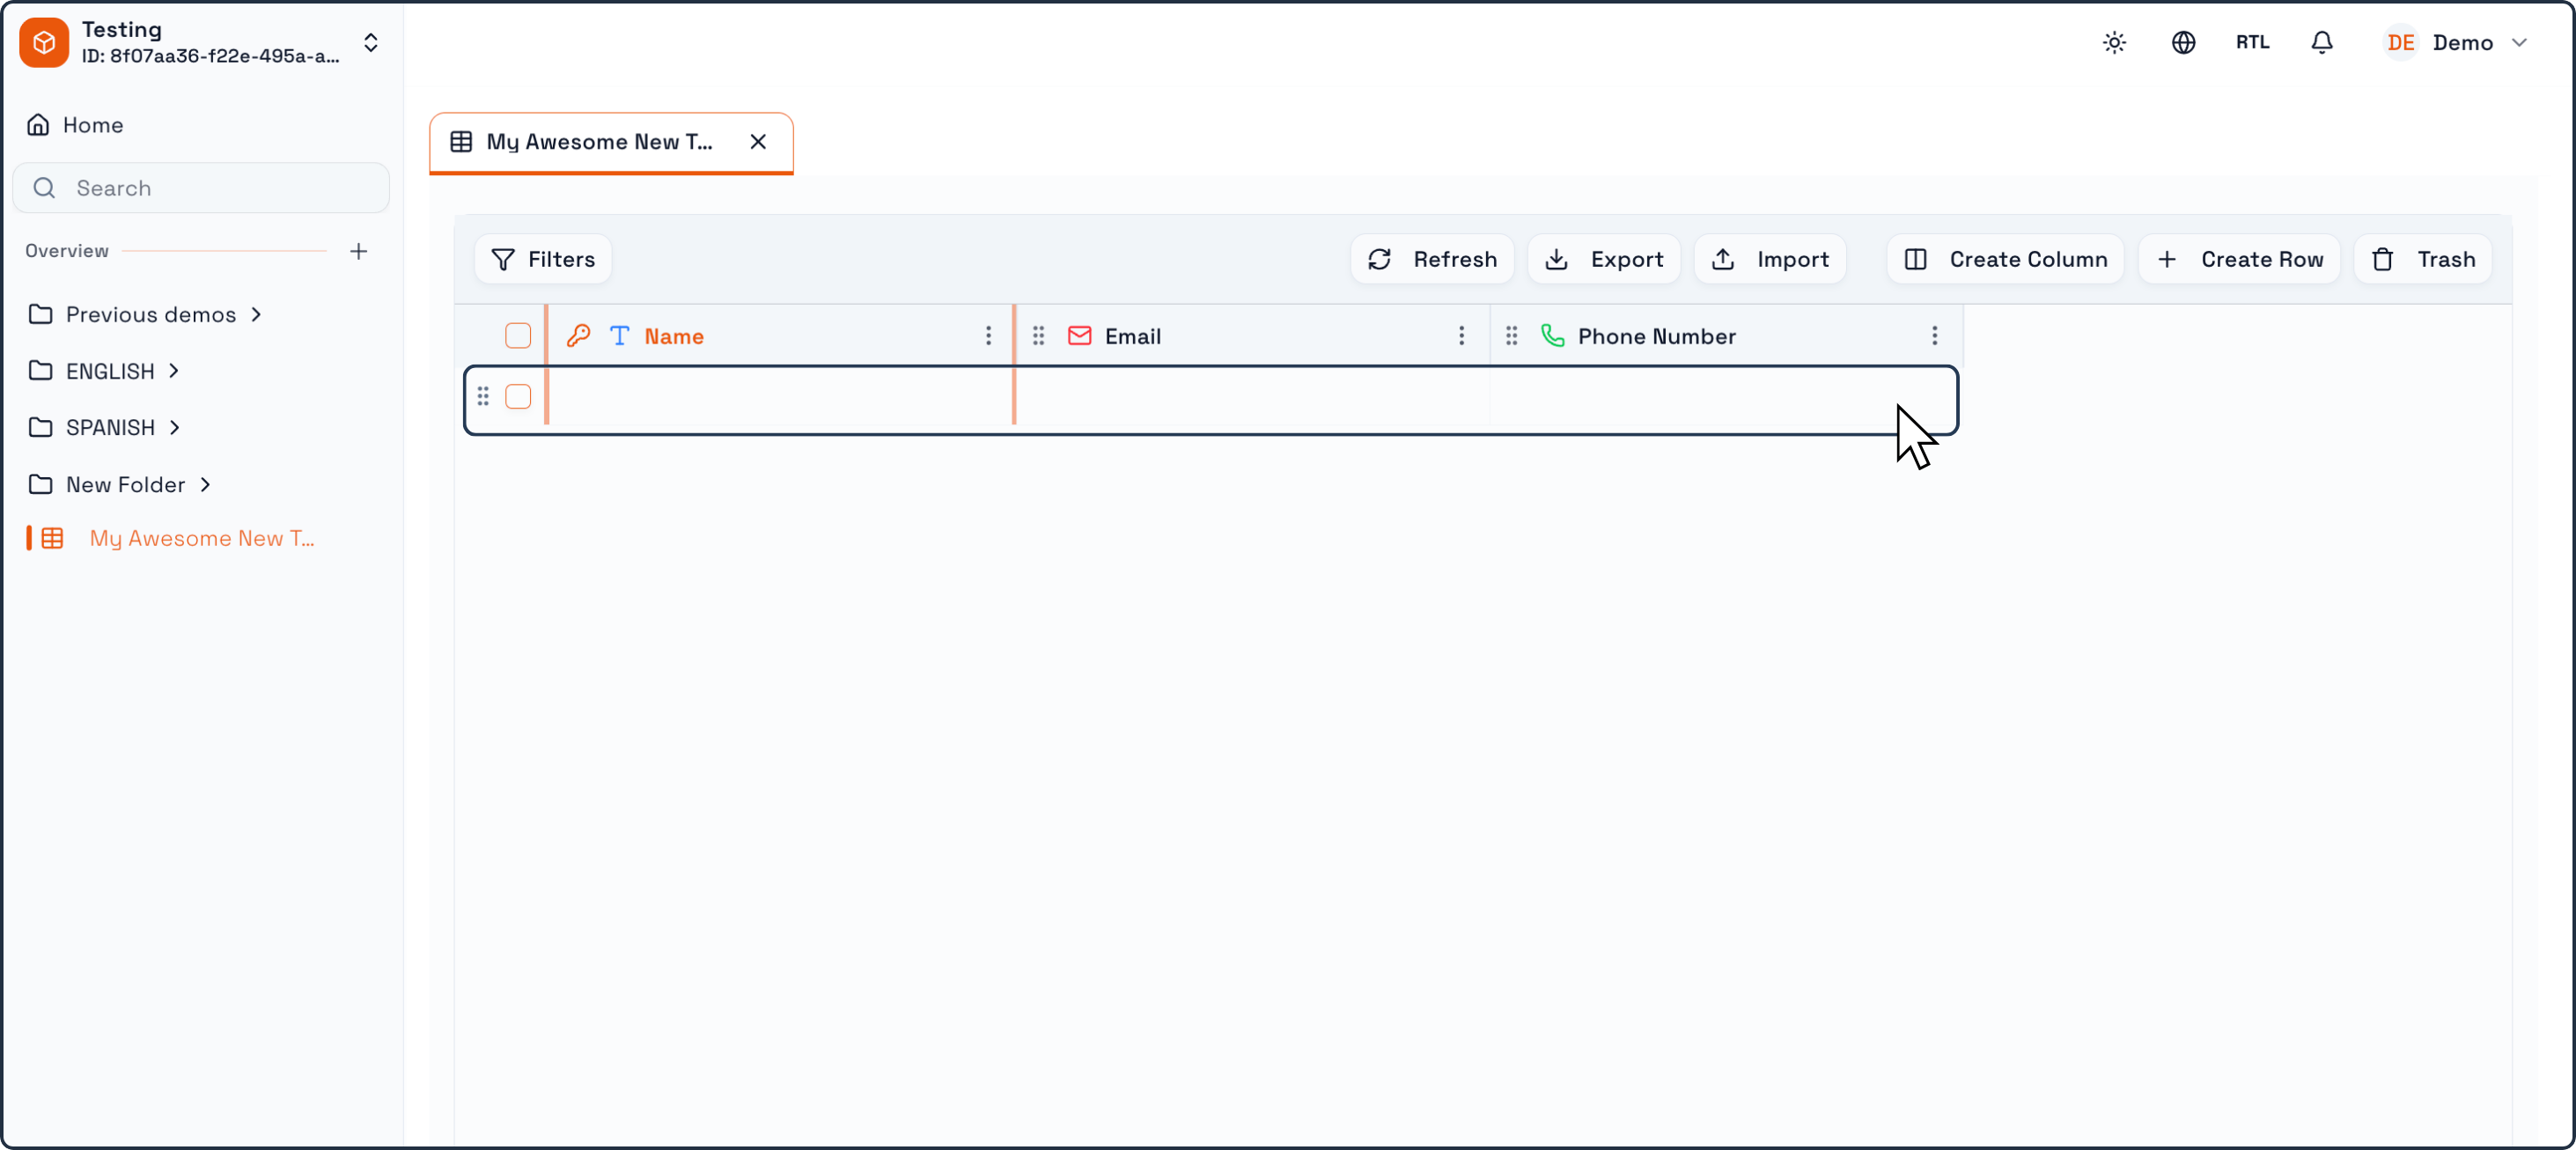
Click the Create Row button in the Table toolbar .
A new empty row will appear.
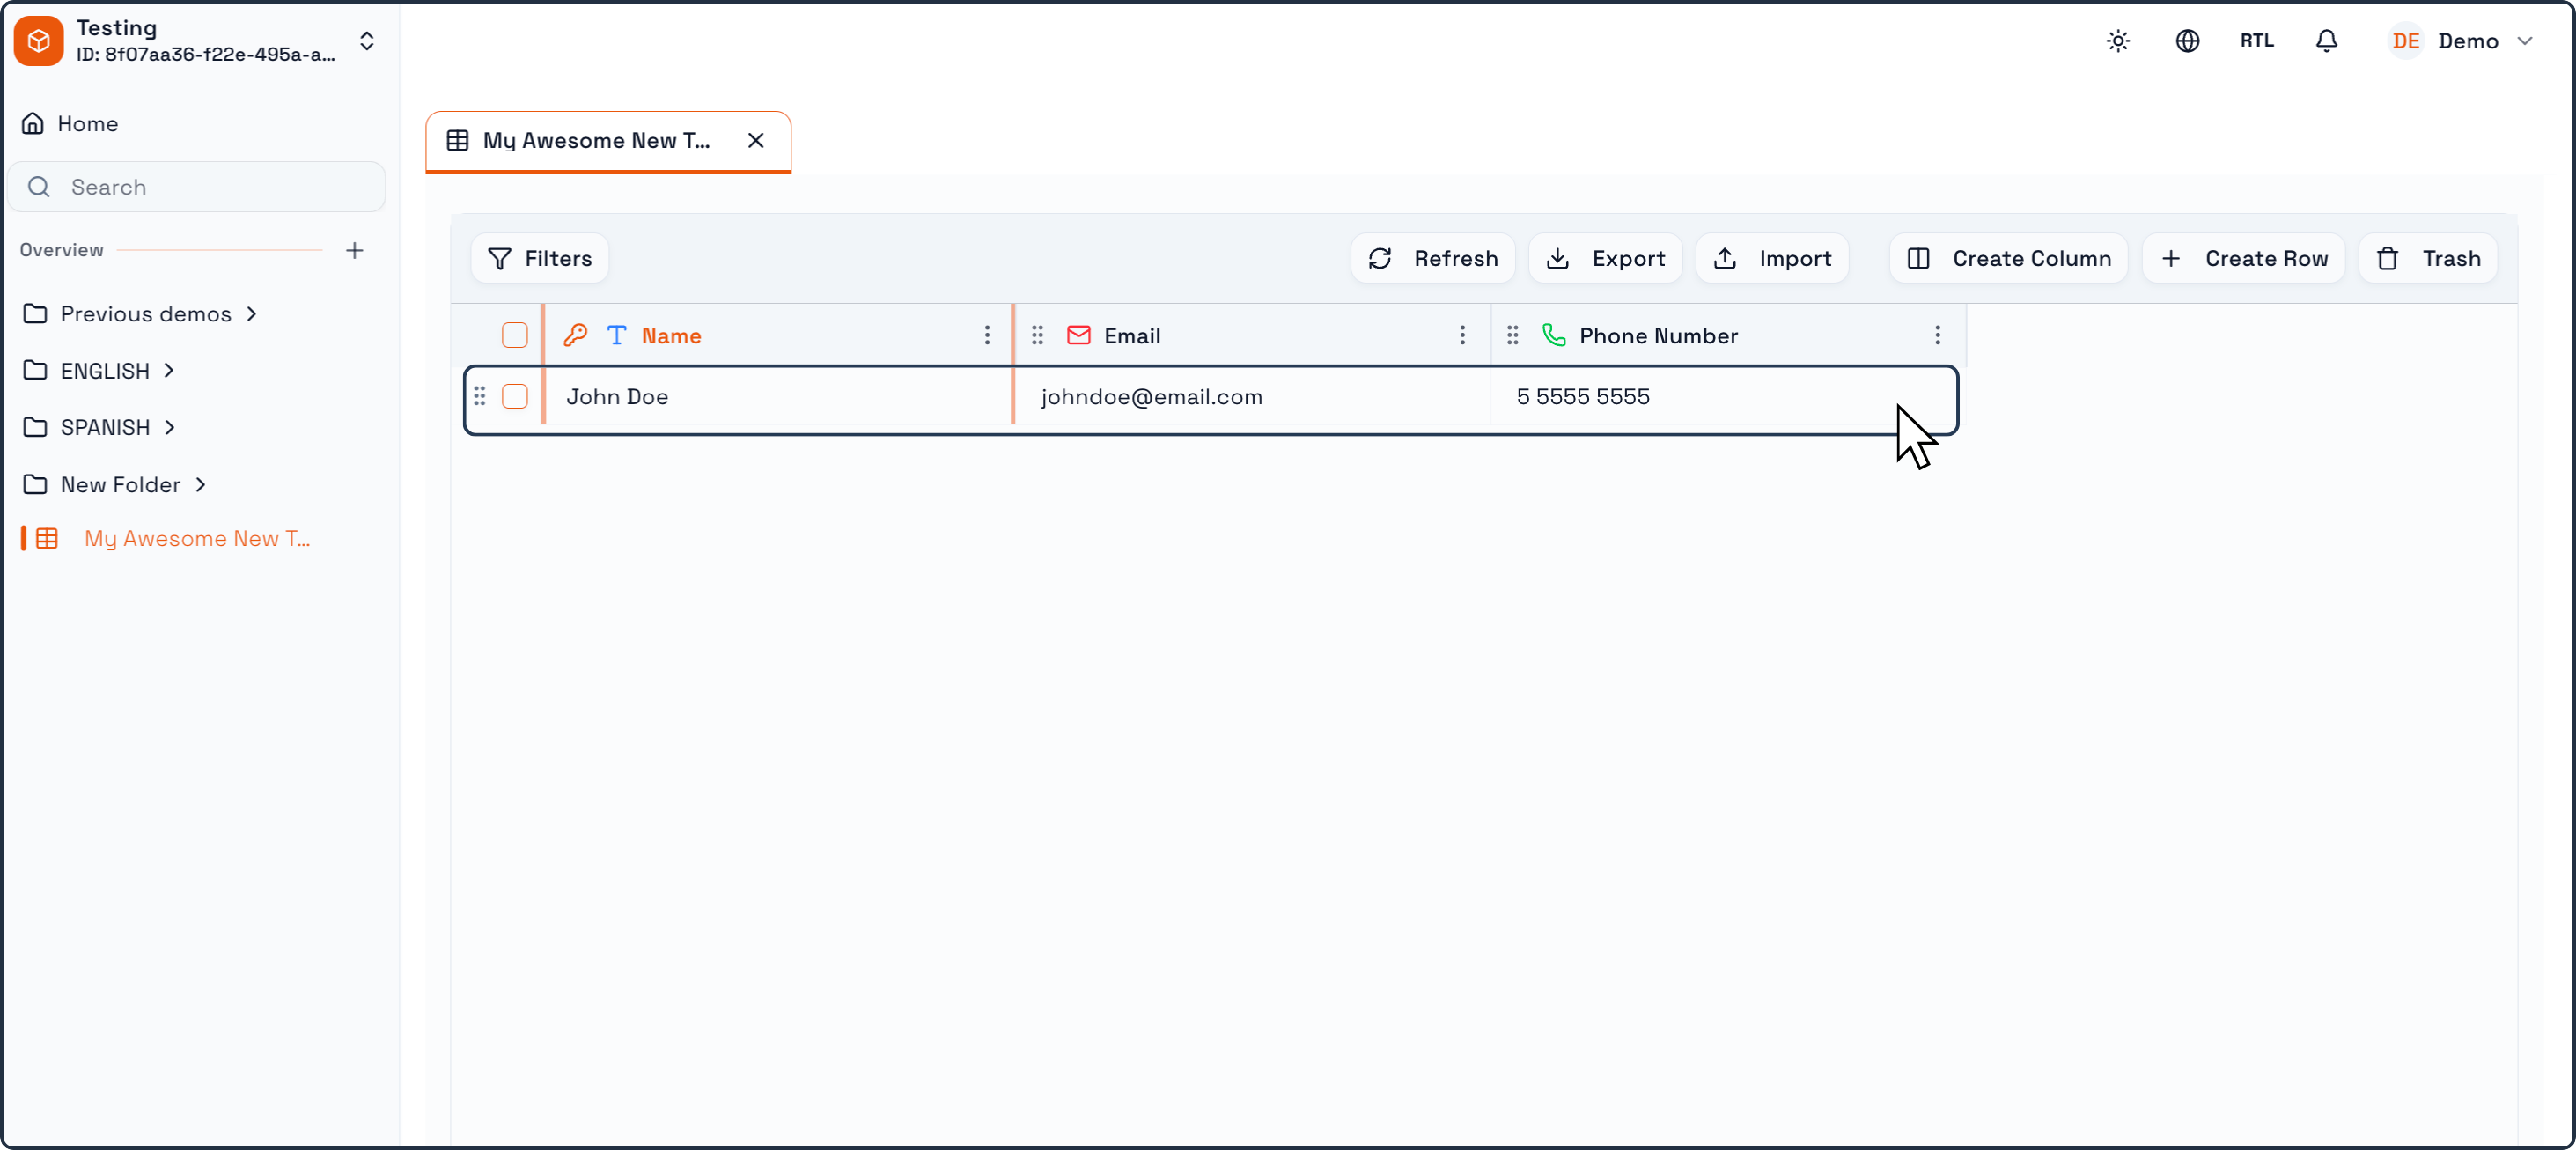
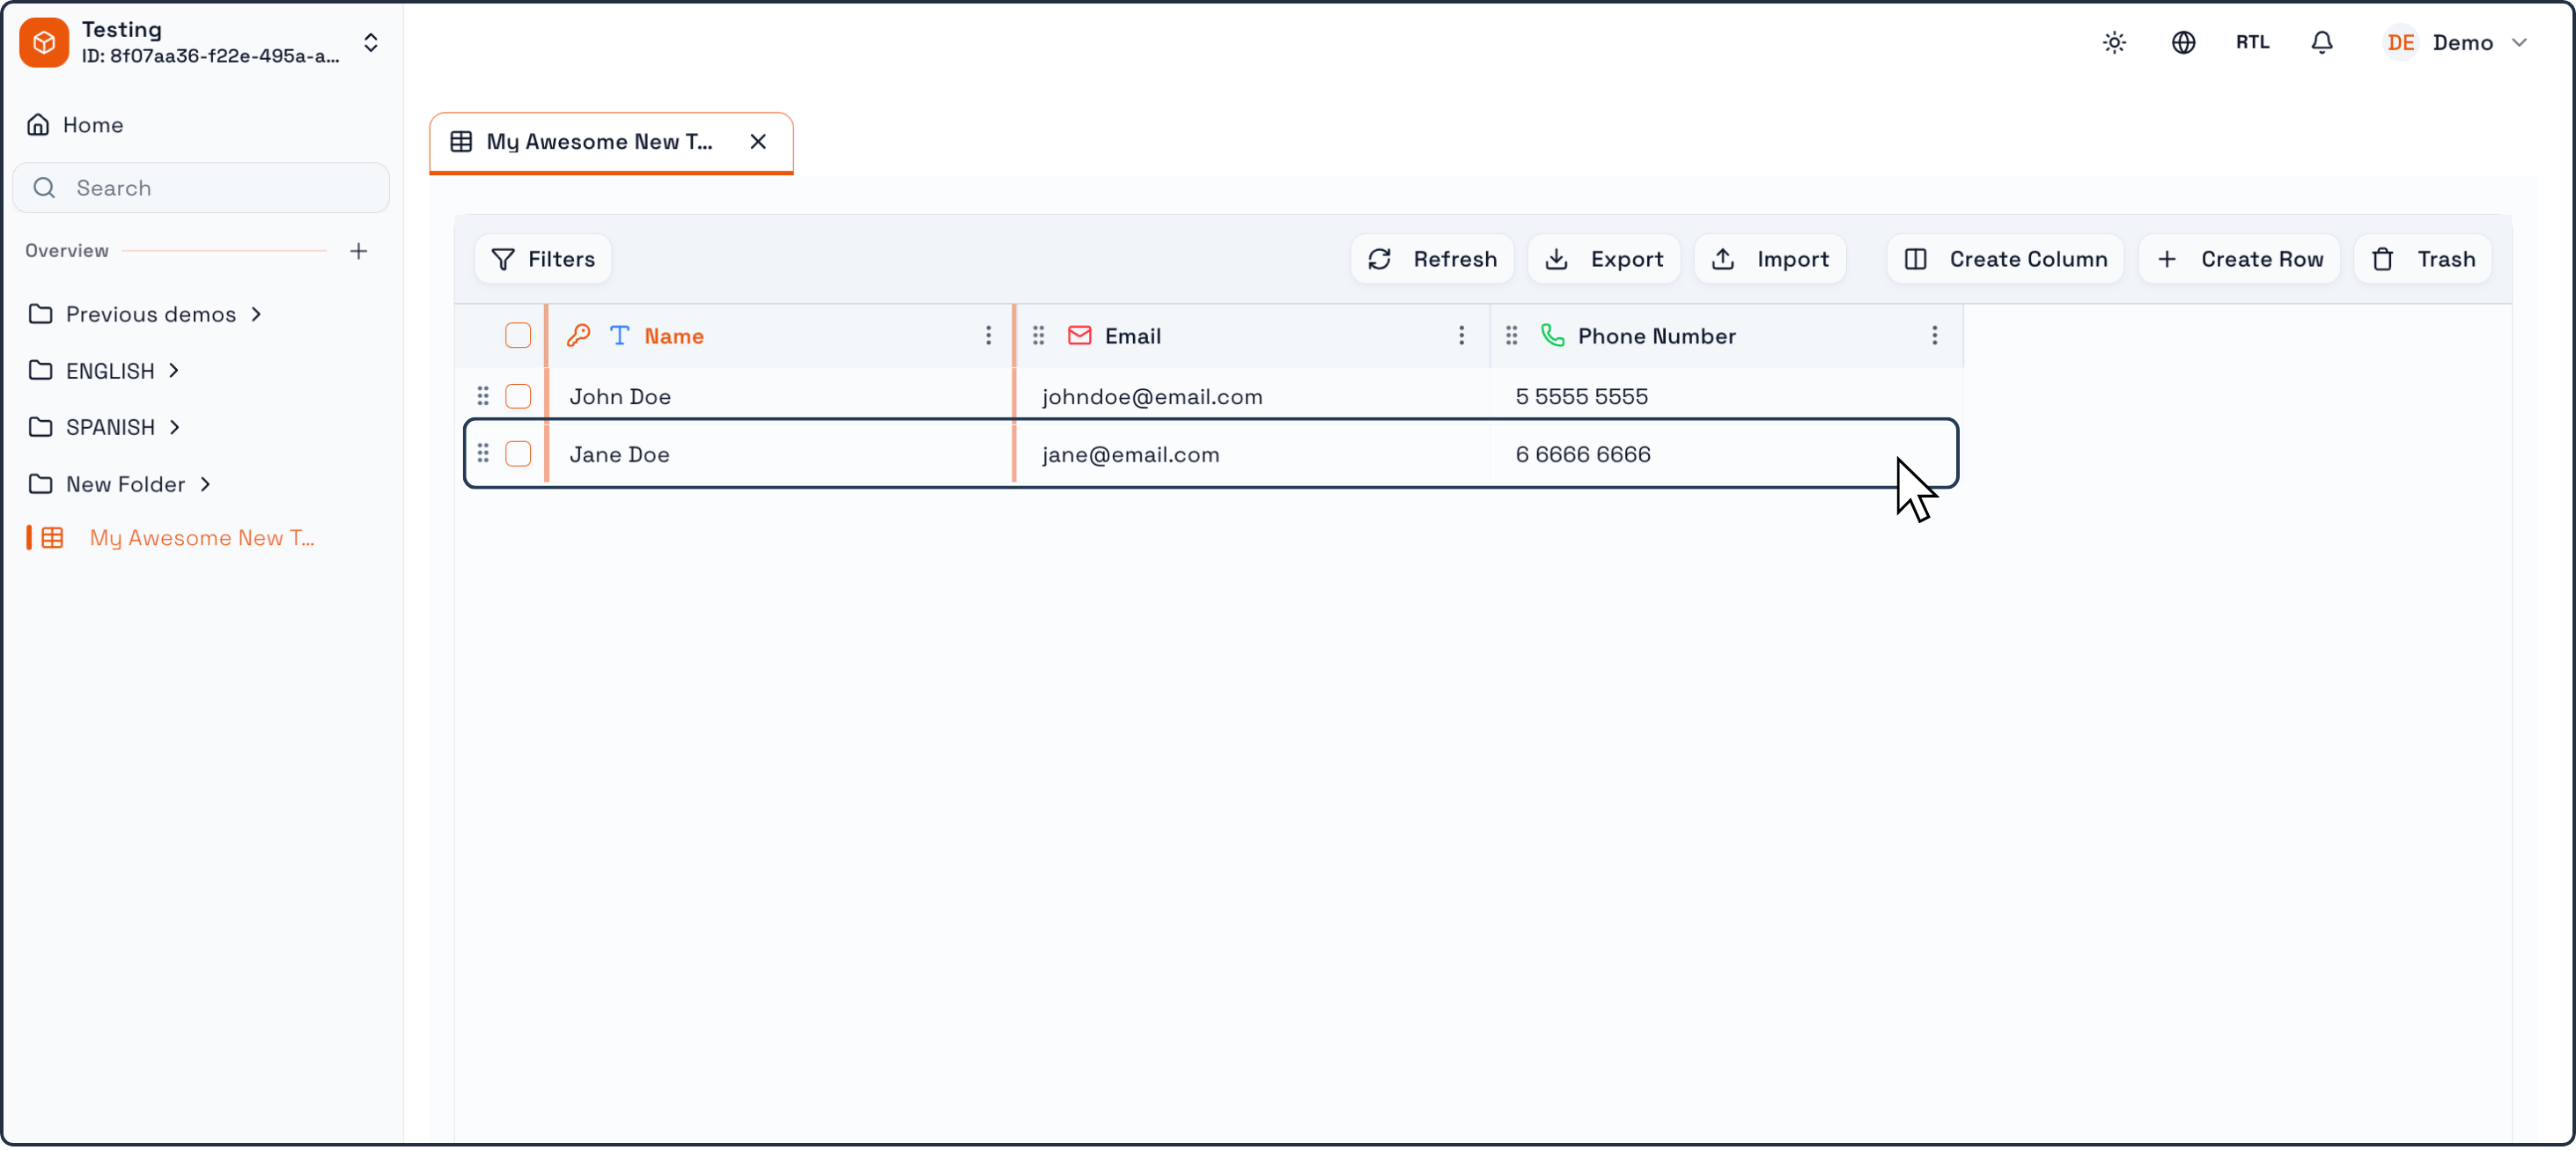
Click into any cell to start entering data. Each value entered will follow the rules defined by the column’s data type.
Automations in Praxsuite allow you to build workflows that react to events, run on schedules, send emails, call external services, or execute logic automatically.
They are useful when you want the system to do work for you instead of depending on repeated manual actions.
This guide explains how to create your first automation from scratch.
Inside the Create New Element window, click Automation.
This tells Praxsuite that you want to create a workflow element instead of a table, form, dashboard, or folder.