Creating your First Automation
documentation/core/automations/create-first-automation
Create your First Automation
Learn how to create your first automation in Praxsuite step by step. This guide explains how to create an automation, choose a trigger, add action nodes, build the workflow on the canvas, save it as a draft, and publish it when ready.
Automations in Praxsuite allow you to build workflows that react to events, run on schedules, send emails, call external services, or execute logic automatically.
They are useful when you want the system to do work for you instead of depending on repeated manual actions.
This guide explains how to create your first automation from scratch.
Step 1: Open the Create New Element menu
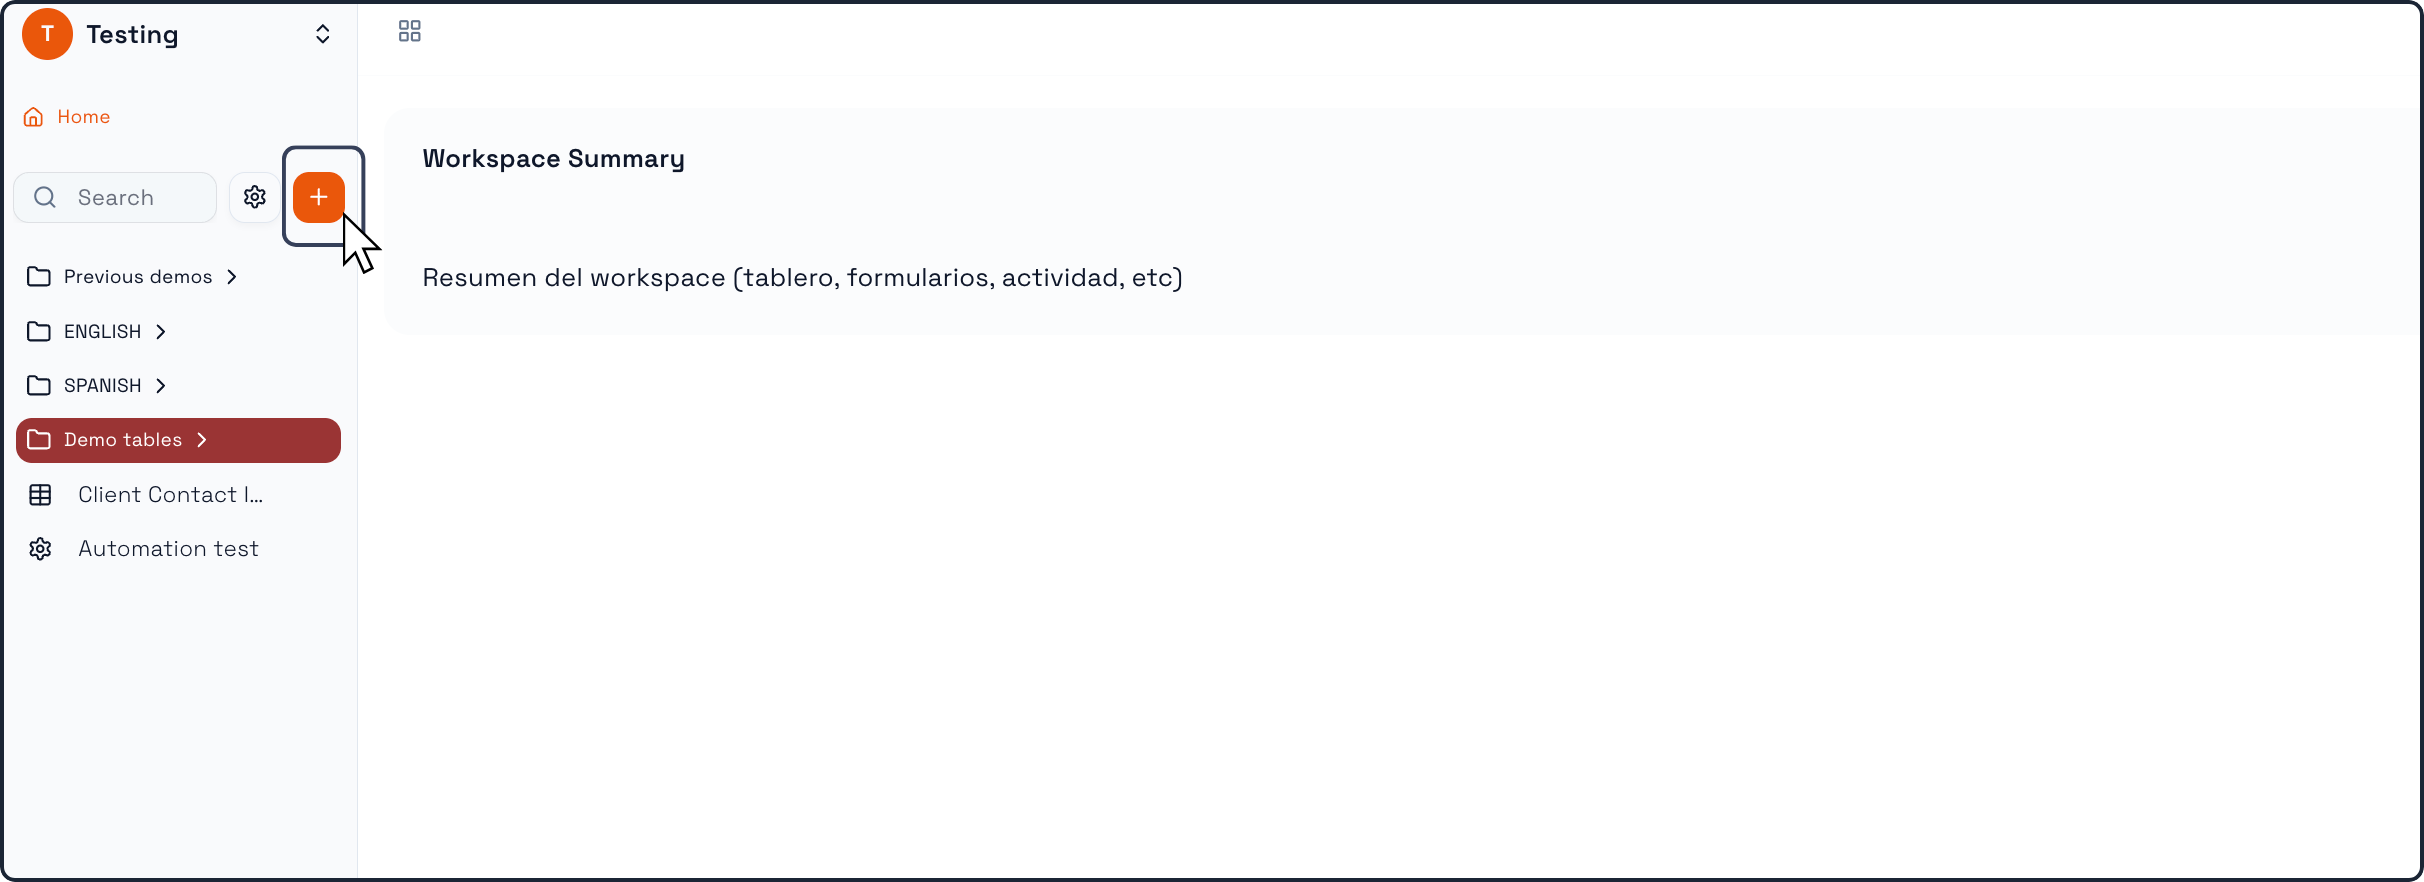
From the main Workspace view, click the + button in the left navigation area.
This opens the Create New Element window, where you can choose which type of element you want to create.
Step 2: Select Automation
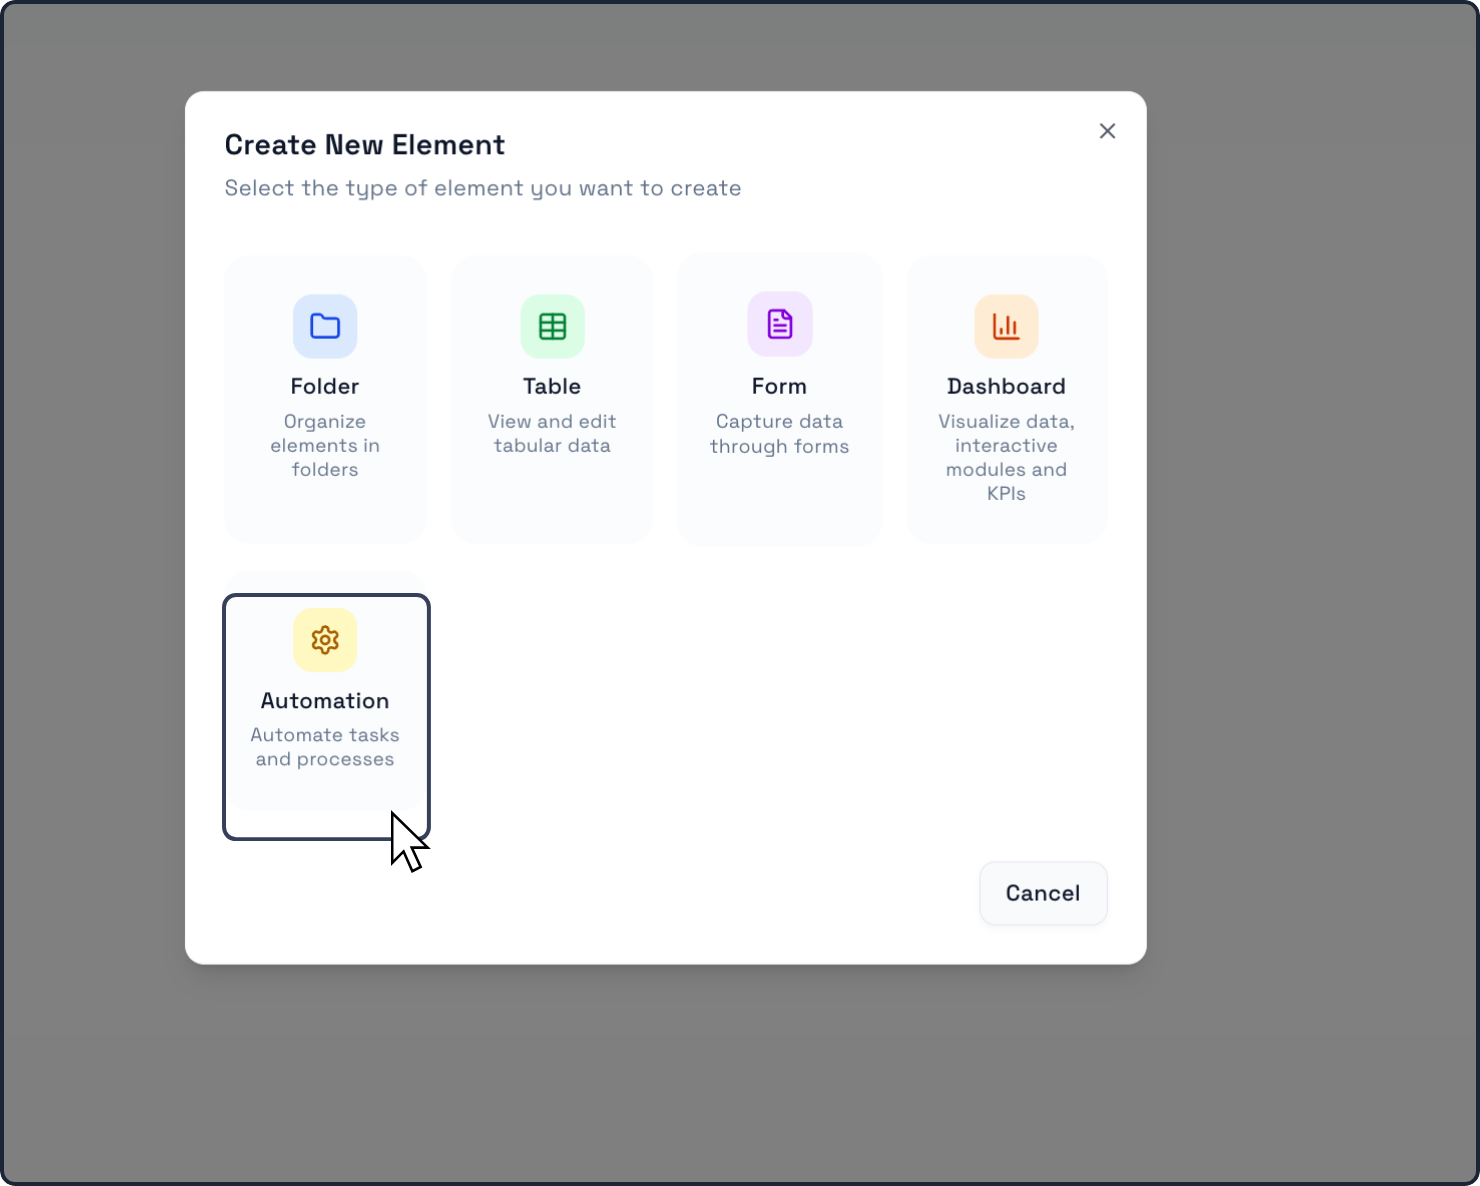
Inside the Create New Element window, click Automation.
This tells Praxsuite that you want to create a workflow element instead of a table, form, dashboard, or folder.
Step 3: Enter the automation name
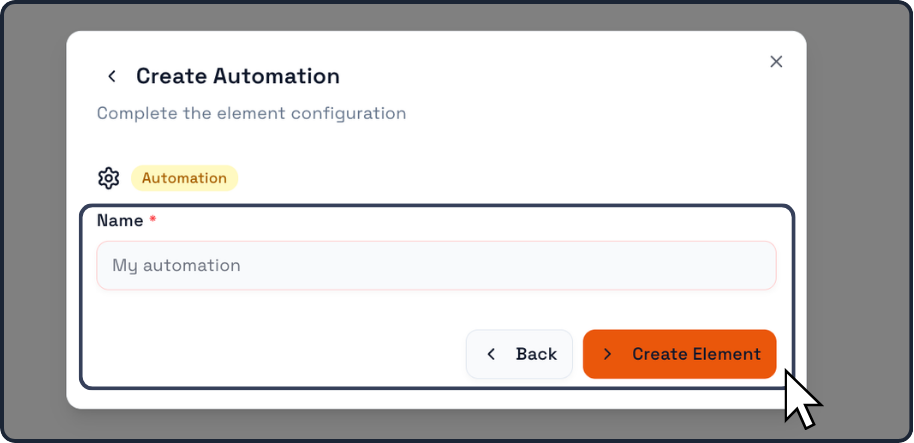
After selecting Automation, Praxsuite opens the Create Automation configuration window.
In the Name field, enter the name of your automation.
Examples:
Send Welcome Email
Notify New Lead
Daily Status Check
Sync External Data
Alert on New Record
The name should describe what the automation is meant to do.
Step 4: Create the automation
Click Create Element.
Praxsuite will create the automation and open the automation editor.
At this point, the automation exists, but it still has no workflow logic configured.
Step 5: Understand the automation editor
Inside the automation editor, you will see a blank canvas where the workflow will be built.
The editor is organized into key areas:
Canvas
The large center area is where you place and connect nodes.
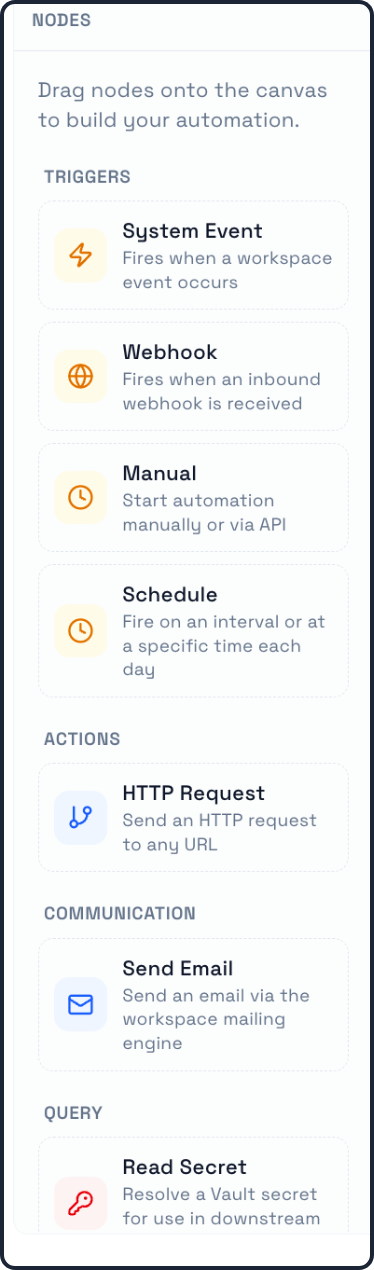
Nodes panel
On the left side, Praxsuite shows the available building blocks for your automation.
These are grouped by category, such as:
Triggers
Actions
Communication
Query
Controls and status
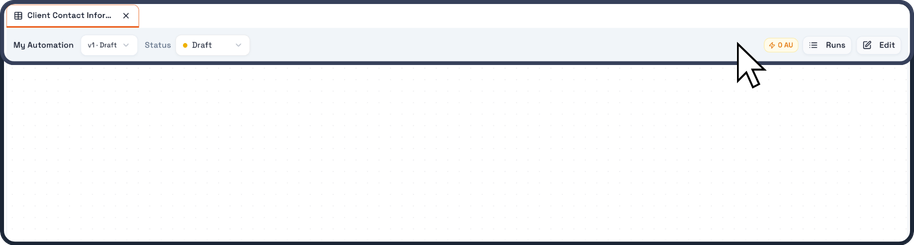
At the top, you can see:
automation version
current status, such as Draft
run history access
save and publish controls
This is where you manage the lifecycle of the automation once it is configured.
Step 6: Choose a trigger
Every automation needs a trigger.
The trigger defines when the automation starts.
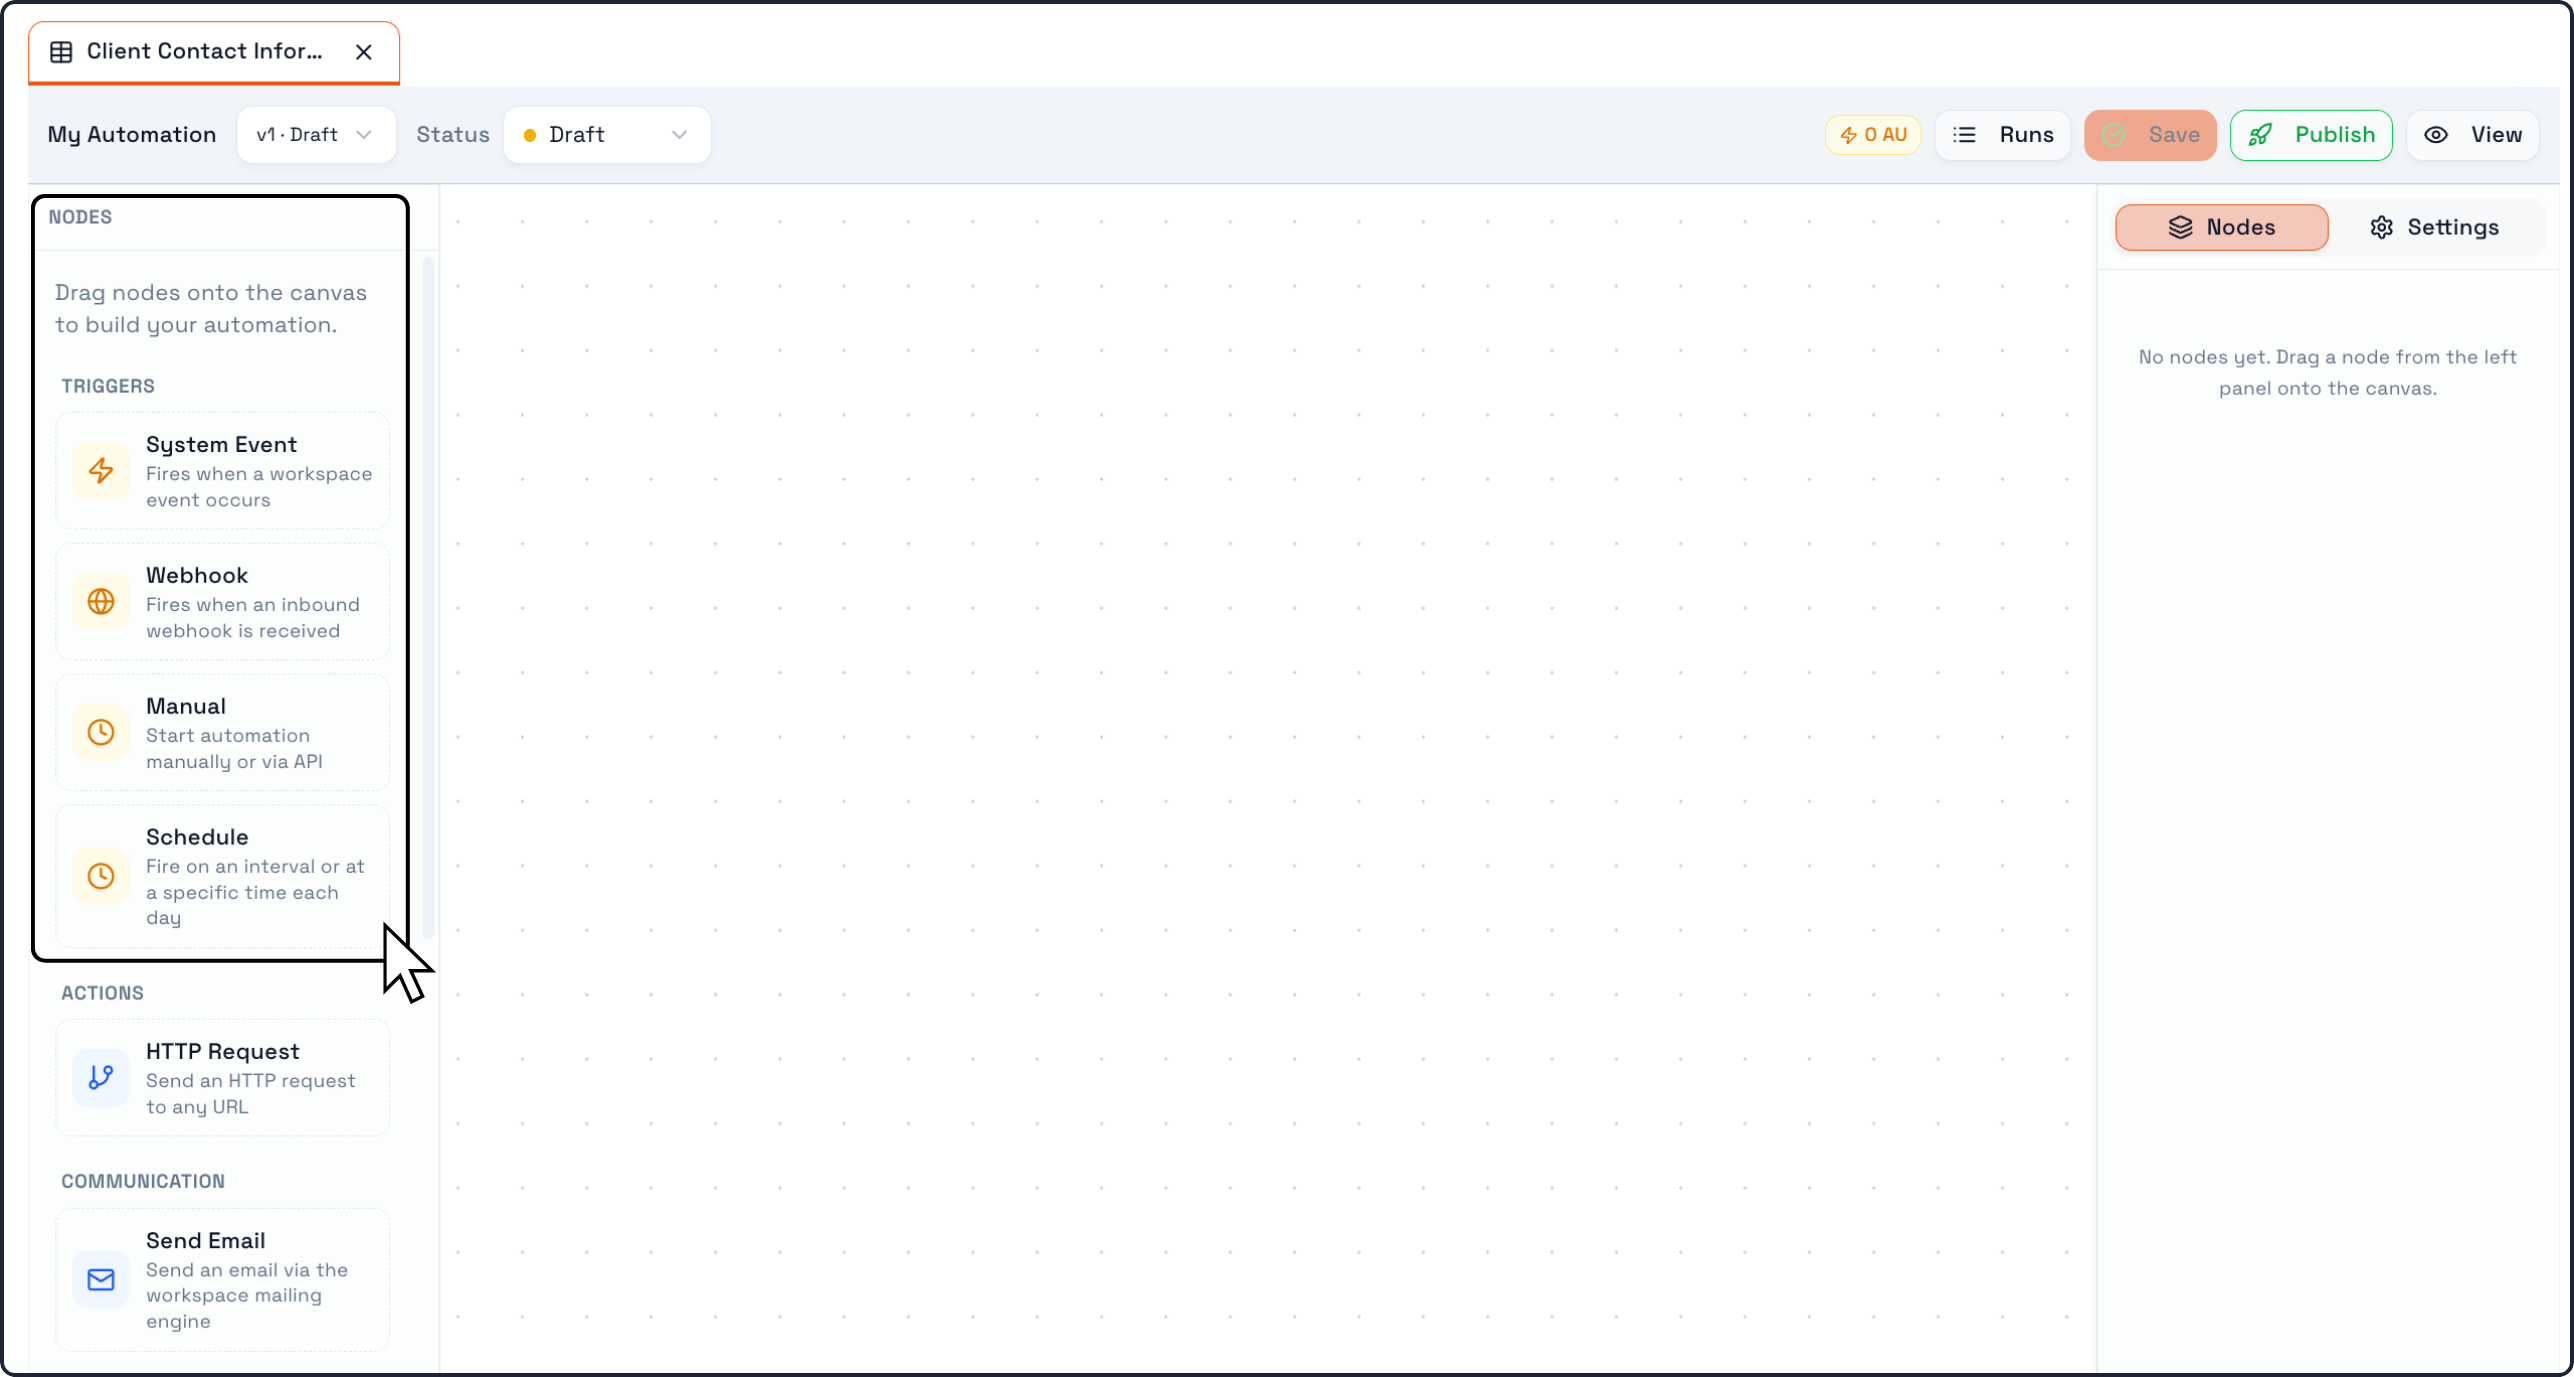
In the left-side Nodes panel, Praxsuite shows trigger options such as:
System Event
Starts when a workspace event happens.
Webhook
Starts when an incoming webhook is received.
Manual
Starts manually or through the API.
Schedule
Starts on a specific interval or time.
To begin building your first automation, drag one of these triggers onto the canvas.
A simple first option is usually:
Manual, if you want to test the automation yourself
Schedule, if you want it to run automatically at a certain time
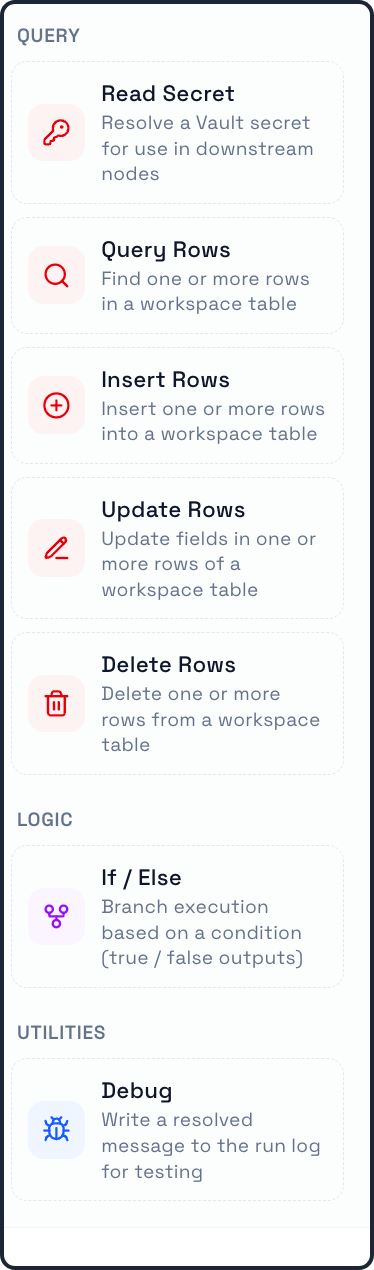
Step 7: Add actions to the automation
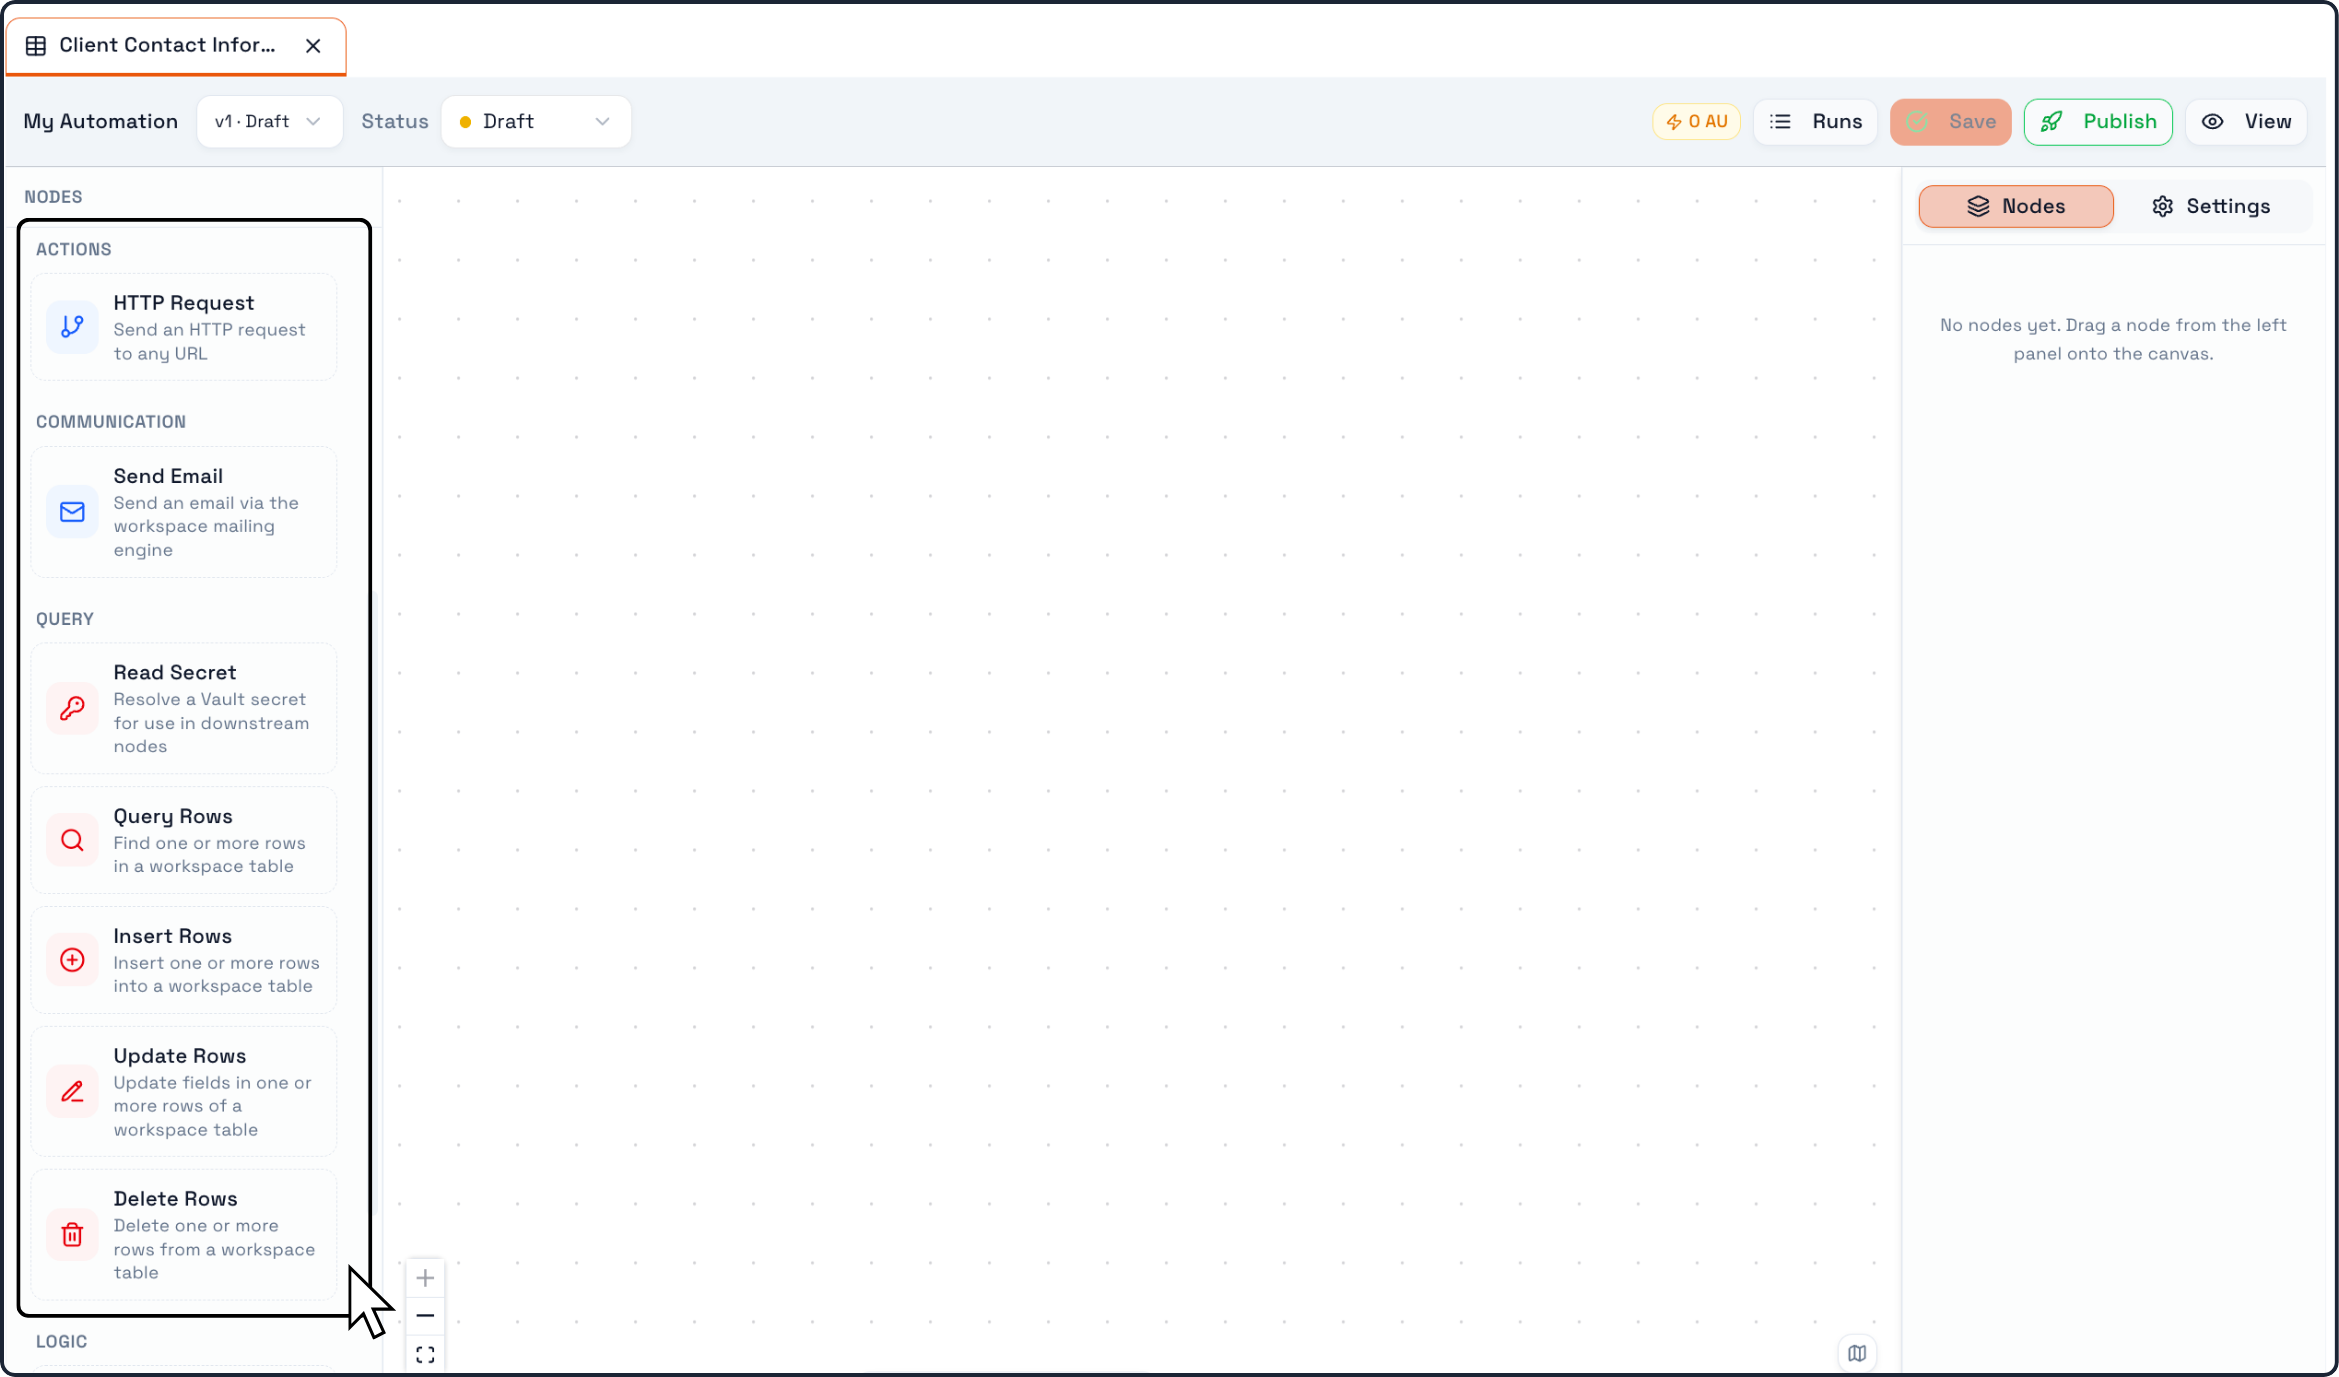
After placing a trigger, you can add the next steps of the workflow.
From the left-side panel, drag action nodes onto the canvas.
Examples shown in the interface include:
HTTP Request
Send a request to an external URL.
Send Email
Send an email through the workspace mailing engine.
Read Secret
Resolve a Vault secret for use in the workflow.
These actions determine what the automation actually does after it starts.
Step 8: Connect the logic on the canvas
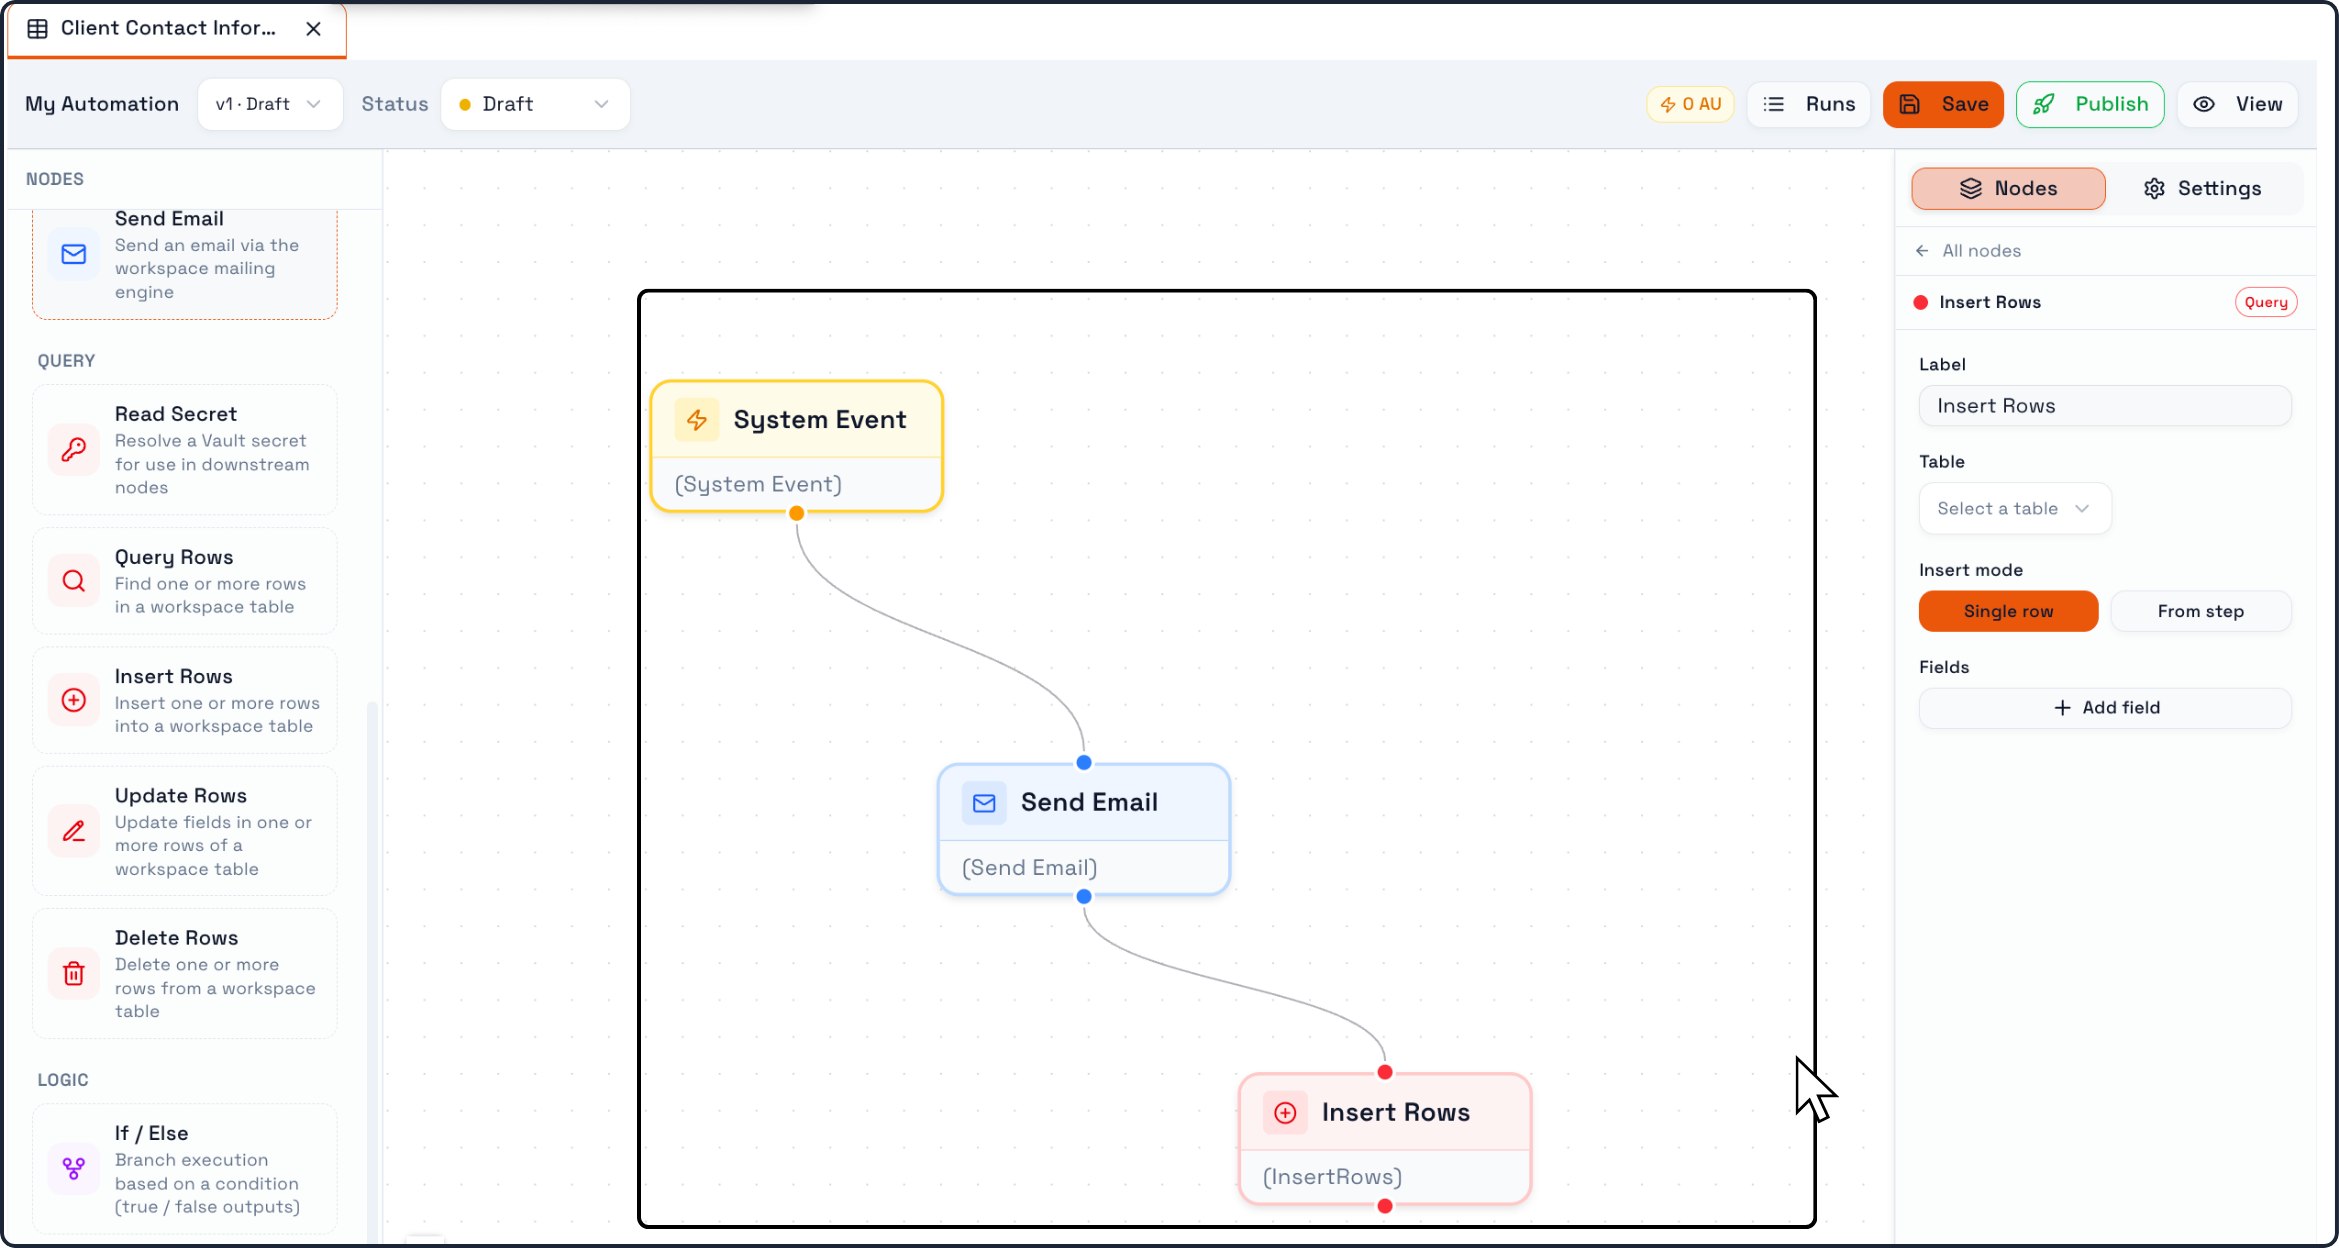
Once you add nodes to the canvas, arrange them in the order you want the workflow to run.
The automation should follow a clear sequence:
Trigger → Action → Result
For example:
Manual trigger
then Send Email
then additional actions if needed
This creates the execution flow of the automation.
Step 9: Save the automation
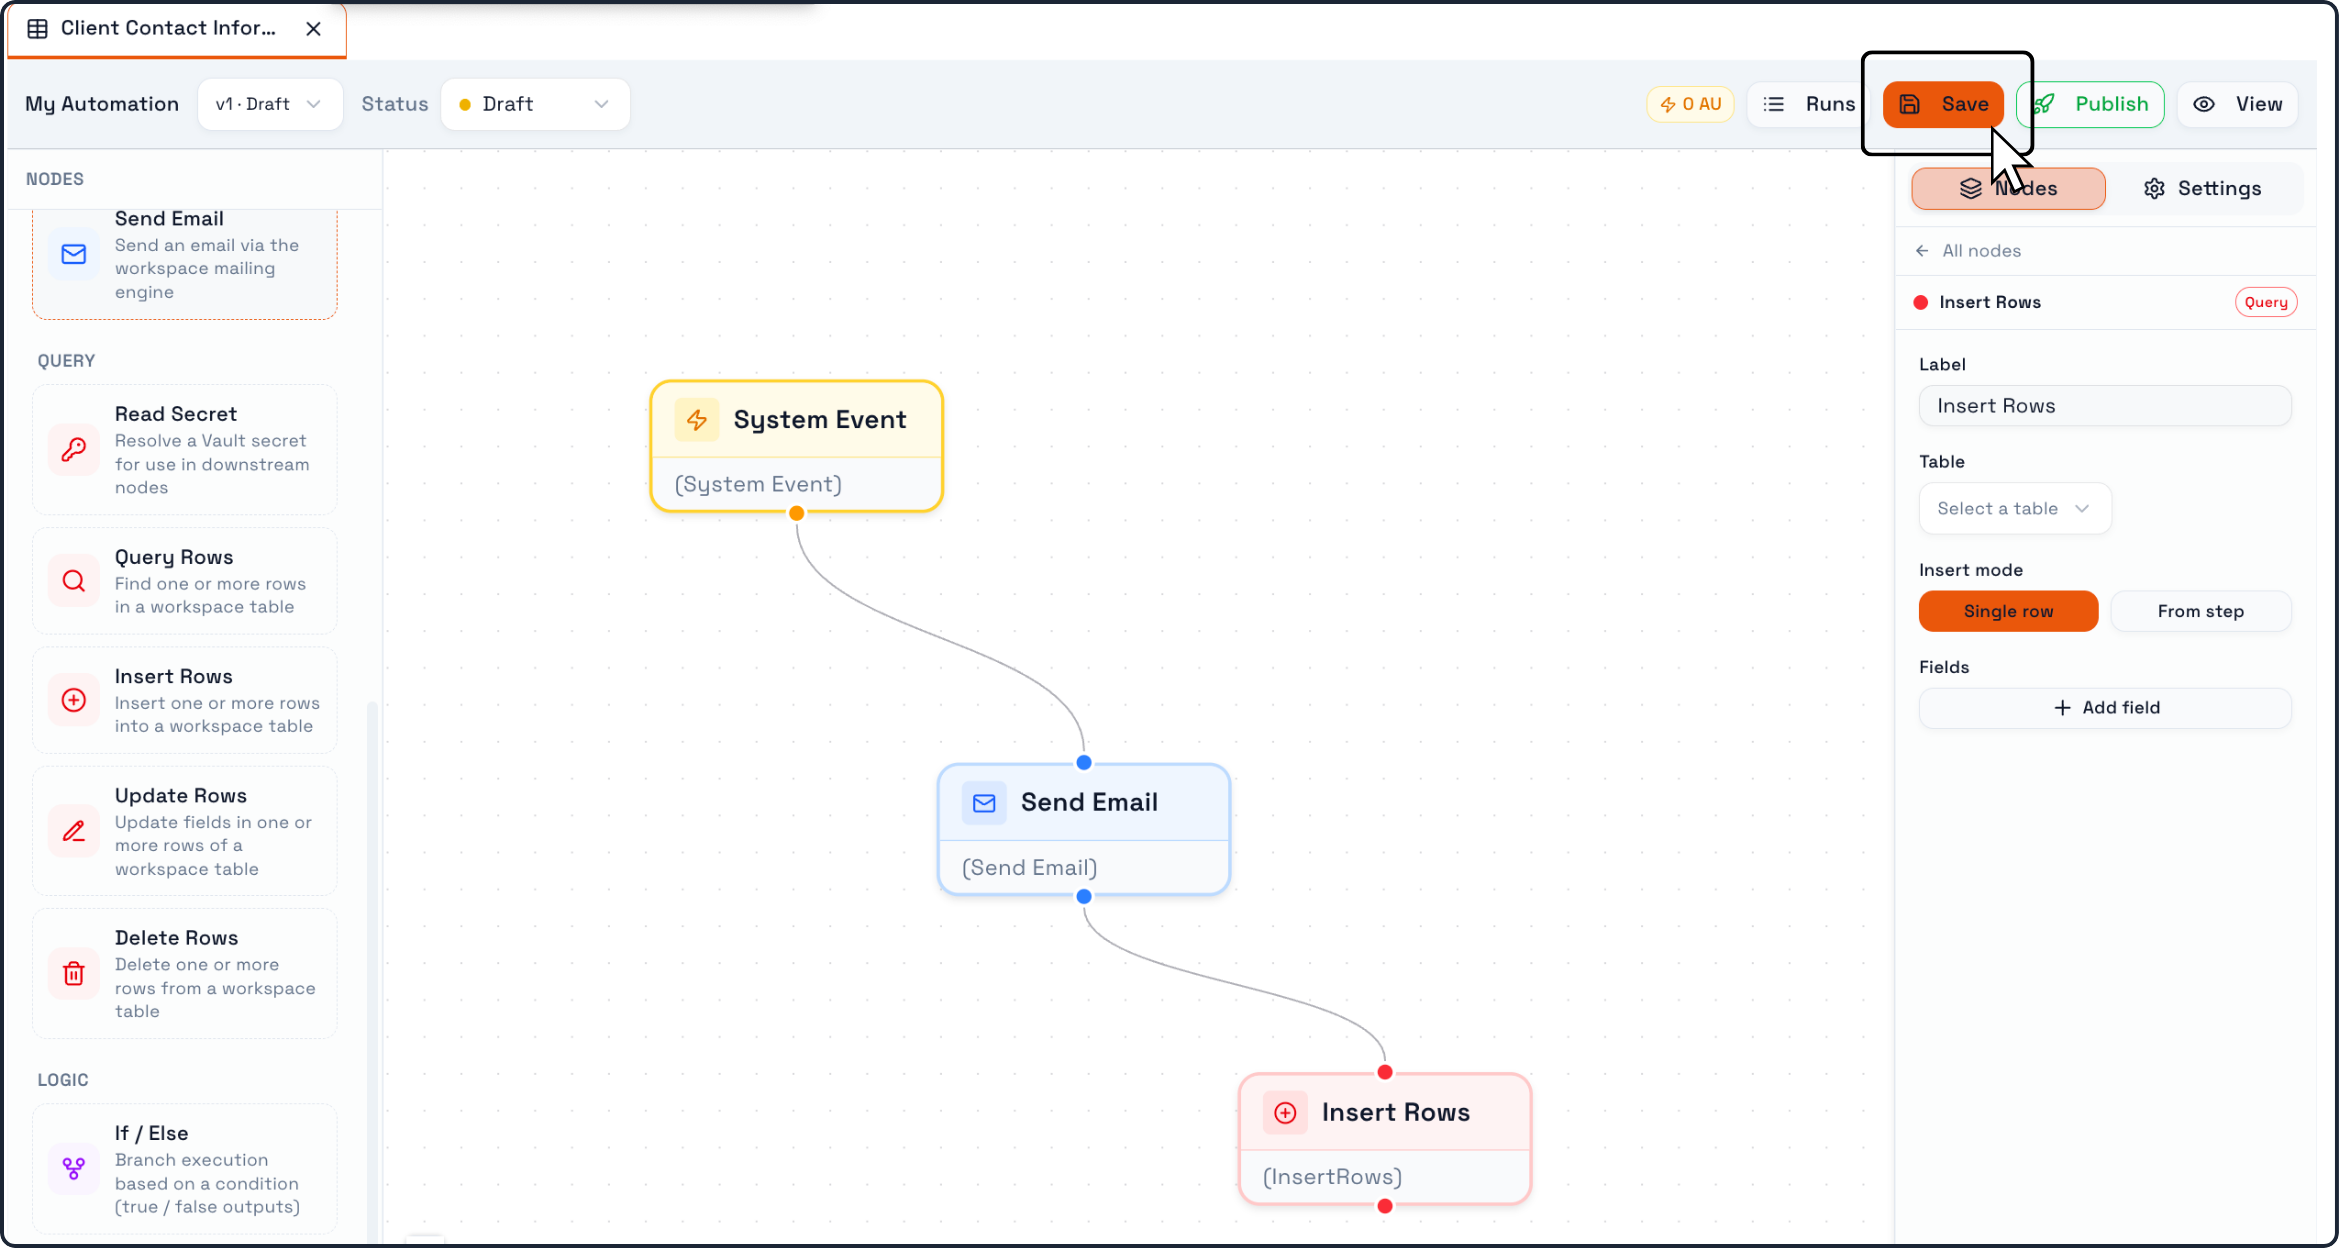
When your first version is ready, click Save.
Saving stores the automation in its current state.
At this stage, the automation can remain in Draft while you continue configuring or testing it.
Step 10: Review runs and status
Use the Runs button to review execution history once the automation has been tested or executed.
At the top of the editor, you can also review:
the current version
the automation status
whether it is still in draft or ready to publish
This helps you control how and when the automation becomes active.
Step 11: Publish the automation
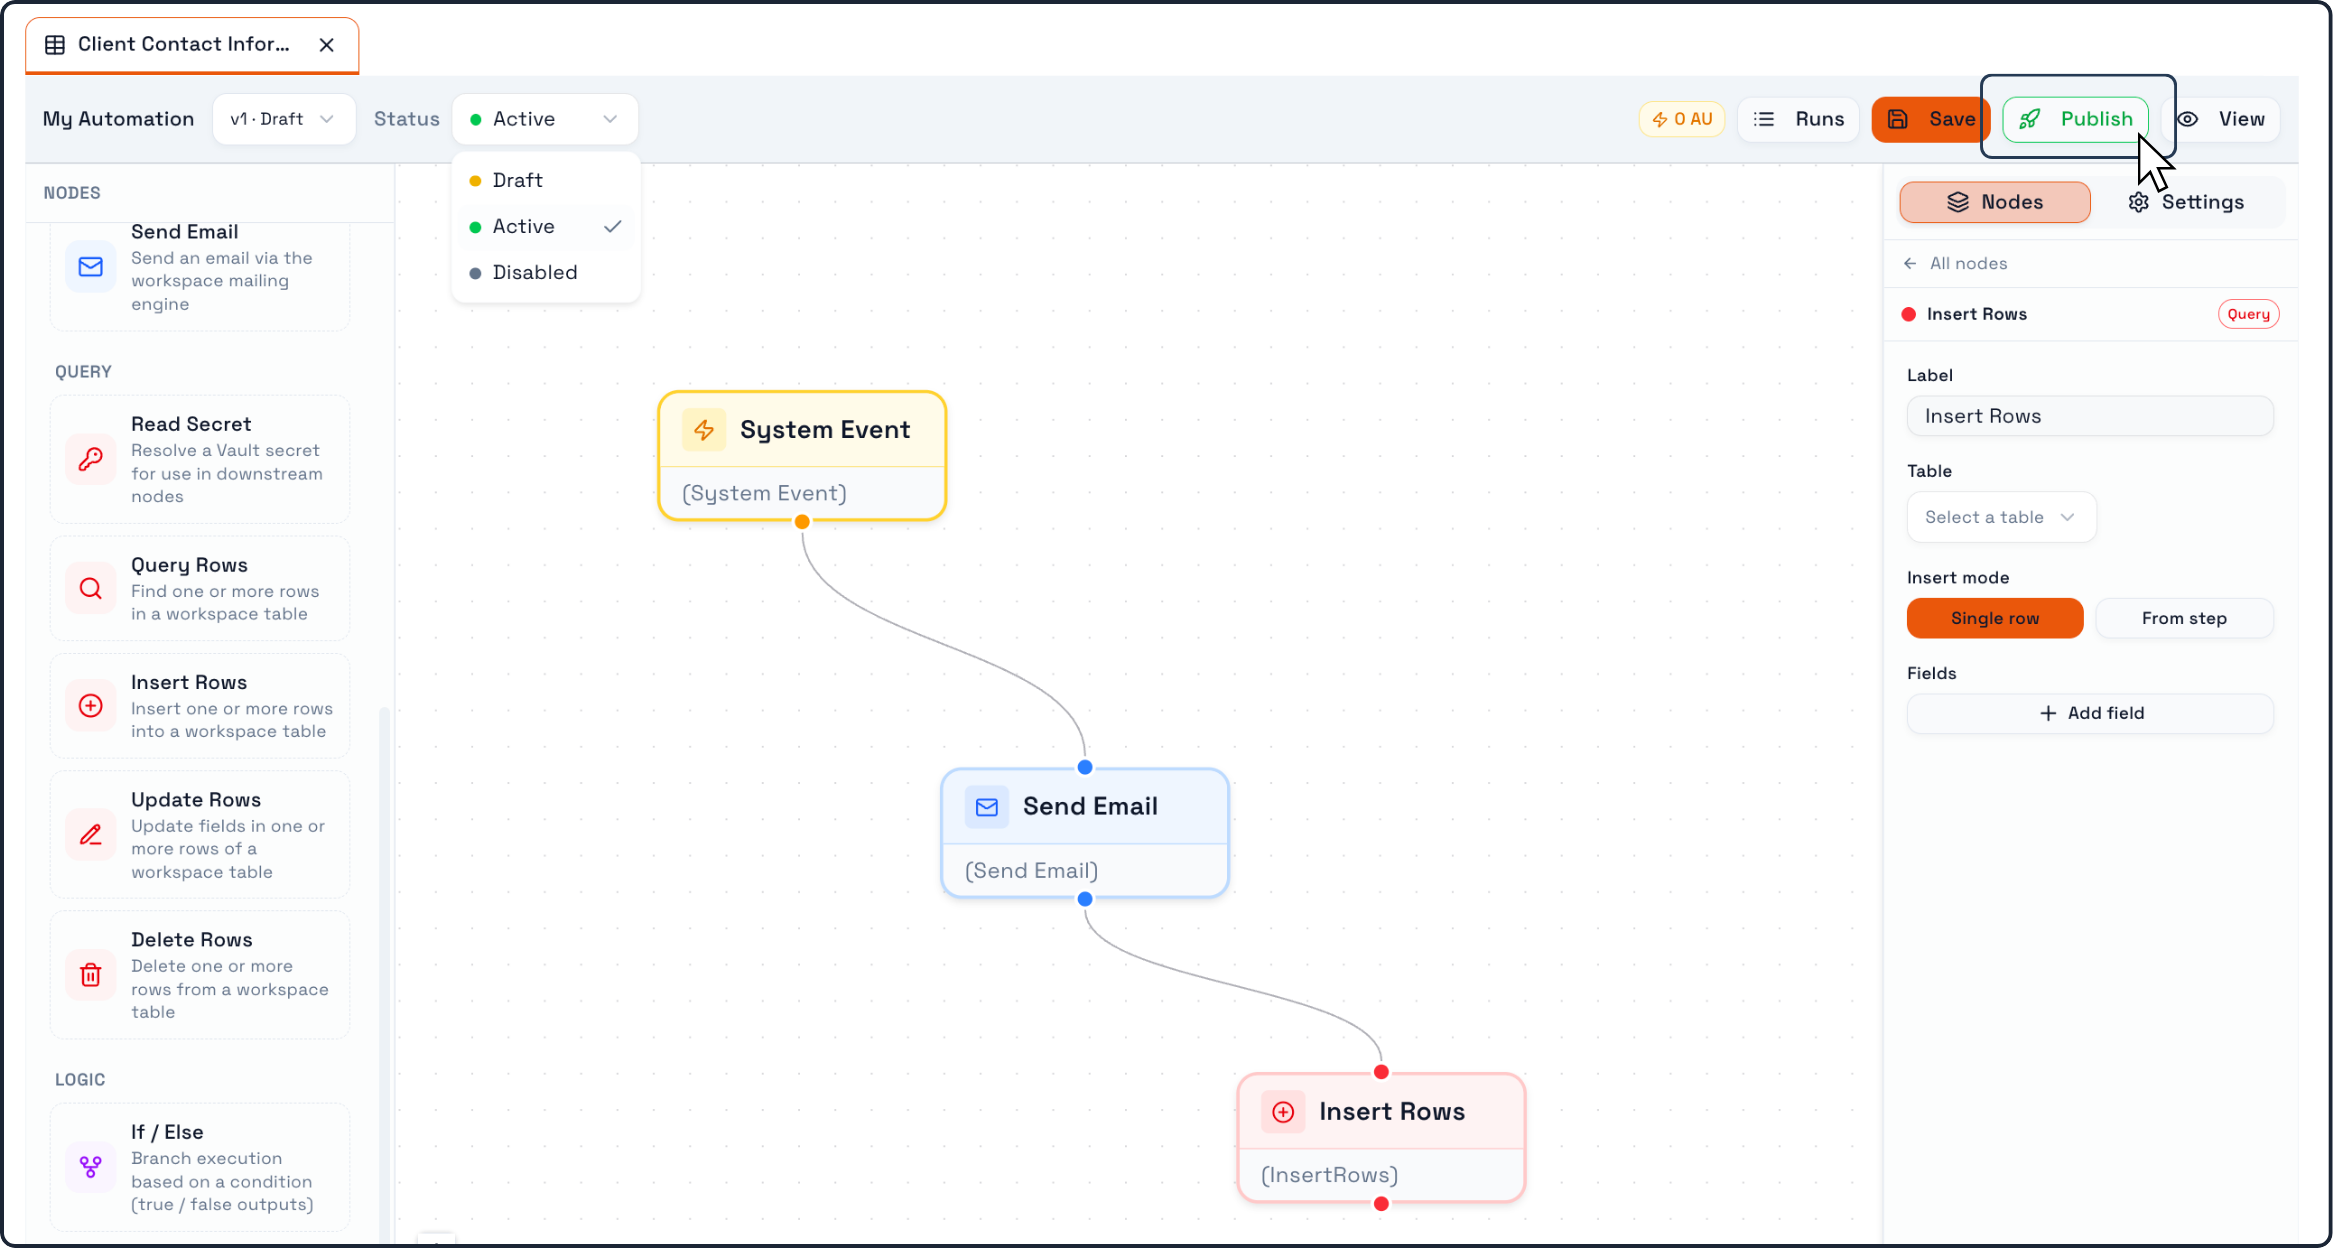
When the workflow is fully configured and ready to be used, click Publish.
Publishing makes the automation active according to the trigger you defined.
For example:
a Schedule automation will begin running on its configured timing
a Webhook automation will begin listening for requests
a Manual automation will be available to run on demand
Key things to remember
Automations are created from the Create New Element flow
Every automation needs a trigger
The trigger defines when the workflow starts
Action nodes define what the automation does
The canvas is where the workflow is assembled
Automations should be saved first and published only when ready
A draft automation exists but does not operate as a live workflow until published